This post may contain affiliate links. Please read our disclosure policy.
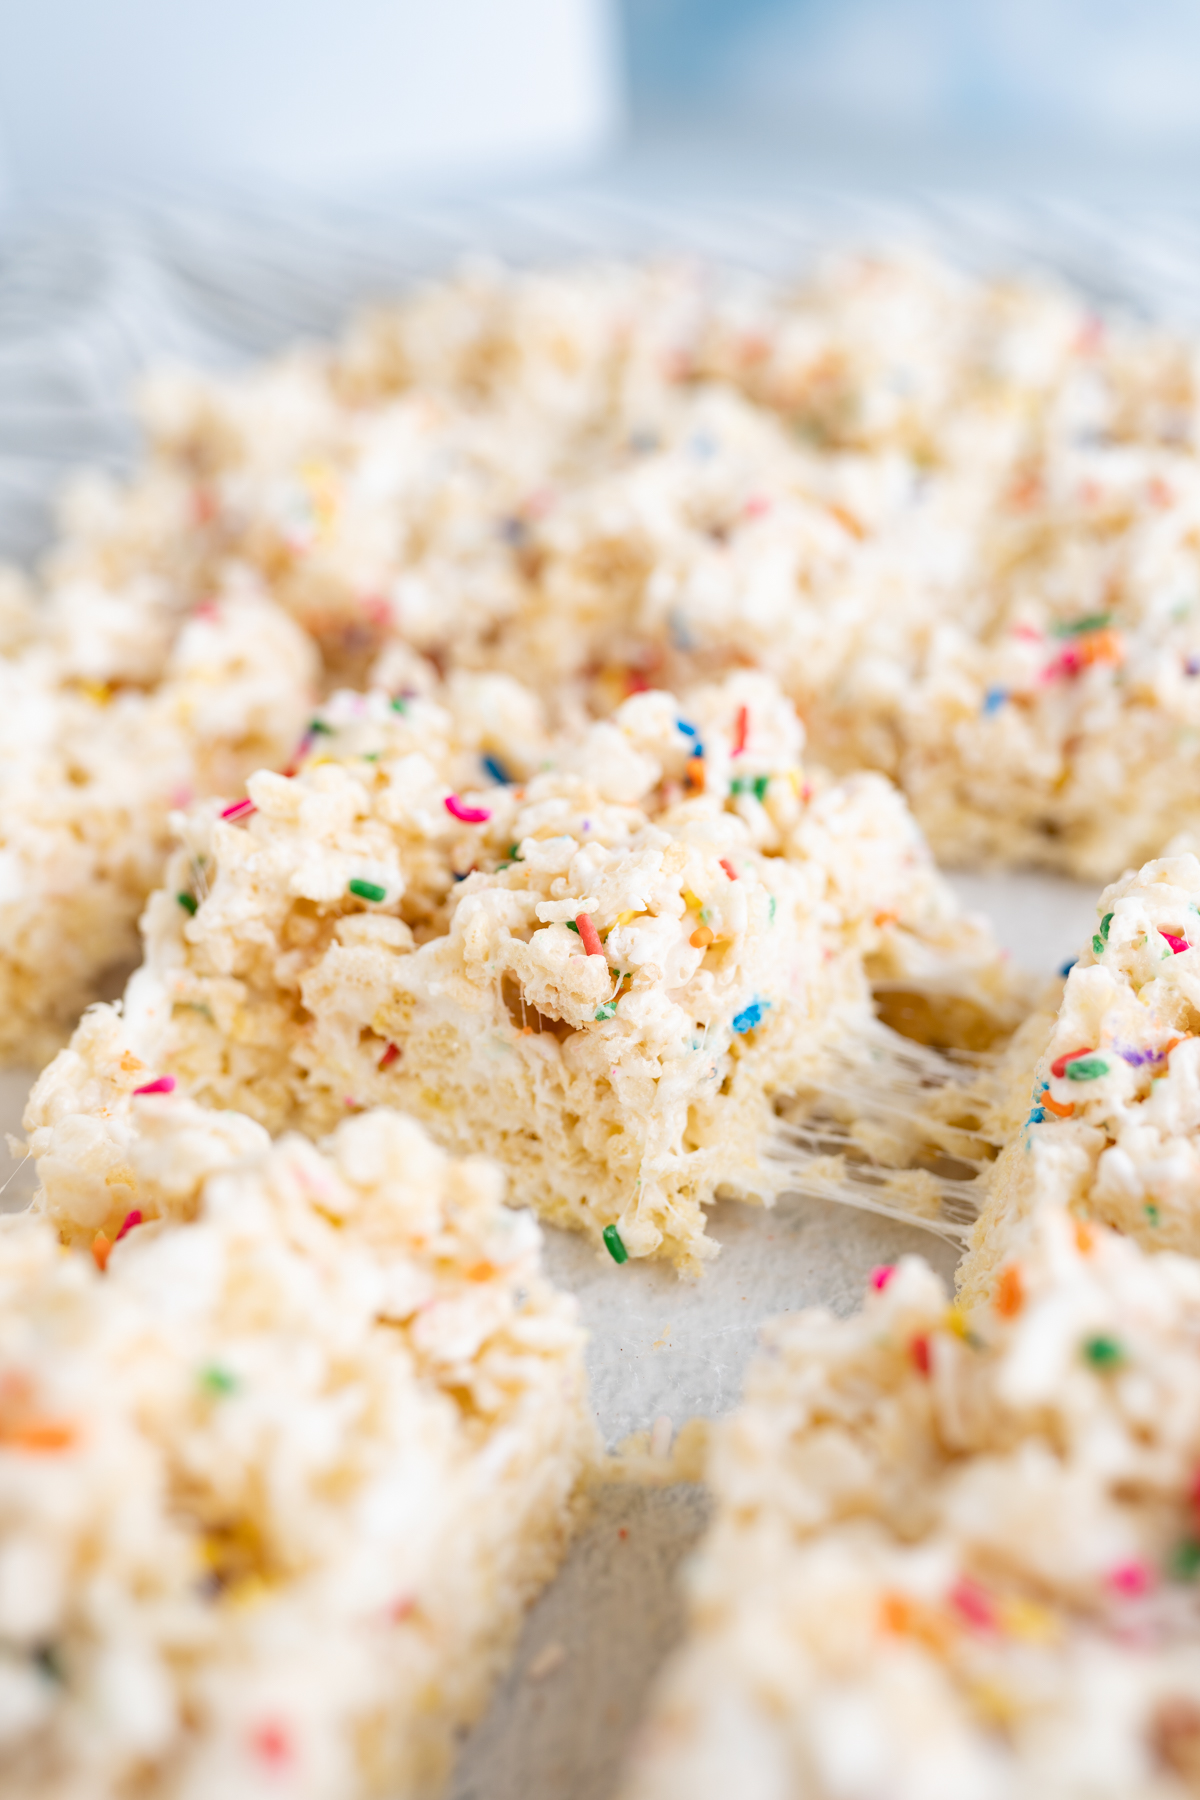
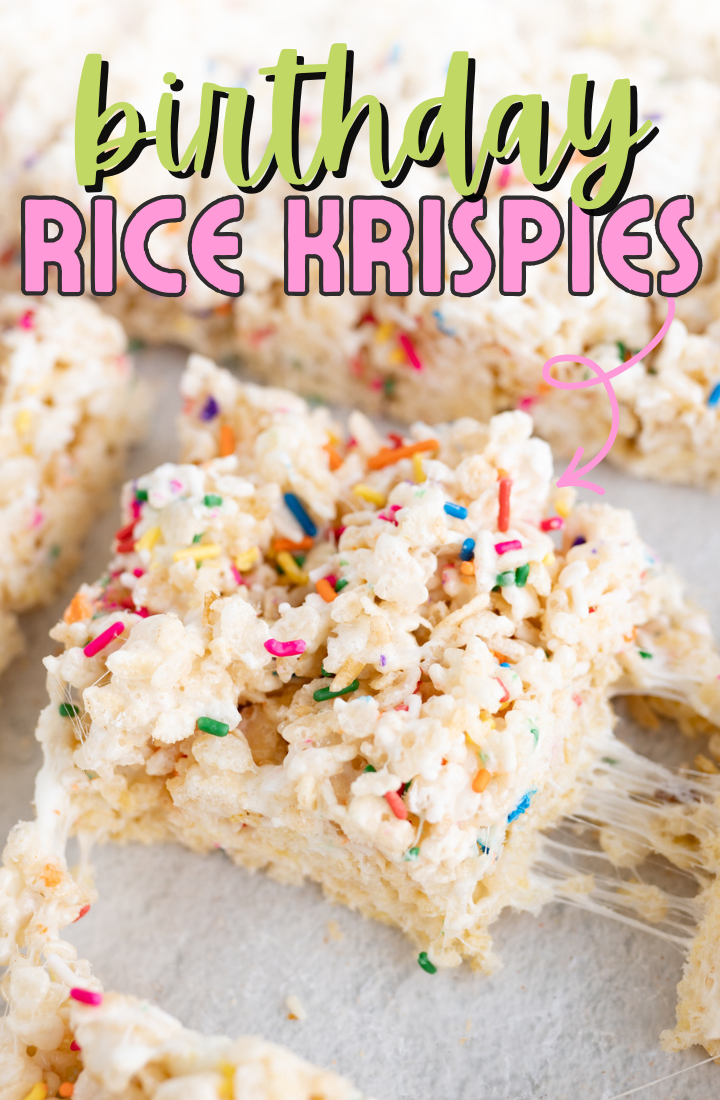
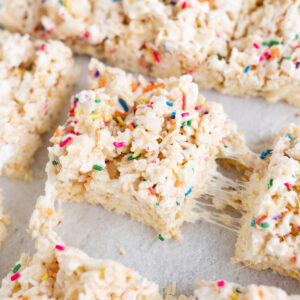
Cake Batter Rice Krispie Treats are the party treat of all party treats! It’s your favorite soft rice krispie, but with a warm vanilla cake flavor and bursts of soft sprinkles.
Cake Batter Rice Krispies Recipe
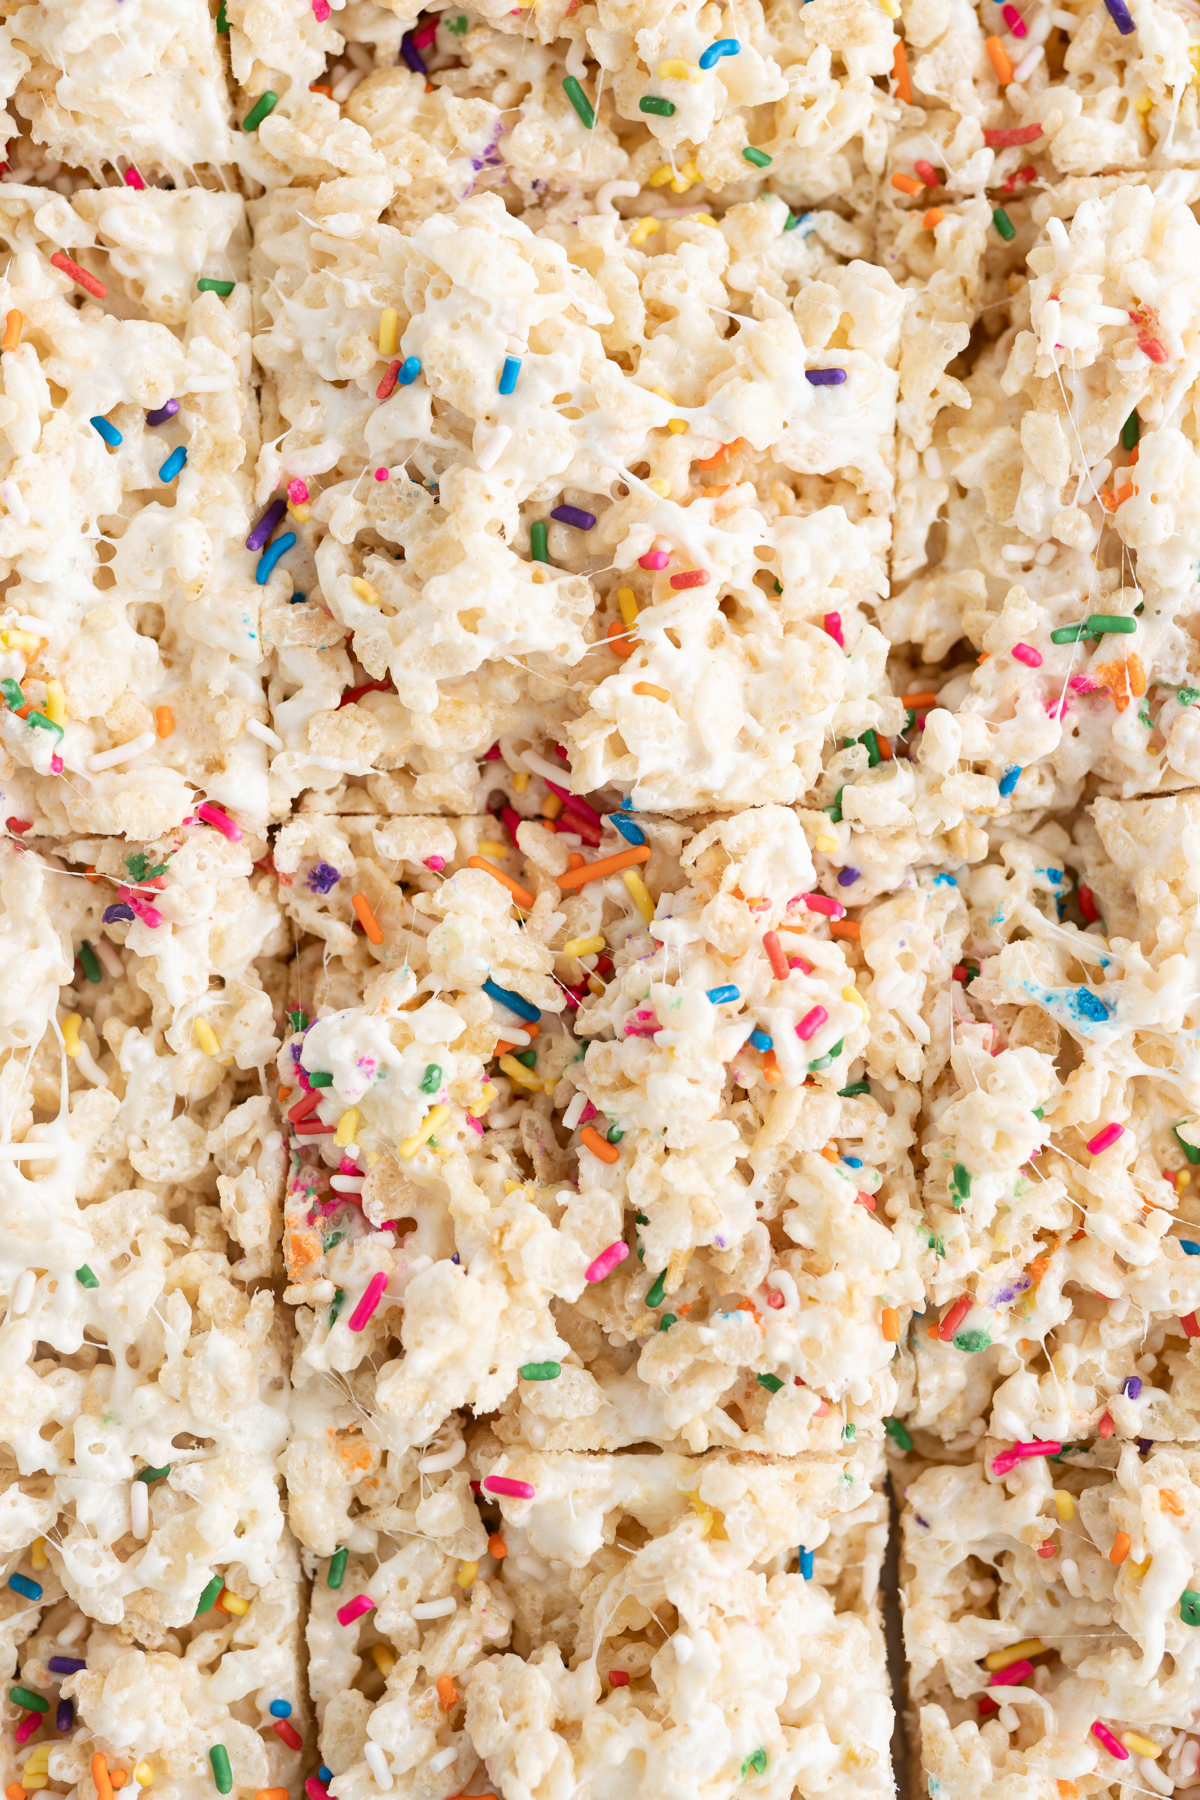
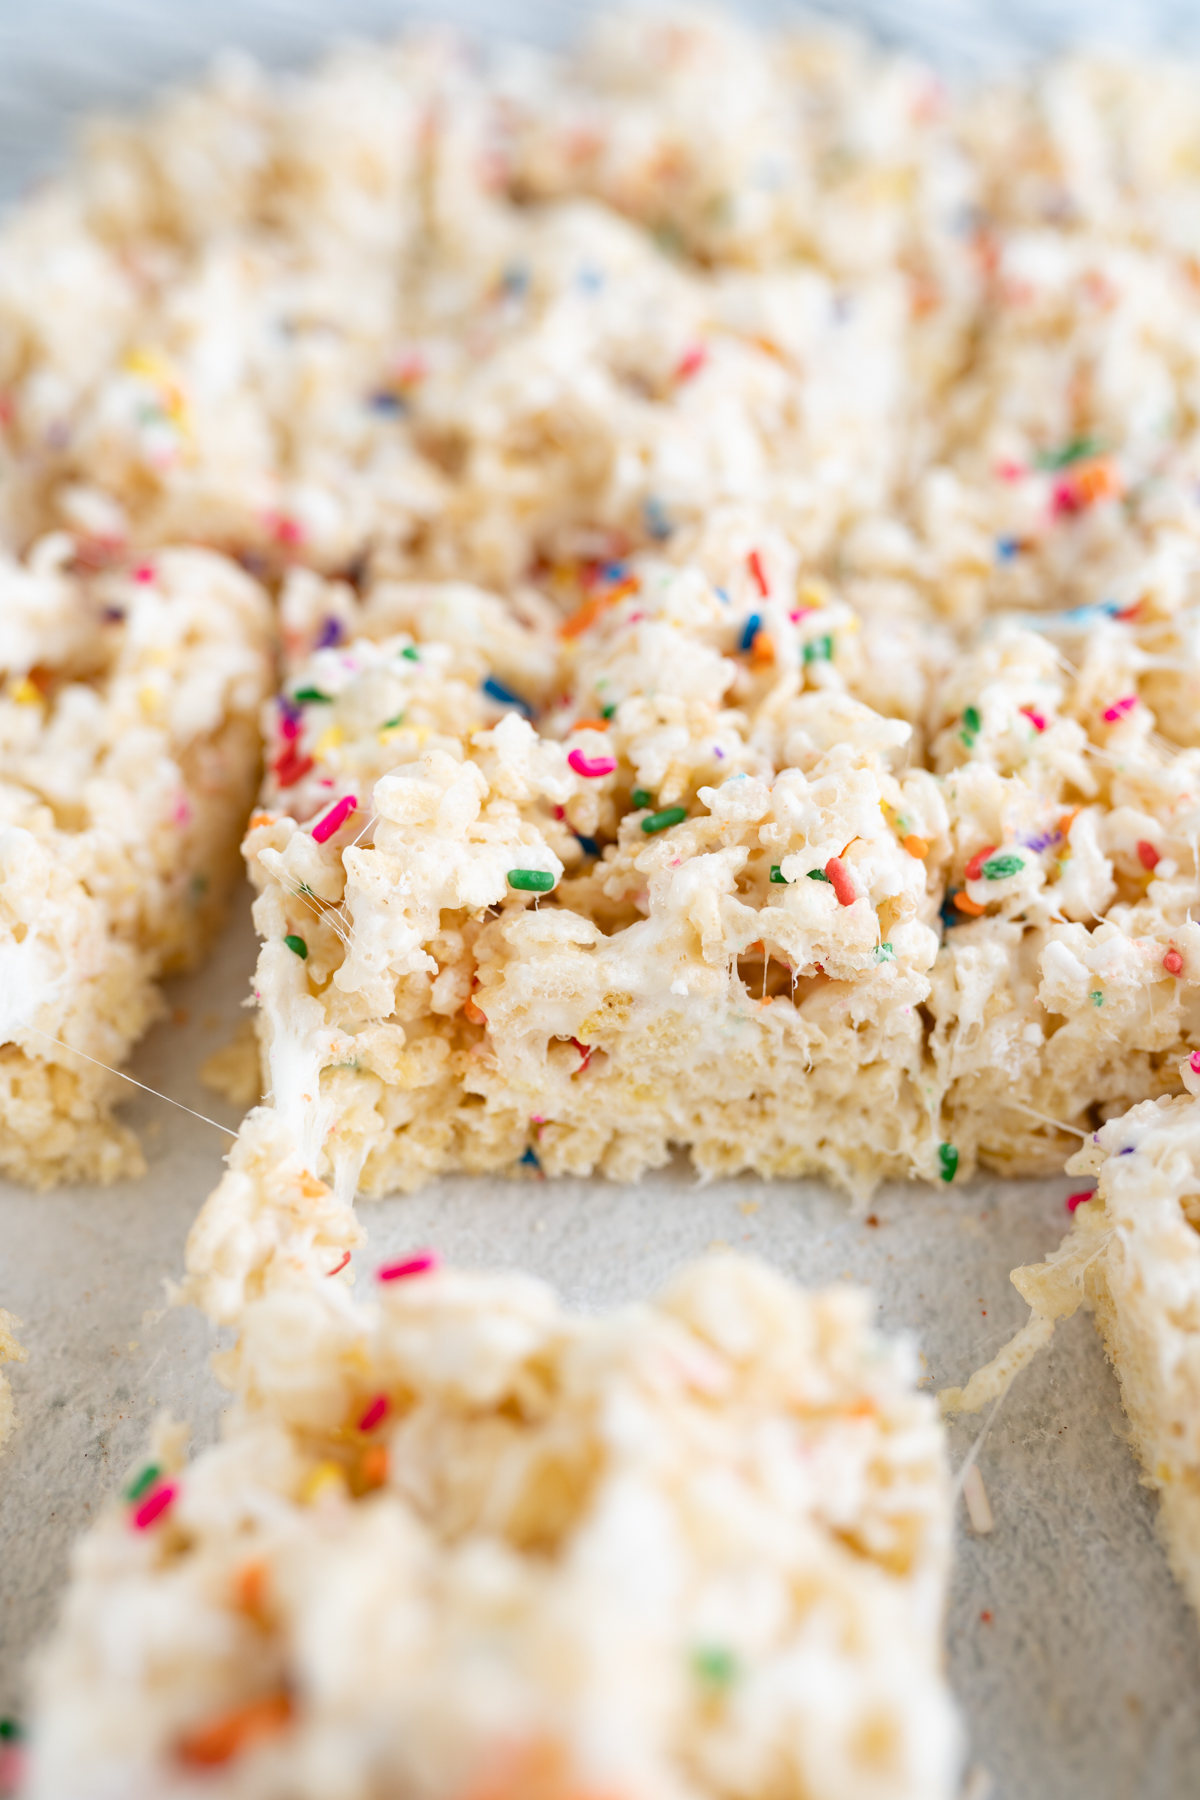
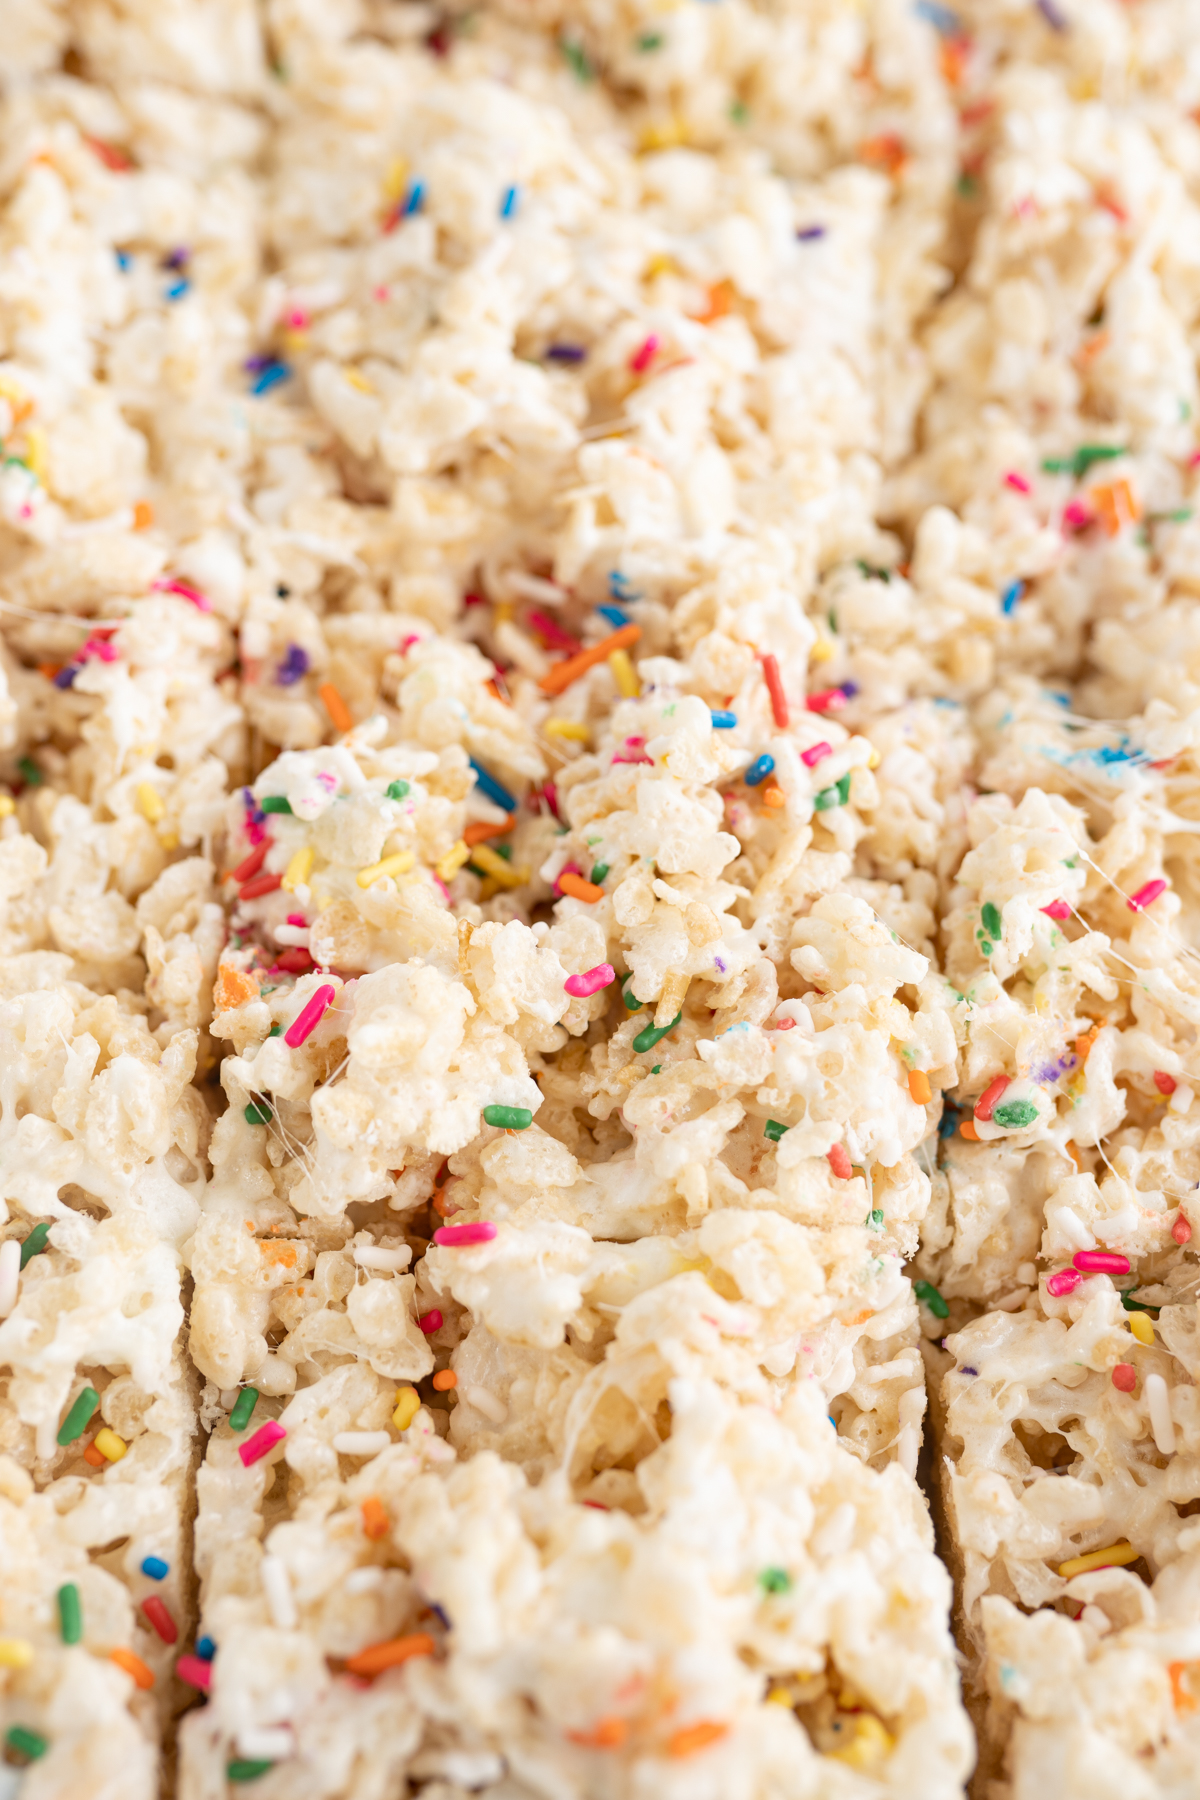
Truly, there has never been a rice krispie that has tasted or looked cuter than these Cake Batter Rice Krispies! They just have a little extra special oomph to them. Instead of the vanilla you might find in a standard recipe, these sweeties have a splash of the most delicious cake batter flavoring. It is warm and buttery and very, very yum. On top of that, we also add in a splash of colorful jimmie sprinkles (they’re tube shape but SOFT) to help the treats look the part without adding a weird crunch. Because these Cake Batter Rice Krispies are just as easy as the standard version, you can have these ready in a hot second. Which makes them the party MVP, in my opinion.
If you’re a huge fan of Rice Krispies in any form, make sure to check out Rice Krispy Treat Cookies , Chocolate Rice Krispie Treats, Churro Rice Krispie Treats, Hot Chocolate Rice Krispie Treats and my other versions by searching “Rice Krispie” on my site!
Ingredients
*You can find instructions and exact quantities in the recipe card at the bottom of this post.
- Salted butter – I always, always use salted butter. You can use unsalted butter and add an extra pinch of salt to the dough, if desired.
- Mini marshmallows
- Cake batter flavoring – This is the key to the delicious, warm cake batter flavor in the rice krispie treat!
- Rice Krispie Cereal
- Colorful Jimmie Sprinkles – These are just long, tube-like sprinkles with a softer texture.
How to Make Cake Batter Rice Krispies
- Spray a 9×13 pan with non-stick spray and set aside.
- In an extra large bowl, measure out the Rice Krispie Cereal. Set aside.
- In a separate large microwave safe bowl, microwave the butter until completely melted.
- Add the bag of marshmallows to the bowl with melted butter. Stir to coat the marshmallows in the melted butter.
- Microwave the marshmallows + butter for 1 minute, stirring at the 30 seconds mark.
- Add the cake batter flavoring to the bowl and stir until well combined and smooth.
- Pour the melted marshmallow mixture into the bowl with the Rice Krispie Cereal. Stir until well combined.
- Fold in the colored sprinkles.
- Pour the completed mixture into the prepared 9×13 pan.
- Wet your hands with water and then gently press the mixture into the pan.
- Allow the treats to set, cut and serve. Enjoy!!
How long do Rice Krispies last?
The longer rice krispies sit out, the harder they will get. For the softest, freshest treat, I recommend storing them in an airtight container and enjoying them within 2 days!
Can you freeze rice krispie treats?
Yes! To freeze rice krispy treats, cut into squares and allow them to cool completely. Once cool, wrap each square in parchment paper, place them in a gallon bag and put them in the freezer. When you’re ready to eat them, simply remove the bag and let them thaw on the counter.
Karli’s Kitchen Faves
Here are a few of my favorite kitchen tools that I used to make this recipe!
- I sometimes line my pan with parchment paper, leaving a little hanging over the sides to make removing the treats extra easy.
- Spatula – I love these silicone spatulas for stirring the treats, especially with the sticky marshmallows!
- Bowl – I love how giant these are! They’re perfect for mixing up the rice krispies.
- 9×13 pan – This is one of my fave pans!
Recipes Similar to Keyword

Cake Batter Rice Krispie Treat
Ingredients
- 1/3 cup (73g) salted butter
- 16 oz bag mini marshmallows
- 1/2 tsp cake batter flavoring
- 8 cups (216g) Rice Krispie Cereal
- 1/3 cup colorful Jimmie Sprinkles

Instructions
- Spray a 9×13 pan with non-stick spray and set aside.
- In an extra large bowl, measure out the Rice Krispie Cereal. Set aside.8 cups (216g) Rice Krispie Cereal
- In a separate large microwave safe bowl, microwave the butter until completely melted.1/3 cup (73g) salted butter
- Add the bag of marshmallows to the bowl with melted butter. Stir to coat the marshmallows in the melted butter.16 oz bag mini marshmallows
- Microwave the marshmallows + butter for 1 minute, stirring at the 30 seconds mark.
- Add the cake batter flavoring to the bowl and stir until well combined and smooth.1/2 tsp cake batter flavoring
- Pour the melted marshmallow mixture into the bowl with the Rice Krispie Cereal. Stir until well combined.
- Fold in the colored sprinkles.1/3 cup colorful Jimmie Sprinkles
- Pour the completed mixture into the prepared 9×13 pan.
- Wet your hands with water and then gently press the mixture into the pan.
- Allow the treats to set, cut and serve. Enjoy!!


What is cake batter flavoring?
Hi! I sell cake batter flavoring in my shop, it will give these rice krispies the flavor of cake batter like vanilla extract gives cookies a vanilla-y flavor! https://shopcookingwithkarli.com/products/cake-batter-flavor-cooking-with-karli-1-oz-bottle
What is Cake Batter Flavoring, where do you find it ? TY.
Hi! It’s like a vanilla extract, except it makes things taste like vanilla cake batter! It’s AMAZING. You can find it here: https://shopcookingwithkarli.com/products/cake-batter-flavor-cooking-with-karli-1-oz-bottle
Your videos are very easy to follow
yay! I’m so glad to hear that!