This post may contain affiliate links. Please read our disclosure policy.
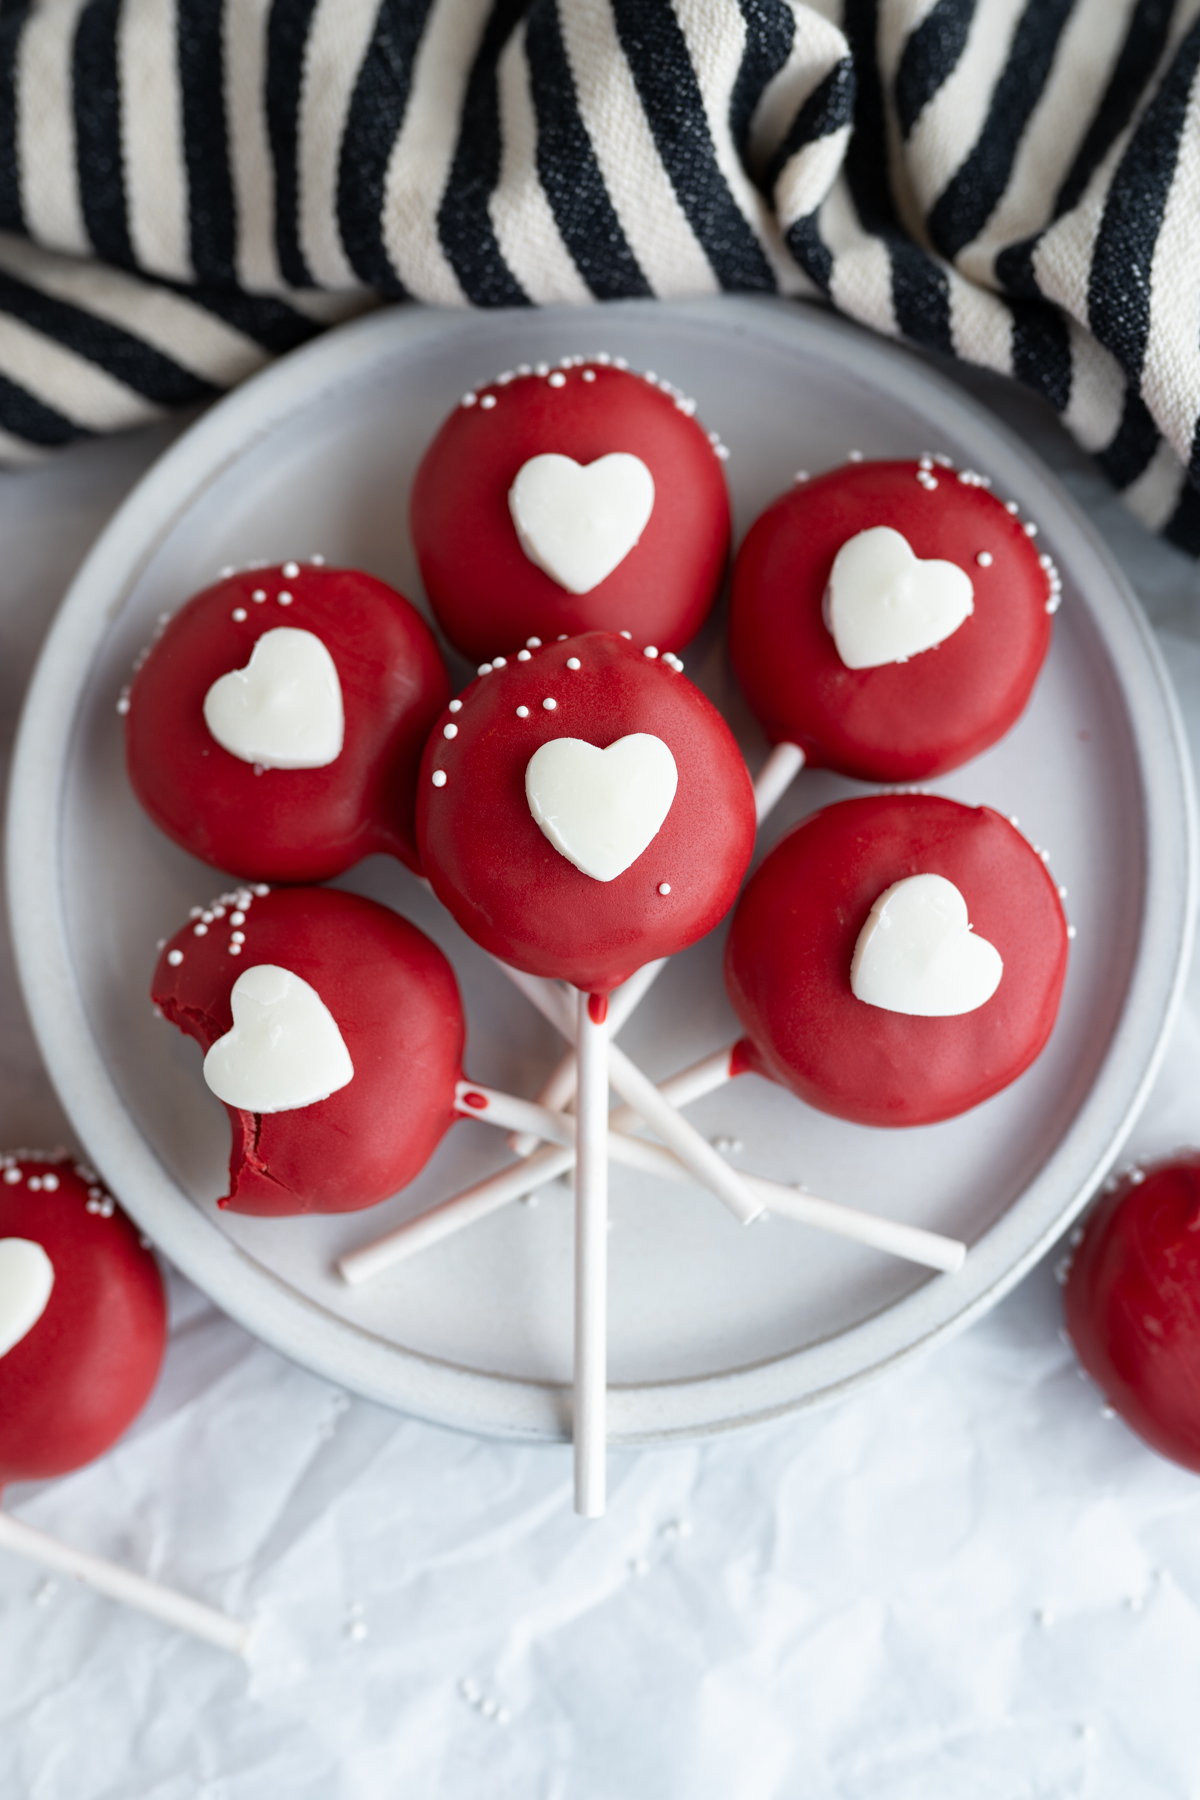
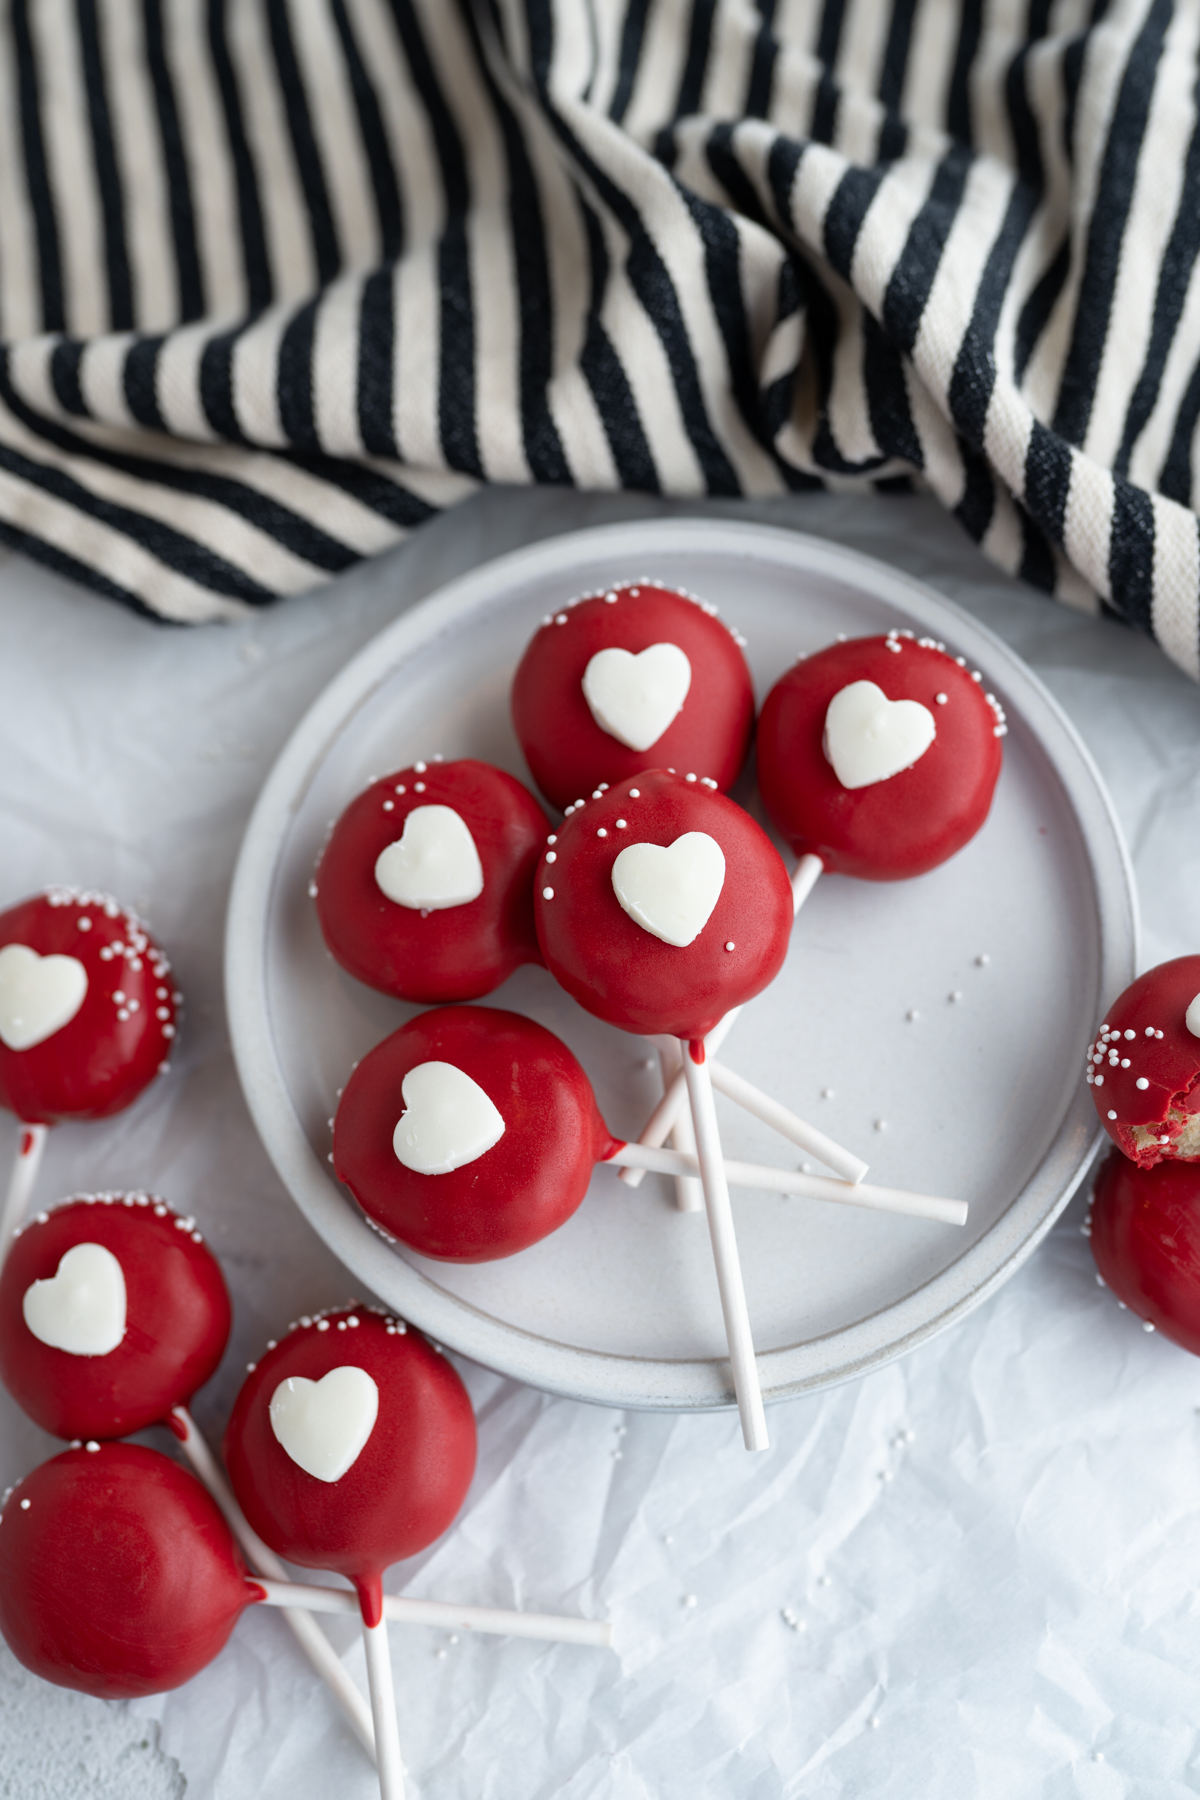
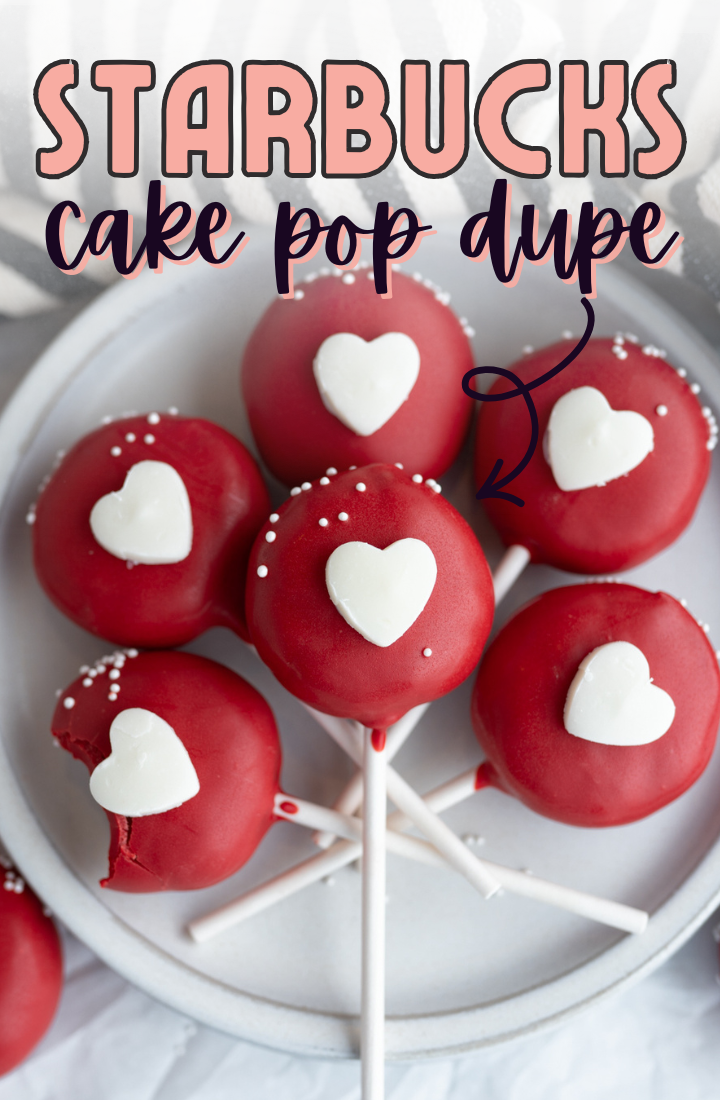
Get ready to say ‘I love you’ to the way yummier and way cheaper copycat recipe for the Starbucks Valentine Cake Pop!

Valentine Cake Pops (Starbucks Dupe!)
If you’re new here, I need you to know that this isn’t my first rodeo when it comes to duping Starbucks recipes. My viral (20 million views!) copycat for the Starbucks Cake Pop has been made in almost 1 MILLION kitchens! This recipe uses my same ultra easy (un)trademarked method of throwing an entire baked cake, hot & fresh from the oven, into your mixer. Seriously. I’ll walk you through the entire process in the recipe card below. BUT for now, just trust. Cake pops have never been easier (or yummier!). And at about only $0.35 per pop, they’ve never been more affordable, either.
Just in case you need a little more convincing, last week I took my copycat version and the actual Starbucks Valentine Cake Pops to a family party. And when I tell you that 100% of the taste testers proclaimed that the homemade version was “wayyyy better, hands-down, not even a competition” I am not lying.

Ingredients
*You can find instructions and exact quantities in the recipe card at the bottom of this post!
- Vanilla cake mix + ingredients on the back of the box – You will bake this cake mix as directed on the box!
- Powdered sugar – This will help bind the cake together.
- Vanilla extract – This adds a little extra something-something and also helps create the texture desired for cake pops.
- Red color melts – I like the Chocomaker brand best, Wilton tends to melt really thick but would still work.
- White color melt disks
- White nonpareils sprinkles
- Lollipop sticks
How to Make Valentine Cake Pops
- Prepare and bake the cake mix according to the boxed directions.
- Immediately after taking the cake out of the oven, pour the hot baked cake into the bowl of a stand mixer. (Do not over cook the cake! If you do, it will have a harder time coming together as a cake pop).
- Add in the powdered sugar and vanilla extract and, using the paddle attachment, mix on low speed until a dough that can be pressed together into a ball forms.
- Portion out the dough and press into a ball with your hands. Alternatively, you can use a cake pop press. Then flatten the balls slightly so they are shaped similar to a hockey puck.
- Place the cake pucks on a cookie sheet and put into the freezer to chill.
- While the cake is in the freezer, melt the red color melts according to the directions on the package.
- Once the chocolate coating is melted, remove the cake balls from the freezer.
- Dip each lollipop stick into the chocolate and then press the stick into the center of each cake ball. This will help avoid the cake pop falling off of the stick.
- Return to the fridge or freezer for a few minutes to help speed up the process of the stick and chocolate setting.
- Pour the remaining melted red color melts into a tall, skinny jar or glass.
- Dip the cake pops one by one in the chocolate and gently shake the cake pop to remove any excess melted chocolate. Tip right side up and add sprinkles.
- Allow the chocolate to set while the cake pop is right side up, you can poke holes into a cardboard box or foam block to help them stand up straight to dry.
- For the hearts, use a tiny heart cookie cutter and cut the white color melt disks into the heart shape.
- Melt the extra white color melts and pipe a tiny bit onto the back of each heart and set it on the center of each cake pop.
- Serve as is or package up individually in bags with ribbon if desired.
- Enjoy! Store at room temp for up to 3 days.
Cake Pop Storage
Once your cake pops have set, store in an airtight container on the counter for 3 days.
And yes, because I know you’ll ask – you can totally freeze these! Let them set completely. Then, instead of placing them in a ziptop bag, I recommend freezing them in an airtight container to help protect them from getting squished. These will keep in the freezer for up to 3 months.
Karli’s Kitchen Faves
Here are a few of my favorite kitchen tools that I used to make this recipe!
- Kitchenaid Mixer – I really love this thing. It’s not necessary for making good cookies, but I love the size of the bowl and the power. It saves me a lot of arm aches.
- Cake Pop Press – I love using this for shaping the cake pops easily! The kit also comes with Lollipop sticks that you will need for this recipe.
Valentines Treats You’ll LOVE


Starbucks Valentine Cake Pops
Ingredients
- 1 vanilla cake mix, plus ingredients on the back
- 1/4 cup (27g) powdered sugar
- 1/2 tsp vanilla extract
- 12 oz Red color melts, I like the Chocomaker brand best!
- 30 White color melt disks
- white nonpareils sprinkles
- 24 lollipop sticks

Instructions
- Prepare and bake the cake mix according to the boxed directions.1 vanilla cake mix, plus ingredients on the back
- Immediately after taking the cake out of the oven, pour the hot baked cake into the bowl of a stand mixer. (Do not over cook the cake! If you do, it will have a harder time coming together as a cake pop).
- Add in the powdered sugar and vanilla extract and, using the paddle attachment, mix on low speed until a dough that can be pressed together into a ball forms.1/4 cup (27g) powdered sugar, 1/2 tsp vanilla extract
- Portion out the dough and press into a ball with your hands. Alternatively, you can use a cake pop press. Then flatten the balls slightly so they are shaped similar to a hockey puck.
- Place the cake pucks on a cookie sheet and put into the freezer to chill.
- While the cake is in the freezer, melt the red color melts according to the directions on the package.12 oz Red color melts
- Once the chocolate coating is melted, remove the cake balls from the freezer.
- Dip each lollipop stick into the chocolate and then press the stick into the center of each cake ball. This will help avoid the cake pop falling off of the stick.24 lollipop sticks
- Return to the fridge or freezer for a few minutes to help speed up the process of the stick and chocolate setting.
- Pour the remaining melted red color melts into a tall, skinny jar or glass.
- Dip the cake pops one by one in the chocolate and gently shake the cake pop to remove any excess melted chocolate. Tip right side up and add sprinkles.white nonpareils sprinkles
- Allow the chocolate to set while the cake pop is right side up, you can poke holes into a cardboard box or foam block to help them stand up straight to dry.
- For the hearts, use a tiny heart cookie cutter and cut the white color melt disks into the heart shape.30 White color melt disks
- Melt the extra white color melts and pipe a tiny bit onto the back of each heart and set it on the center of each cake pop.
- Serve as is or package up individually in bags with ribbon if desired.
- Enjoy! Store at room temp for up to 3 days.
Nutrition
Latest Recipes:
Most Popular Crumbl
Crumbl Cornbread Cookie

Copycat Cookie Recipes
Cranberry Bliss Cookies
Cookies


