This post may contain affiliate links. Please read our disclosure policy.
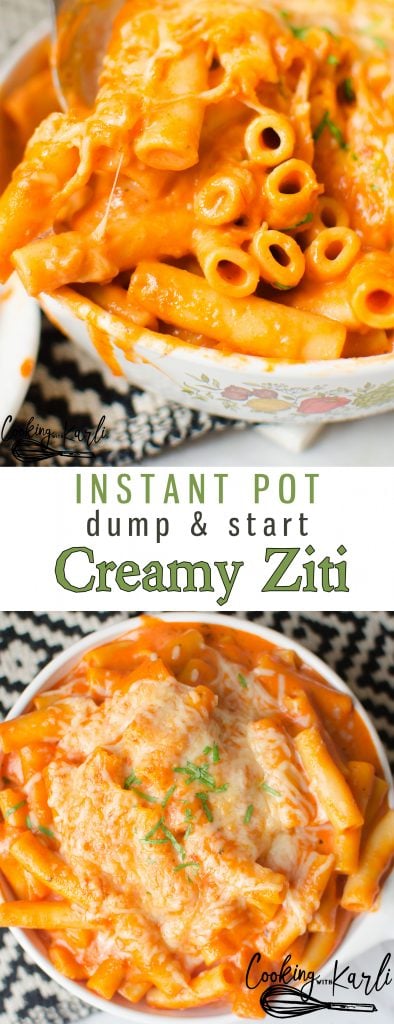
Dump and Start Instant Pot Creamy Ziti is saucy, cheesy and delicious. 20 minutes is all you need to make this creamy red sauce pasta dish!
Don’t have an Instant Pot yet? StoveTop Creamy Ziti Recipe is here!! Check it out!
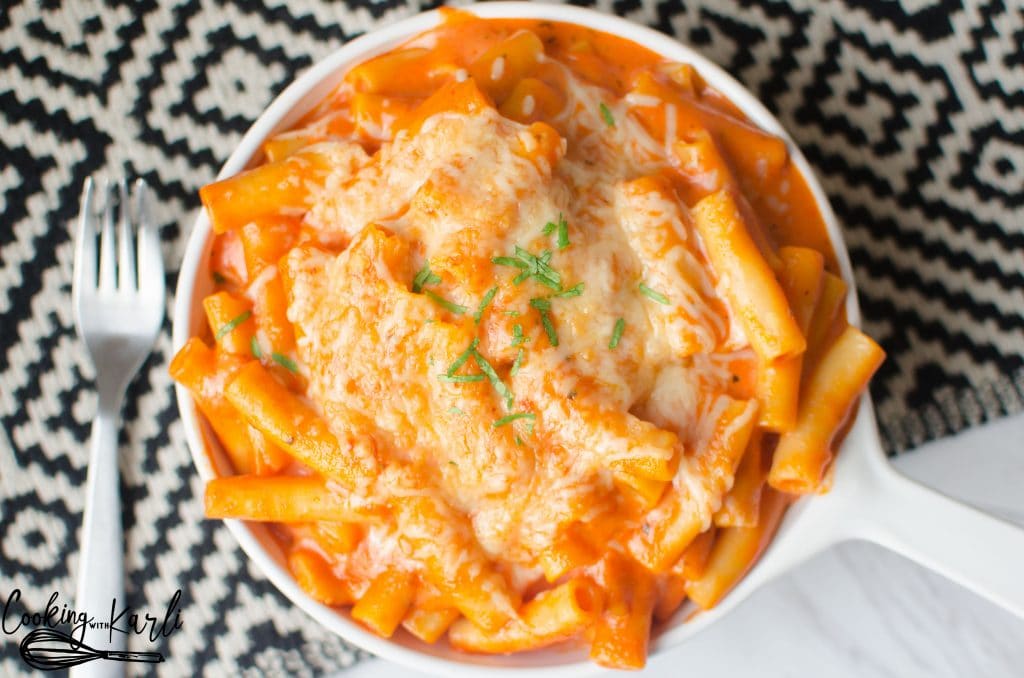
Dump and Start Instant Pot Creamy Ziti is a favorite at my house! I’ll be honest, it totally reminds me of Olive Garden’s Five Cheese Ziti dish. AKA the only thing I ever get while visiting Olive Garden.
Also, every single person in my family enjoys this for dinner. That right there is a miracle, people. If you have kids, were a kid a some point or haven’t been living under a rock you’ll know that is nearly impossible.
I love how this pasta dish pairs nicely with all sorts of sides to make it a meal, you could do a garden salad, garlic bread or even a crisp Fruit and Vegetable Salad. Whatever you serve it up with, your family will love it!
How to Make Creamy Ziti
‘Dump and Start’ are a funny combination of words to be on my favorite word list.. but it’s there alright. This dish is so easy! Dump and Start easy. If you like dump and start recipes as much as I do, check out Top 25 Instant Pot Dump and Start Recipes.
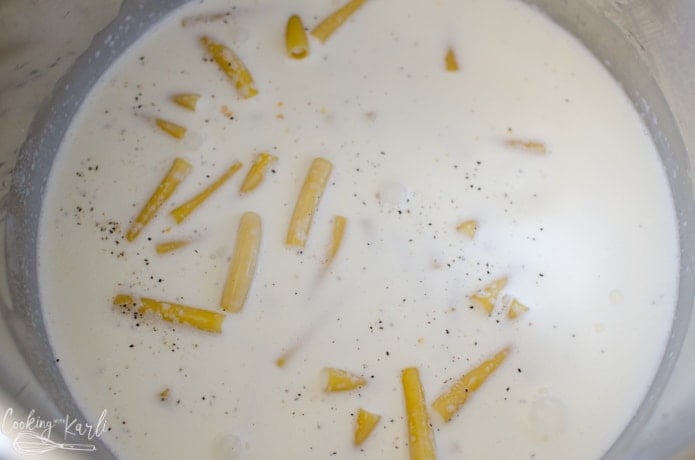
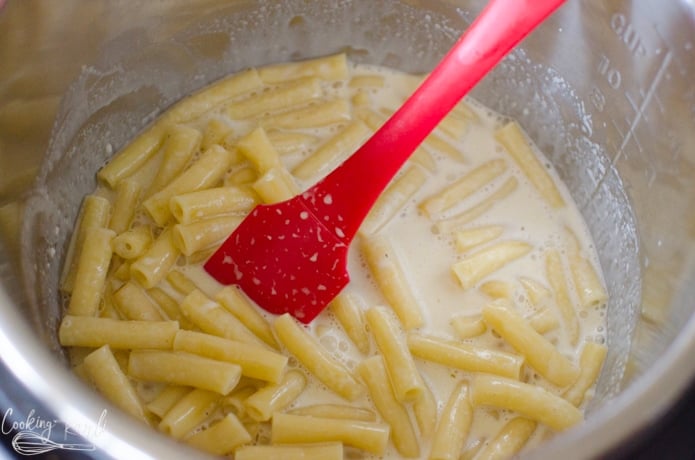
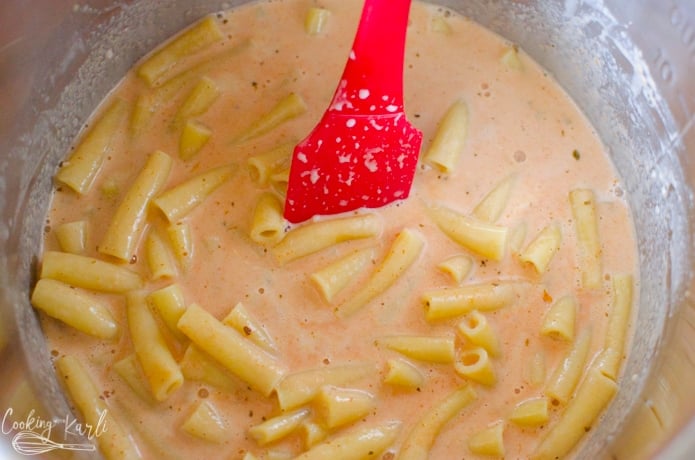
Broth, cream, garlic, s&p and pasta go into the Instant Pot. Make sure that the pasta is covered with liquid.
Pressure cook for 6 minutes, NPR for 6 minutes and then QR the rest of the pressure. The sauce will be very liquidy, totally normal.
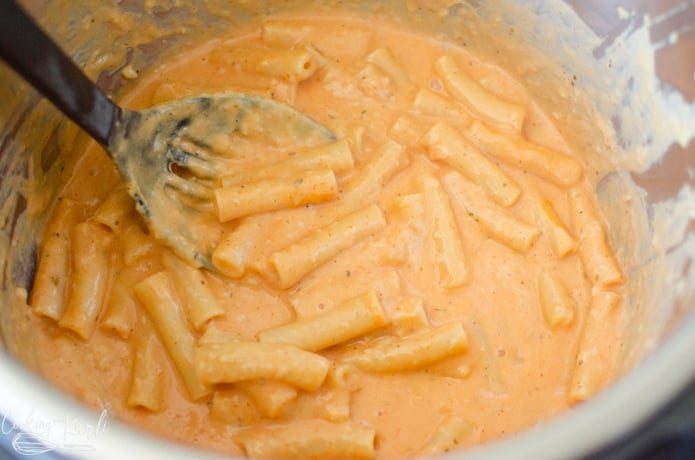
Turn the Instant Pot onto sauté, then in goes some red pasta sauce.
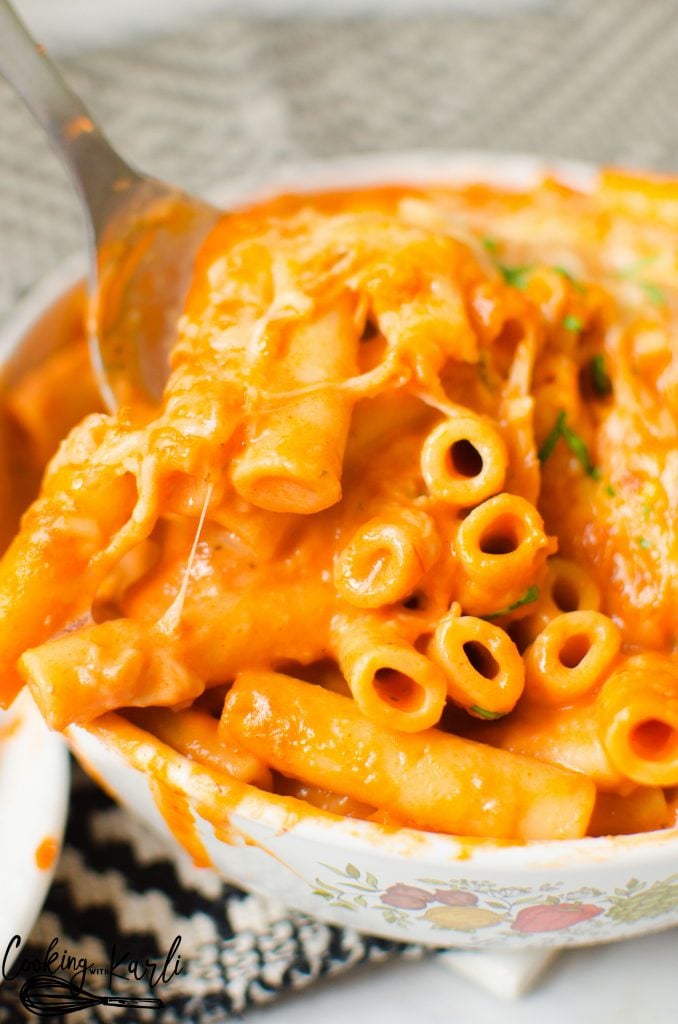
Slowly add in the parmesan and mozzarella cheeses. This will thicken the sauce nicely for you. Once the sauce has thickened, turn the Instant Pot off and serve immediately.
See, I told you it was easy.
Don’t have an Instant Pot yet? HAVE NO FEAR!! One Pot Creamy Ziti Recipe is here!! Check it out!
Looking for a lighter version?? Try my SKINNY CREAMY ZITI!
Try out these other Recipes!
More Recipes You Will Love
I LOVE seeing my recipes come to life in YOUR kitchen! Snap a picture & share on social media! Don’t forget to tag me!
If you loved what you saw here, get more of it on TikTok, Facebook, Instagram & Pinterest! I’d love to connect! Sign up for my weekly newsletter below to never miss a new recipe again!


Dump and Start Instant Pot Creamy Ziti
Equipment
Ingredients
- 1 1/2 cup chicken broth
- 1 cup heavy cream
- 1 tsp minced garlic, dried
- salt and pepper to taste
- 8 oz dry ziti pasta
- 1 cup red pasta sauce
- 1 cup parmesan cheese, shredded
- 1/2 cup mozzarella cheese, shredded

Instructions
- Add the broth, cream, garlic, salt, pepper and noodles to the instant pot in that order. DO NOT STIR, but make sure all noodles are covered. If you need to move some noodles around, thats okay.
- Set your Instant Pot to Manual for 6 minutes. Let it naturally release its pressure for an additional 6 minutes then quick release.
- Add the red pasta sauce to the Instant Pot and give it a stir.
- SLOWLY add in the cheese while stirring. The cheese will melt and thicken the sauce. The sauce will also thicken as it cools.
- Enjoy!
Video
Notes
Nutrition
Dump and Start Instant Pot Creamy Ziti
Dump and Start Instant Pot Creamy Ziti is saucy, cheesy and delicious. 20 minutes is all you need to make this creamy red sauce pasta dish!
Ingredients
- 1 1/2 cup chicken broth
- 1 cup heavy cream
- 1 tsp minced garlic dried
- salt and pepper to taste
- 8 oz dry ziti pasta
- 1 cup red pasta sauce
- 1 cup parmesan cheese shredded
- 1/2 cup mozzarella cheese shredded
Instructions
- Add the broth, cream, garlic, salt, pepper and noodles to the instant pot in that order. DO NOT STIR, but make sure all noodles are covered. If you need to move some noodles around, thats okay.
- Set your Instant Pot to Manual for 6 minutes. Let it naturally release its pressure for an additional 6 minutes then quick release.
- Add the red pasta sauce to the Instant Pot and give it a stir.
- SLOWLY add in the cheese while stirring. The cheese will melt and thicken the sauce. The sauce will also thicken as it cools.
- Enjoy!
Recipe Notes
This is a very saucy dish- If you like yours with less sauce, just cut back on the red pasta sauce at the end.
Serve alongside some Oven Roasted Broccoli!


So yummy and easy to throw together! With lots of kids and busy schedules, I appreciate recipes that I can put together and push start while I manage other tasks! Thank you! We even made some of Karli’s yummy cookies for dessert 😋
Love this recipe! It is a constant go to…so easy and delicious! I always add some hot ground sausage to give it a kick, we love it!
I have made this recipe several times and tried with various different kinds of Parmesan and mozzarella cheeses and it always turns into a big cheese clump no matter how slow I added it in. It’s still a very tasty dish, but I cannot get the cheese consistency right and it drives me crazy
This is one of our favorite instant pot dishes. It comes out perfect every time! Thank you!
Trying this on Sunday…putting in on while I do yard work so I can come in to a hot bowl of scrumptiousness. Can I just double the recipe for a larger group?
Love this recipe! I’ve doubled it before, but I’m wondering if I can triple?
Yes, tripling should work!
If using gluten free pasta, do I need to increase cook time?
Soo yummy! I doubled the recipe, used fresh minced garlic and used some provolone and ricotta in place of the parmesan. My husband added seasoned chicken breast to his. Very comforting and perfect for a cold winter evening. Thank you for this recipe!