This post may contain affiliate links. Please read our disclosure policy.
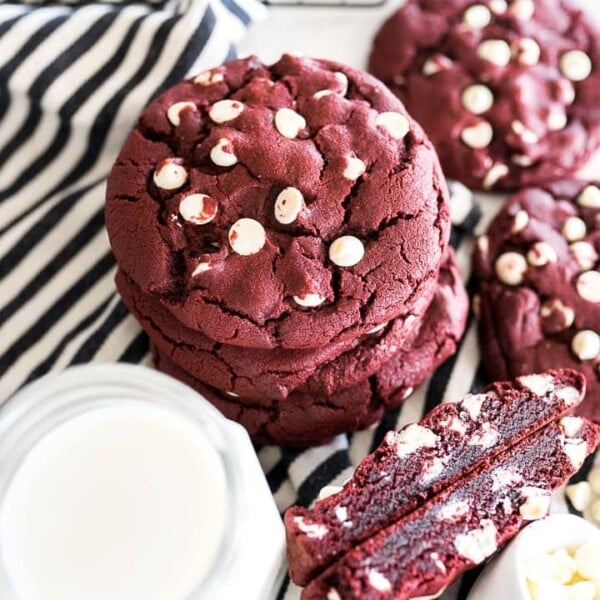
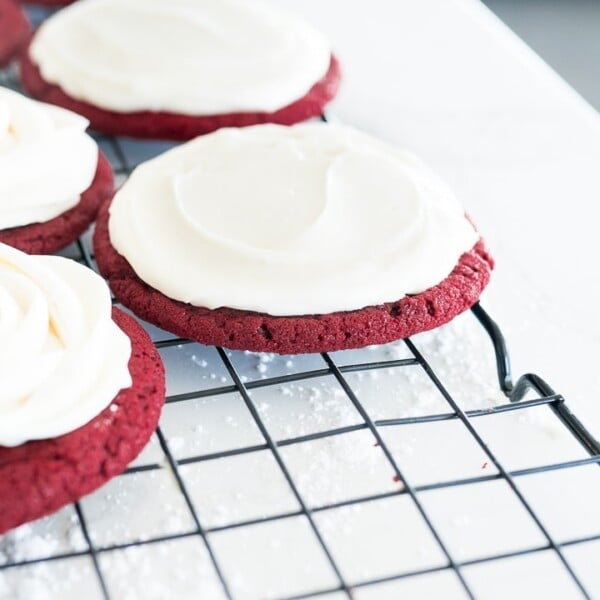
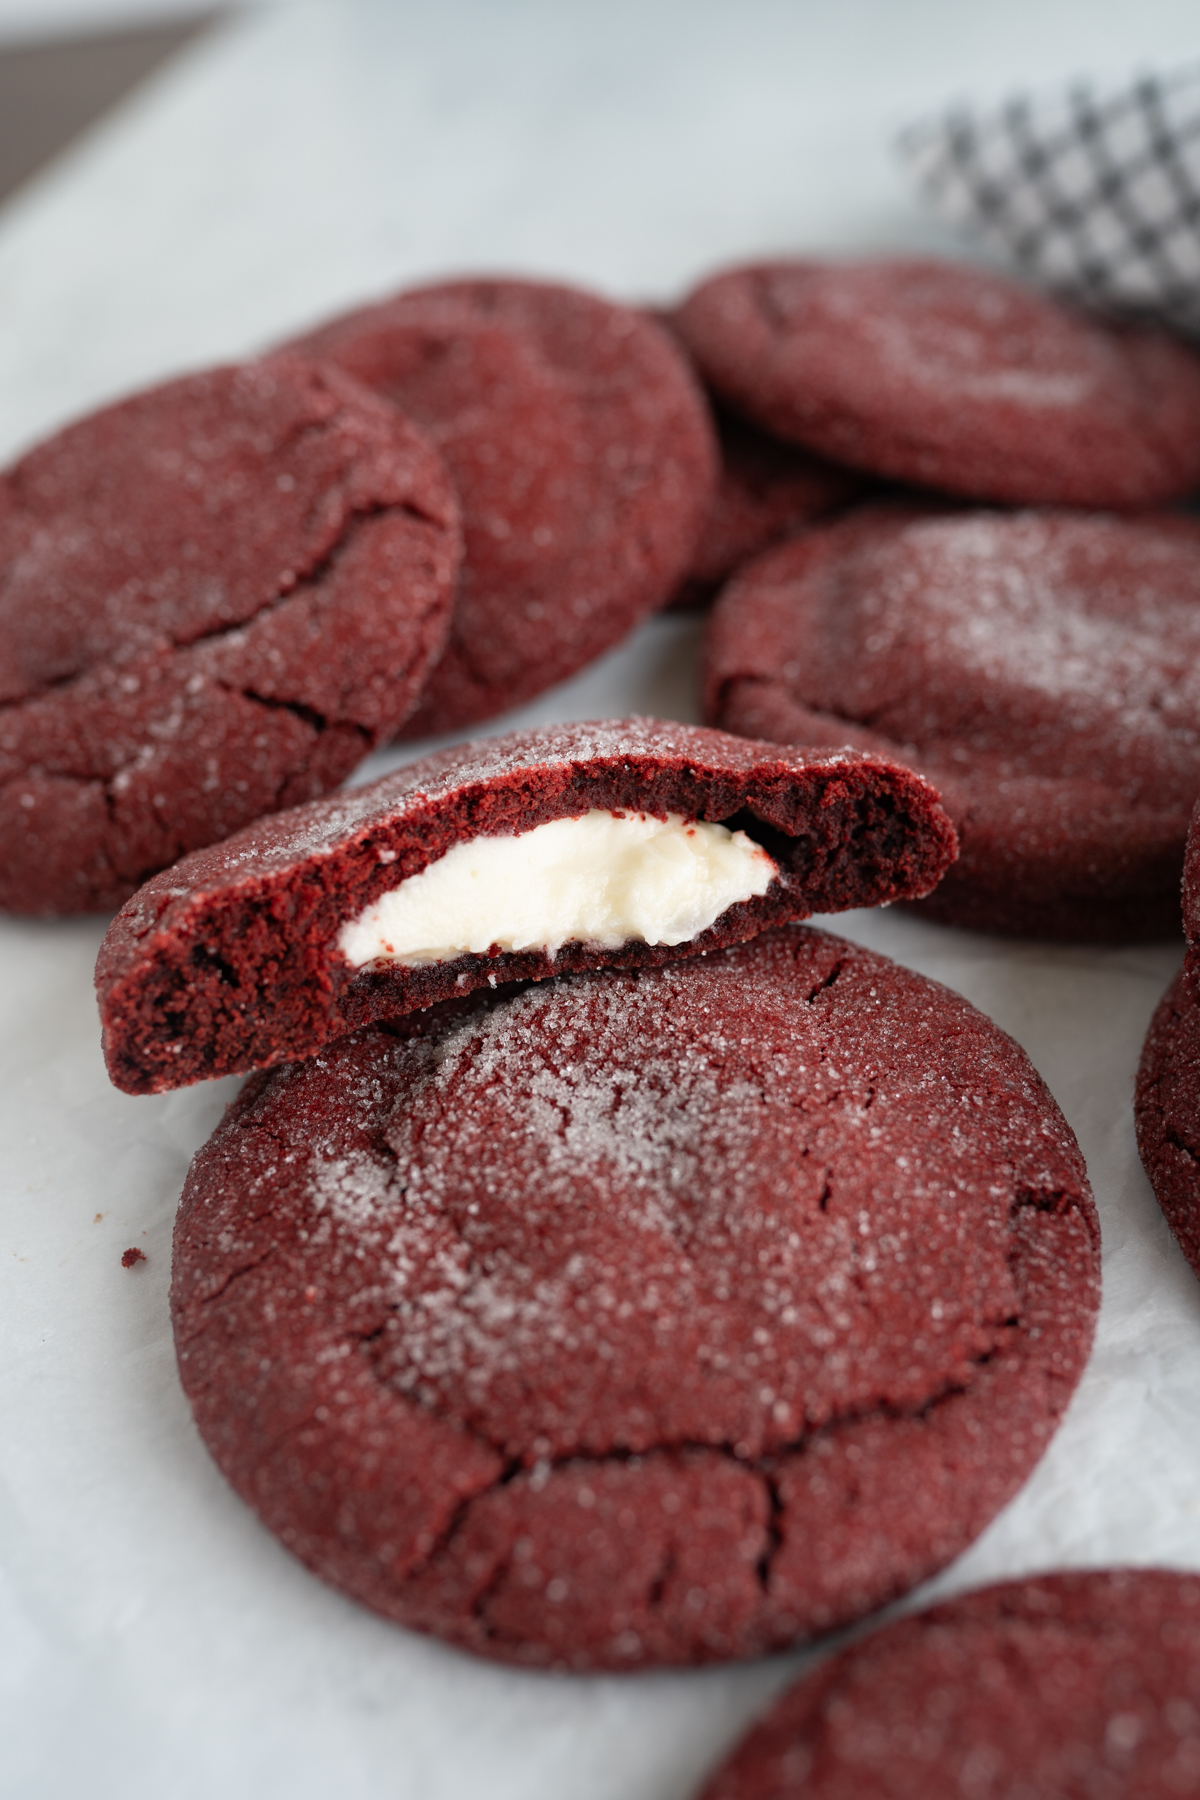
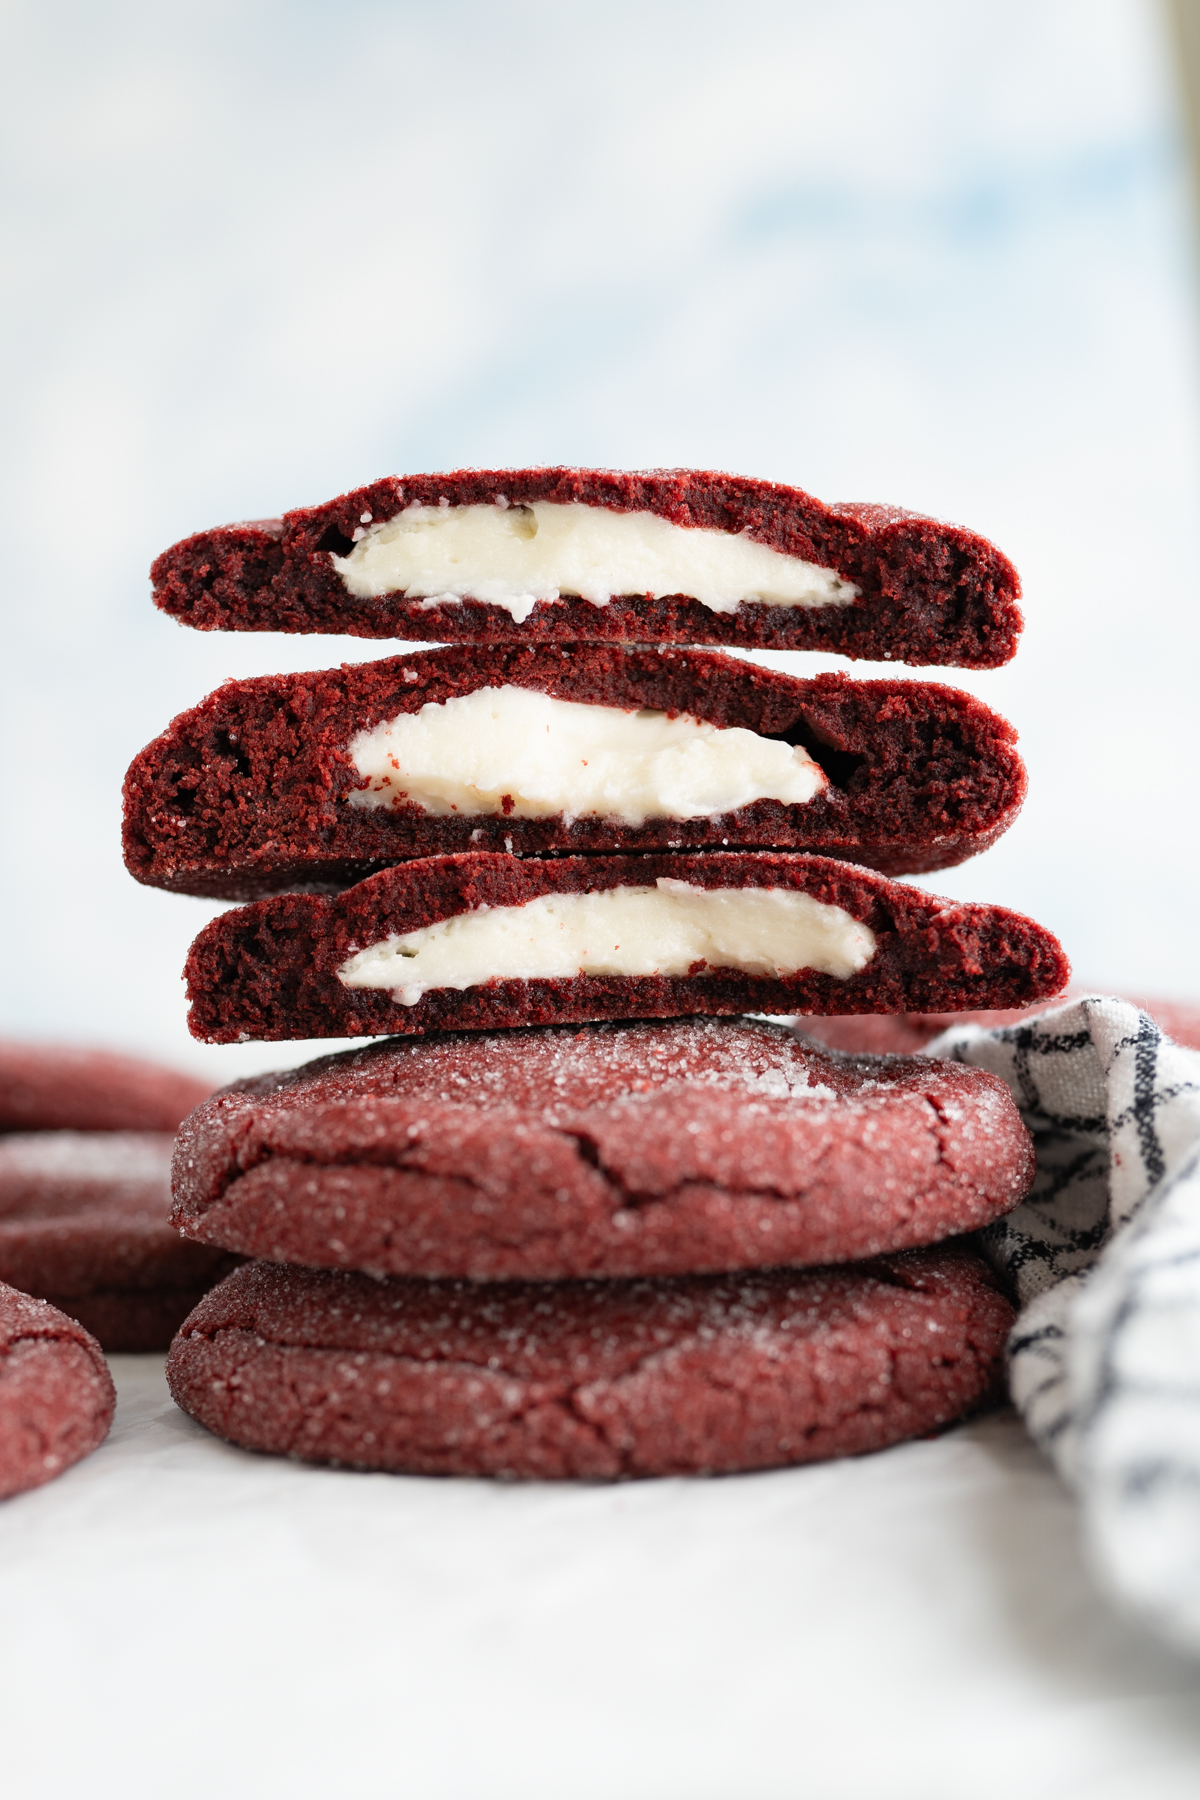
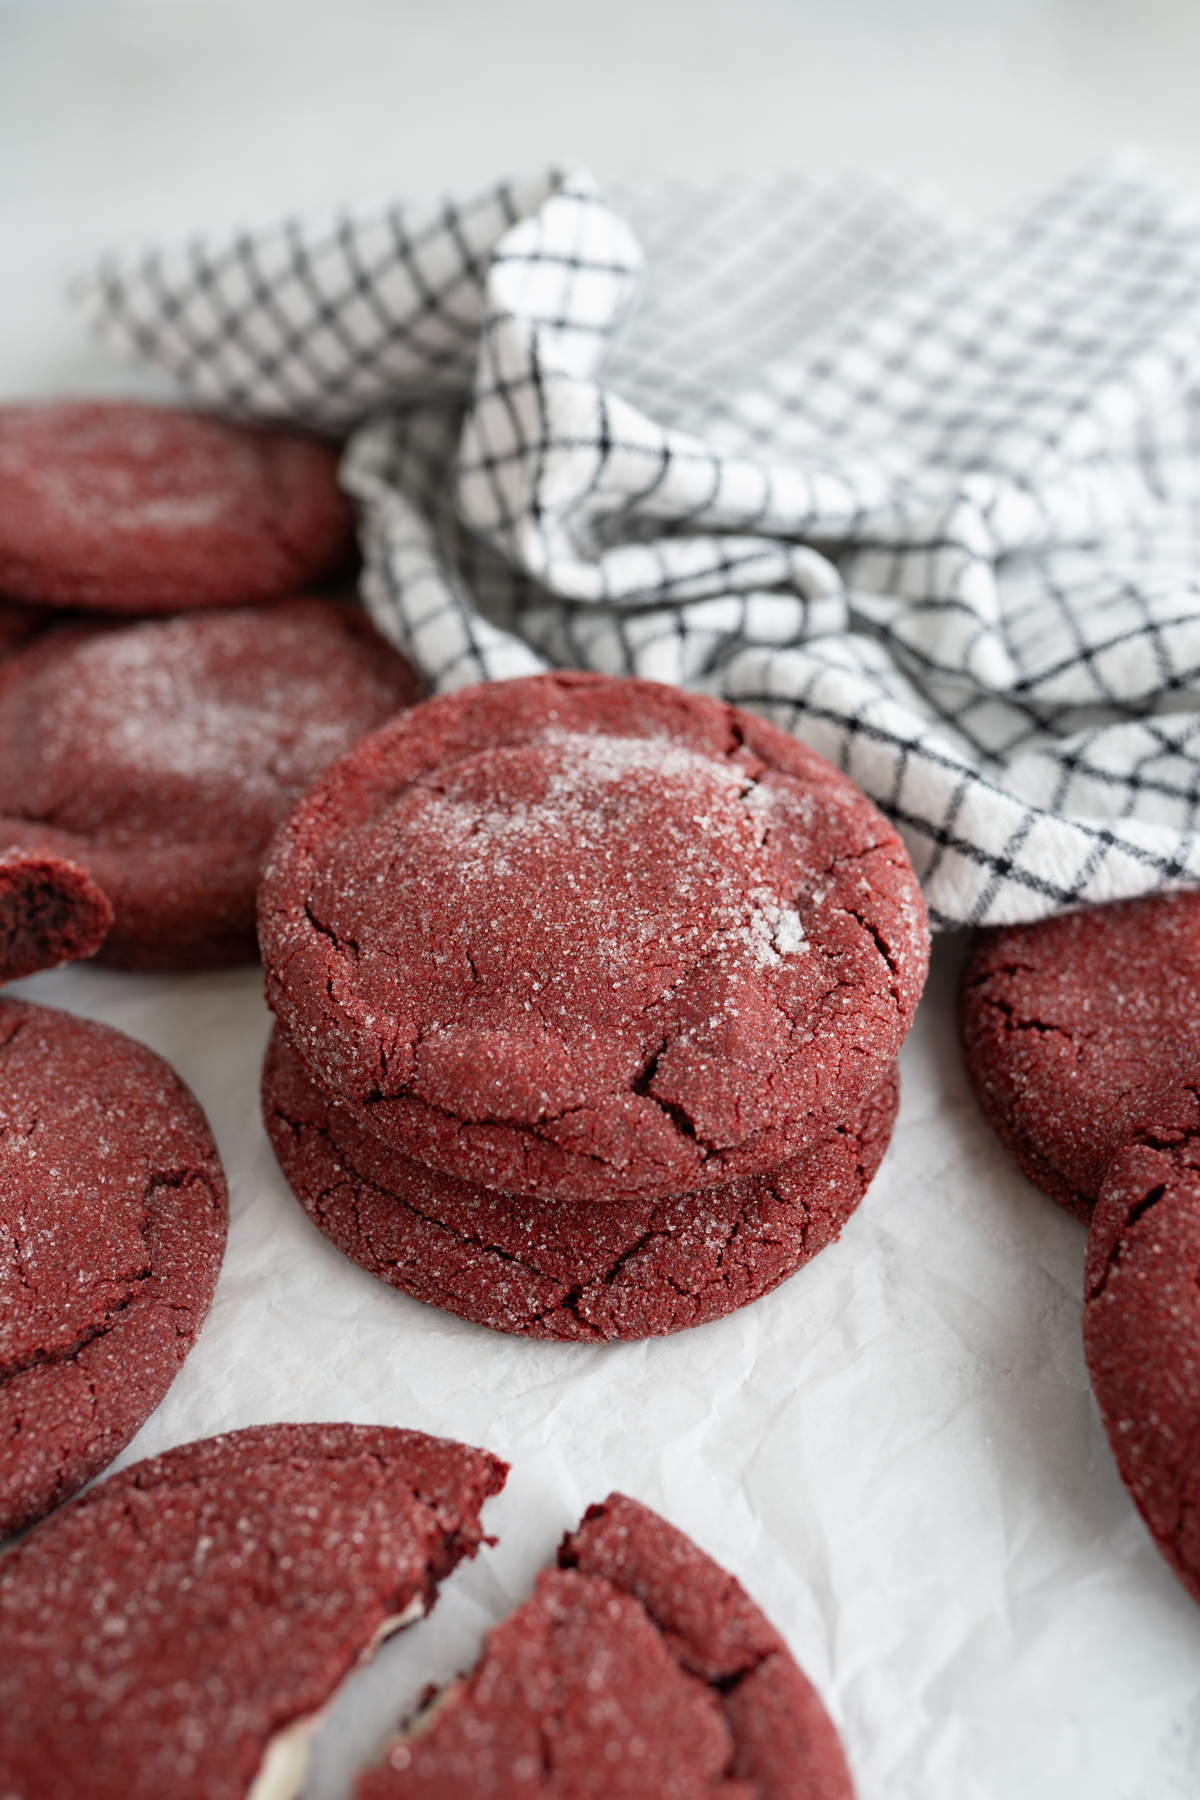
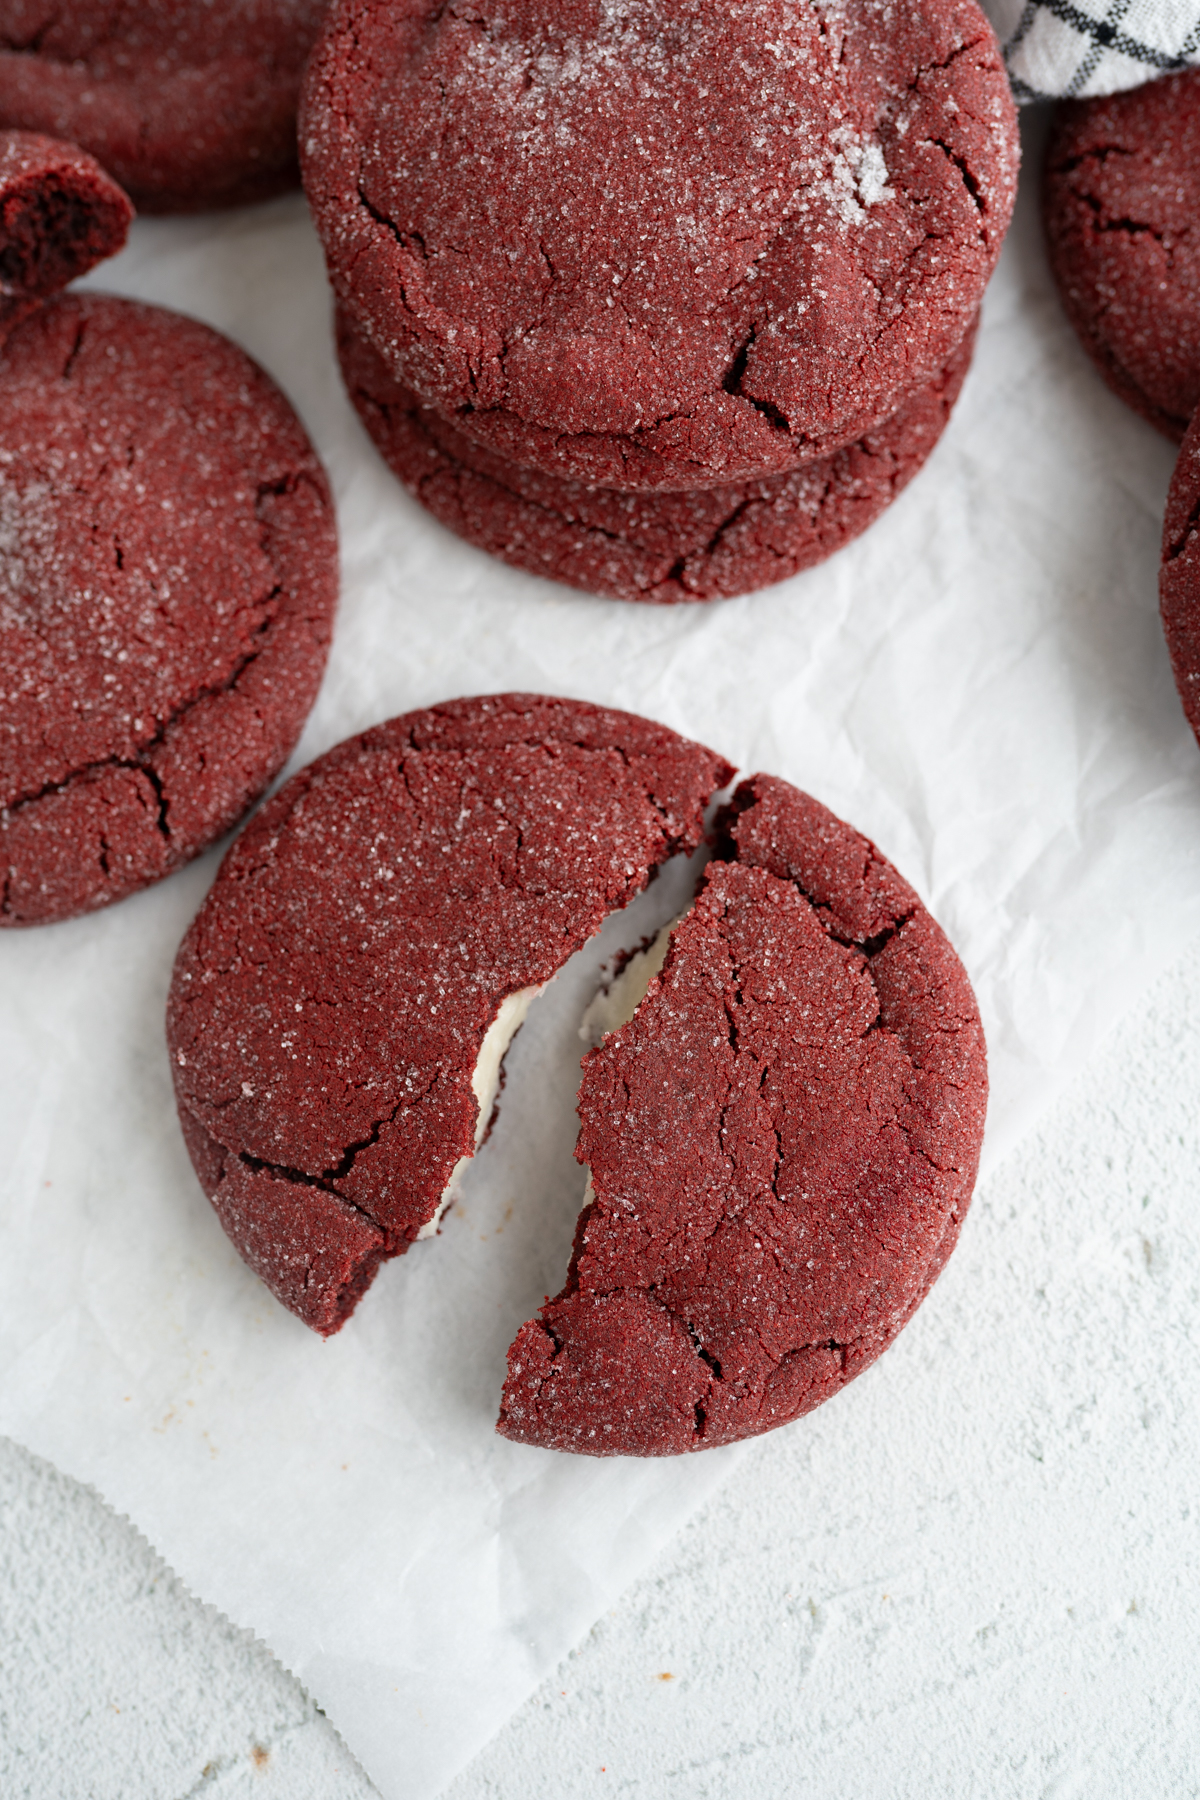
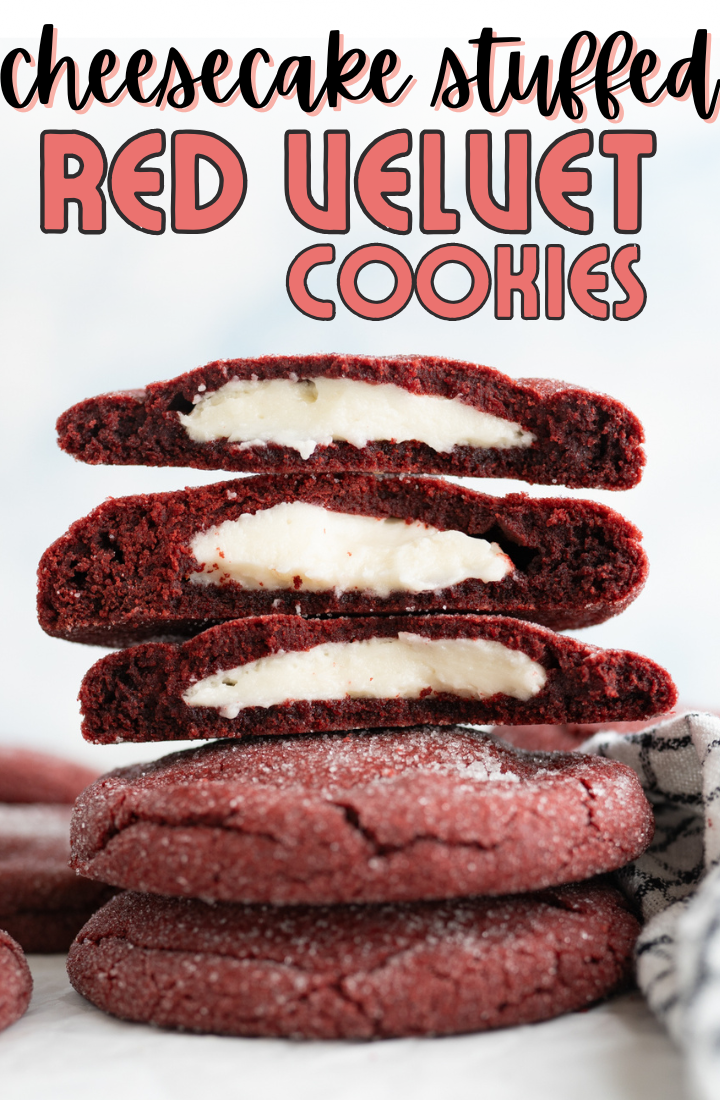
This is my new favorite way to enjoy red velvet! A giant, bakery-style red velvet cookie stuffed with cream cheese frosting and rolled in granulated sugar. They’re decadent and beautiful and oh so yummy!
Stuffed Red Velvet Cookies
This hits all of the red velvet notes, just in a giant, delicious cookie! The cookie has a soft center and a nicely crisp exterior that is coated in granulated sugar. The inside is filled with a luscious and smooth cream cheese frosting, giving it the perfect extra sweetness without making a big ol’ mess. With the gorgeous red color, this shows up for Valentine’s Day, Fourth of July, and Christmas in a big way.
Ingredients
*You can find instructions and exact quantities in the recipe card at the bottom of this post.
Red Velvet Cookie
- Salted butter, softened – I like to use salted butter. You can sub in unsalted butter if that is your preference, you will just want to add an extra pinch of salt to the dough.
- Brown sugar
- Granulated sugar
- Eggs
- Vanilla – This provides the best base flavor for the cookie!
- All-purpose flour
- Dutch processed cocoa powder – You can use unsweetened cocoa powder instead!
- Baking soda
- Salt
- Red food coloring
- Granulated sugar, for rolling
Cream Cheese Buttercream
- Cream cheese, softened – Use the real cream cheese cube, not the spreadable tub that you’d buy for a bagel.
- Salted butter, softened – Again, I used salted butter but unsalted would work too.
- Powdered sugar
- Vanilla extract
How to Make Stuffed Red Velvet Cookies
- Begin making the buttercream frosting. Add the softened cream cheese and butter to the bowl of your stand mixer and mix until smooth and creamy.
- Scrape down the sides and add the powdered sugar and vanilla and mix on low until combined. Increase the mixer speed and continue to mix until fluffy.
- Scoop out buttercream using a #40 scoop (1.5 Tbsp) and place on a lined cookie sheet. Place in the freezer while you make the cookie dough.
- Preheat the oven to 350°F (180°C).
- Using a stand mixer, cream together the butter and sugars until light in color and fluffy in texture. This will take about 2 minutes.
- Scrape the sides of the mixer and add in the eggs and vanilla. Mix until thoroughly combined.
- Next, add the flour, cocoa powder, baking soda and salt. Mix until a soft dough forms.
- Mix in red food coloring until your desired color is reached.
- Scoop the dough using a #12 scoop (about 1/3 cup) and divide each scoop in half. Flatten each half slightly.
- Working in batches of 6, place a frozen dollop of filling on one flattened dough piece, top with the second piece, and seal the edges. Shape into a thick puck, roll in granulated sugar, and place on a parchment- or silicone-lined baking sheet.
- Bake for 14-16 minutes until the cookie spreads, the tops no longer look wet and glossy and the cookie begins to crack.
- Allow the cookies to cool completely on the pan and enjoy!
How should I store these cookies?
Once cooled, store your cookies in an airtight container. They are fine on the counter for a day or so, but I recommend storing in the fridge for up to 5 days.
Can I freeze these cookies?
Yes! You can freeze these cookies for up to 3 months! This post will walk you through my favorite way to freeze cookies.
Karli’s Kitchen Faves
Here are a few of my favorite kitchen tools that I used to make this recipe!
- Kitchenaid Mixer – I really love this thing. It’s not necessary for making good cookies, but I love the size of the bowl and the power. A Hand Mixer is also an excellent option for when you don’t want to mix things by hand.
- Cookie Sheet – These cookie sheets have put in WORK in my kitchen. If you’re looking for a brand that will stand the test of time (and cookies), this is my recommendation.
- Silicone baking mat – I love using this or parchment paper to line my cookie sheets to make it easy-peasy to get cookies off of the pan without sticking.
- Offset spatula – I love using an offset spatula to frost cookies because it’s so much easier to get the perfect swirl on top without getting extra frosting on the side of your hand.
- Cookie scoop set – These are sturdy and won’t break when it, you know, scoops dough. I love these for making pretty + even cookies. I used a #40 for the cream cheese frosting and a #12 for cookie dough.
Red Velvet Faves


Red Velvet Cheesecake Cookies
Ingredients
Red Velvet Cookie
- 1 1/2 cups (333g) salted butter, softened
- 1 1/2 cups (369g) brown sugar
- 1/2 cup (115g) granulated sugar
- 2 eggs
- 2 Tbsp vanilla
- 4 cups (608g) all-purpose flour
- 1/2 cup (60g) dutch processed cocoa powder
- 2 tsp baking soda
- 1 tsp salt
- red food coloring
Cream Cheese Buttercream
- 6 oz cream cheese, softened
- 1/4 cup (56g) salted butter, softened
- 2 1/2 cups (268g) powdered sugar
- 1 tsp vanilla extract
- granulated sugar, for rolling

Instructions
- Begin making the buttercream frosting. Add the softened cream cheese and butter to the bowl of your stand mixer and mix until smooth and creamy.1/4 cup (56g) salted butter, softened, 6 oz cream cheese, softened
- Scrape down the sides and add the powdered sugar and vanilla and mix on low until combined. Increase the mixer speed and continue to mix until fluffy.2 1/2 cups (268g) powdered sugar, 1 tsp vanilla extract
- Scoop out buttercream using a #40 scoop (1.5 Tbsp) and place on a lined cookie sheet. Place in the freezer while you make the cookie dough.
- Preheat the oven to 350°F (180°C).
- Using a stand mixer, cream together the butter and sugars until light in color and fluffy in texture. This will take about 2 minutes.1 1/2 cups (333g) salted butter, softened, 1 1/2 cups (369g) brown sugar, 1/2 cup (115g) granulated sugar
- Scrape the sides of the mixer and add in the eggs and vanilla. Mix until thoroughly combined.2 eggs, 2 Tbsp vanilla
- Next, add the flour, cocoa powder, baking soda and salt. Mix until a soft dough forms.4 cups (608g) all-purpose flour, 1/2 cup (60g) dutch processed cocoa powder, 2 tsp baking soda, 1 tsp salt
- Mix in red food coloring until your desired color is reached.red food coloring
- Scoop the dough using a #12 scoop (about 1/3 cup) and divide each scoop in half. Flatten each half slightly.
- Working in batches of 6, place a frozen dollop of filling on one flattened dough piece, top with the second piece, and seal the edges. Shape into a thick puck, roll in granulated sugar, and place on a parchment- or silicone-lined baking sheet.granulated sugar, for rolling
- Bake for 14-16 minutes until the cookie spreads, the tops no longer look wet and glossy and the cookie begins to crack.
- Allow the cookies to cool completely on the pan and enjoy!