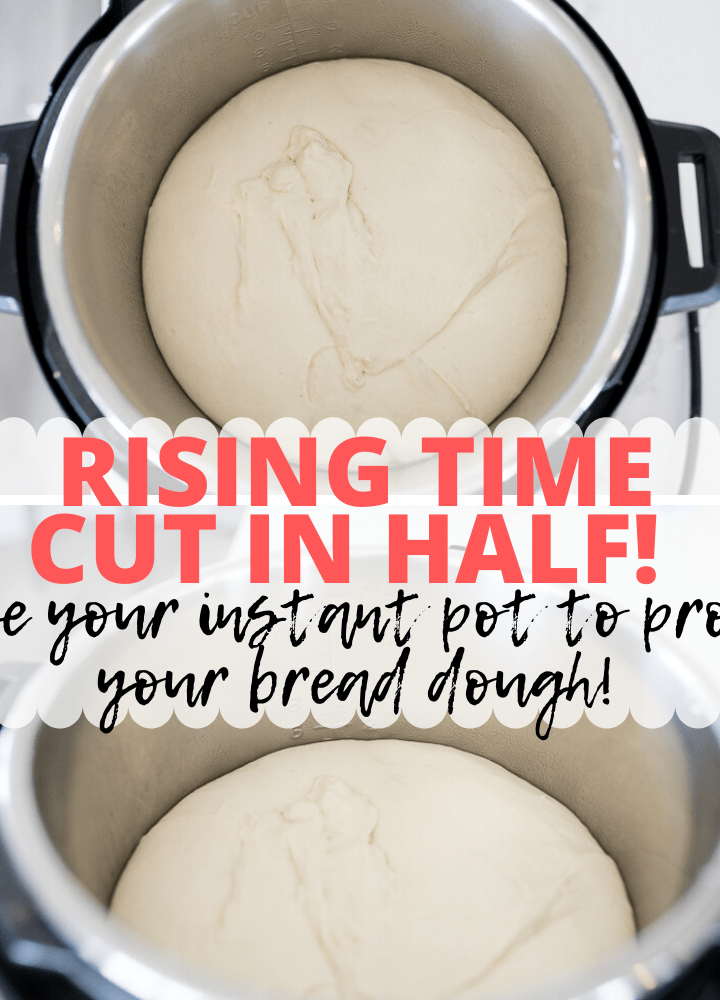
Proofing Bread Dough in your Instant Pot can cut your rising time in HALF! You’ll learn how it works and how you can shorten your homemade bread rising time, too.
Everyone loves freshly baked bread, right? Unfortunately, most bread recipes require you having to wait forever for the dough to proof before baking and eating. Thankfully with the Instant Pot method, you can have proofed bread dough in minutes instead of hours.
Proofing bread dough in the Instant Pot
How it works
The yogurt button on your Instant Pot is the perfect environment to cultivate rapid yeast growth! Yeast, used in baking most breads, needs a warm moist place for it to thrive and grow, aka make your bread dough rise.
The yogurt button creates a temperature controlled space that is both warm and moist.
How to rise your bread dough with your Instant Pot
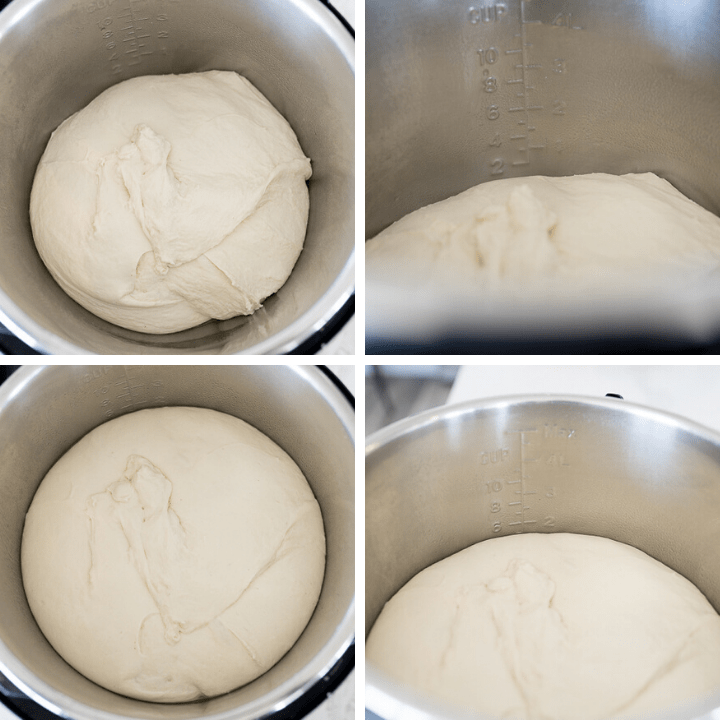
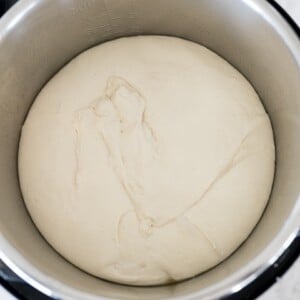
All you’ll need to do is place your dough into a greased Instant Pot with a fitted lid (or plate) on top. It doesn’t need to be a fancy Instant Pot glass lid, using a lid from a pots and pan set in your kitchen works great.
Press the yogurt setting (and make sure it is on Normal) on the Instant Pot to poof the dough quickly. Now all you need to do is wait!
When your dough is finished proofing (usually double in size, you’ll want to follow your recipe for exact directions), simply use it as directed by your recipe and you’re good to go!
Things to remember about using the Instant Pot for bread proofing
Firstly, you need to have an Instant Pot yogurt setting to do this. If your pressure cooker doesn’t have a yogurt setting, unfortunately you’re out of luck. So keep an eye on Amazon and sales and try to get one cheap because it’s probably the most used feature on my own Instant Pot.
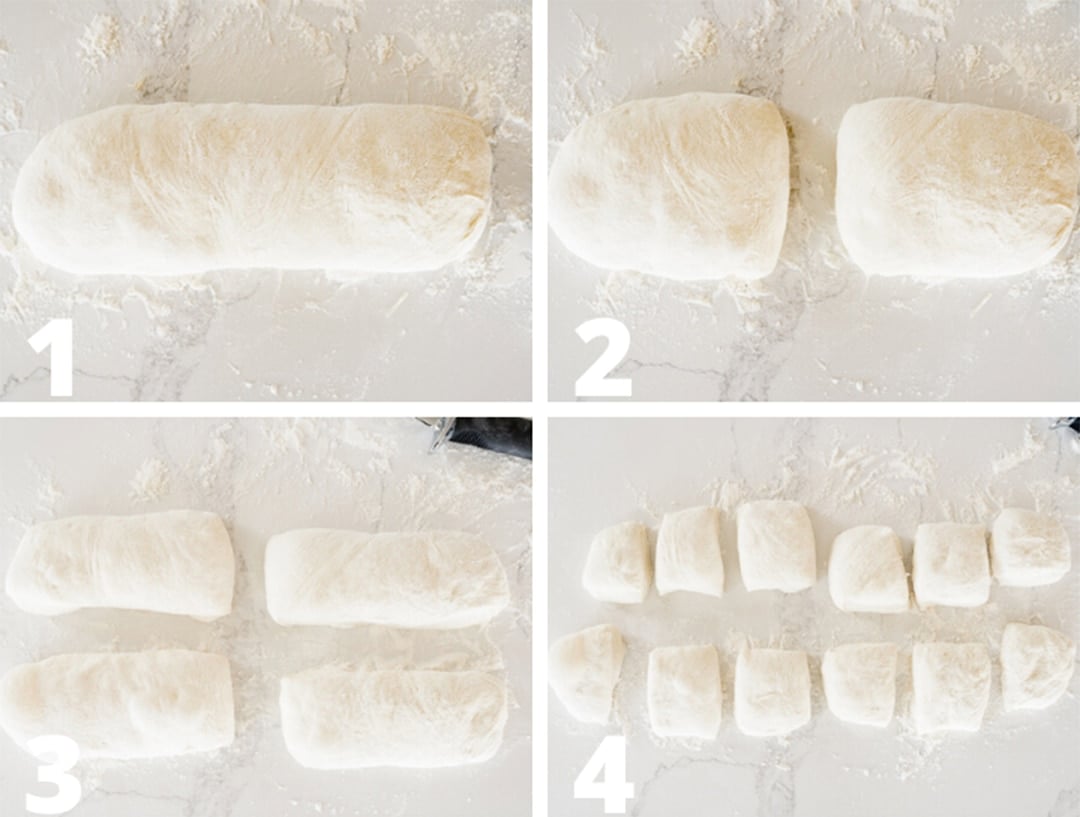
Also, not every bread recipe wants you to proof the exact same way. For example I have several bread recipes on my website and some ask for a single proofing where others ask for several. So keep that in mind and make sure that you take a good look at the bread recipes you’ll be following to make sure that you have a good understanding of what’s being asked and how you can manage this method with that recipe.
Instant Pot Bread Recipes
- French Bread
- Cinnamon Rolls
- Dinner Rolls
- Bagels
- Soft Pretzels
- Ciabatta Rolls
- Bread Bowls
- Crazy Bread
Proofing Bread Dough in Instant Pot
Ingredients
- Prepared Bread Dough
Instructions
- When you have your prepared bread dough and you are ready for it to rest and rise, plug your Instant pot in.
- Grease the liner with either olive oil or spray with cooking spray.
- Place your dough inside the liner. Cover with a lid. (if using the Instant Pot lid, set to venting.)
- Press the yogurt button and adjust until it shows 'normal' and 8:00 is on the display. The Instant Pot will beep and then begin counting up.
- Now, allow the dough to rise according to your recipe, usually either double or triple. Use the measurement marks on the side of the liner to help you measure once your dough has doubled.
- If you would like some specific bread recipes with exact proofing times, check the notes below.
ROBERTA says
I have the “crock pot” glass lid that I purchased for the Instant Pot. It does have a small hole for venting so I’m wondering if this won’t be ideal because it would allow steam to escape? Your help is appreciated as I can’t seem to proof properly in my Florida a/c kitchen!
Keith D.. Ried says
Tried this and it started baking my bread on the bottom. Using an Emeril Legassi all in one instant pot pressure air fryer on the yogurt setting
Karli Bitner says
Hi Keith- it sounds like that setting might be a little too hot on your particular Instant Pot for proofing your bread dough. Do you have a lower setting on Yogurt you could try?
Karli Bitner says
Mine has a little vent hole, too and I use it all the time! You are good to use it!
Laura Anguelo says
My question is I know we are putting a top on the inner pot but are we also putting the instant pot lid on and closing? Probably a dumb question
Karli Bitner says
Not a dumb question! All you’ll need is a lid of some sort- you don’t need to put the Instant Pot lid on and close the vent. 🙂
Sheila says
The IP lid is not a good idea for bread. If the dough should rise and plug the release button you will locked out of your instant pot forever. There will be no way for you to unlock the lid.
Karli Bitner says
If using the Instant Pot lid, just make sure to keep the vent open to avoid this from happening.
Ella says
The answer to this is simple – don’t put the sealing lid on. Just use another lid that does not seal. Most IP’s come with (or you can get) a glass lid that simply sits on top. Or you can use any lid in your kitchen that fits over the top of the IP. Easy peasy.
Diann Van Der Put says
That happened to me too. I think I left the vent closed the first time. I’m trying it again now I hope it doesn’t bake the bread this time.
Marsha says
If my instant pot doesn’t have a yogurt setting, can I still make this recipe? 🤞🏼
Karli Bitner says
Hi Marsha- there isn’t another setting on the Instant Pot that works for proofing bread dough quickly. All of the other settings are too hot and will end up baking your dough instead of just helping it rise.
Chris Lewis says
This is a brilliant idea. I tried it today for a 900g loaf and the suggested 60-90 minute first prove was complete in around half an hour. I also had the issue of the bottom of the dough being cooked – in fact, the bottom was cooked and the top was cold. (Which makes sense; the heating element is at the base of the Instant Pot.) I don’t think there was a problem with the final product, but next time I’ll either try using a second bowl inside the Instant Pot or just (delicately) turning the dough over halfway through.
Catherine Johnson says
tHi Kari, I made my french bread today using your method in the instant pot. Not only is it ingenious but a time saver. My bread doubled in 40 minutes and within 1 1/2 hours we were eating warm french bread. I will never proof my bread any other way again. I used the instant pot glass lid and blocked the hole. I need to know though, if I can proof my sourdough bread from starter this way? Thank you Thank you Thank you
Karli Bitner says
I haven’t tried proofing a sourdough starter this way yet- if you give it a whirl, let me know how it goes!!
CaliforniaBurrito says
I don’t have a proof option on my oven anymore and I didn’t know what to do. I ran across this awesome idea and tried it! I used a glass serving plate to put on top of the instapot and used the low setting for yogurt, it took about 20 minutes to do the 1st proofing which cut down AT THE LEAST AN HOUR!!! I am making rolls so I had to do a 2nd proof in the oven, that I had to turn the oven on to 200 then turn it off and let it sit for 40 min to do the 2nd proof, but to make honey dinner rolls in 120min from start to finish instead of 3 hours was AMAZING!!! I WILL BE USING THIS FOR ALL of my first proofing from now on!!!
Nancy McCann says
I have the IP DUO and I can’t achieve a “normal” with my yogurt setting. So I’m.proofing my dough on low.
Please let me know if I missed a step. Exciting to know I can use my IP proofing my dough.
Thanks for the help.
Colleen says
If your instant pot doesn’t have a yogurt setting, it may have the souse vide setting!! You can also use this setting at 80°. PERFECT!!
Tara says
I started experimenting with this idea before finding this article. I e was using the keep warm setting. I put it in a separate bowl on the trivet so it wasn’t getting so much direct heat from the bottom. I also checked it to see how hot it was getting and turned it off letting it use residual heat after awhile