This post may contain affiliate links. Please read our disclosure policy.
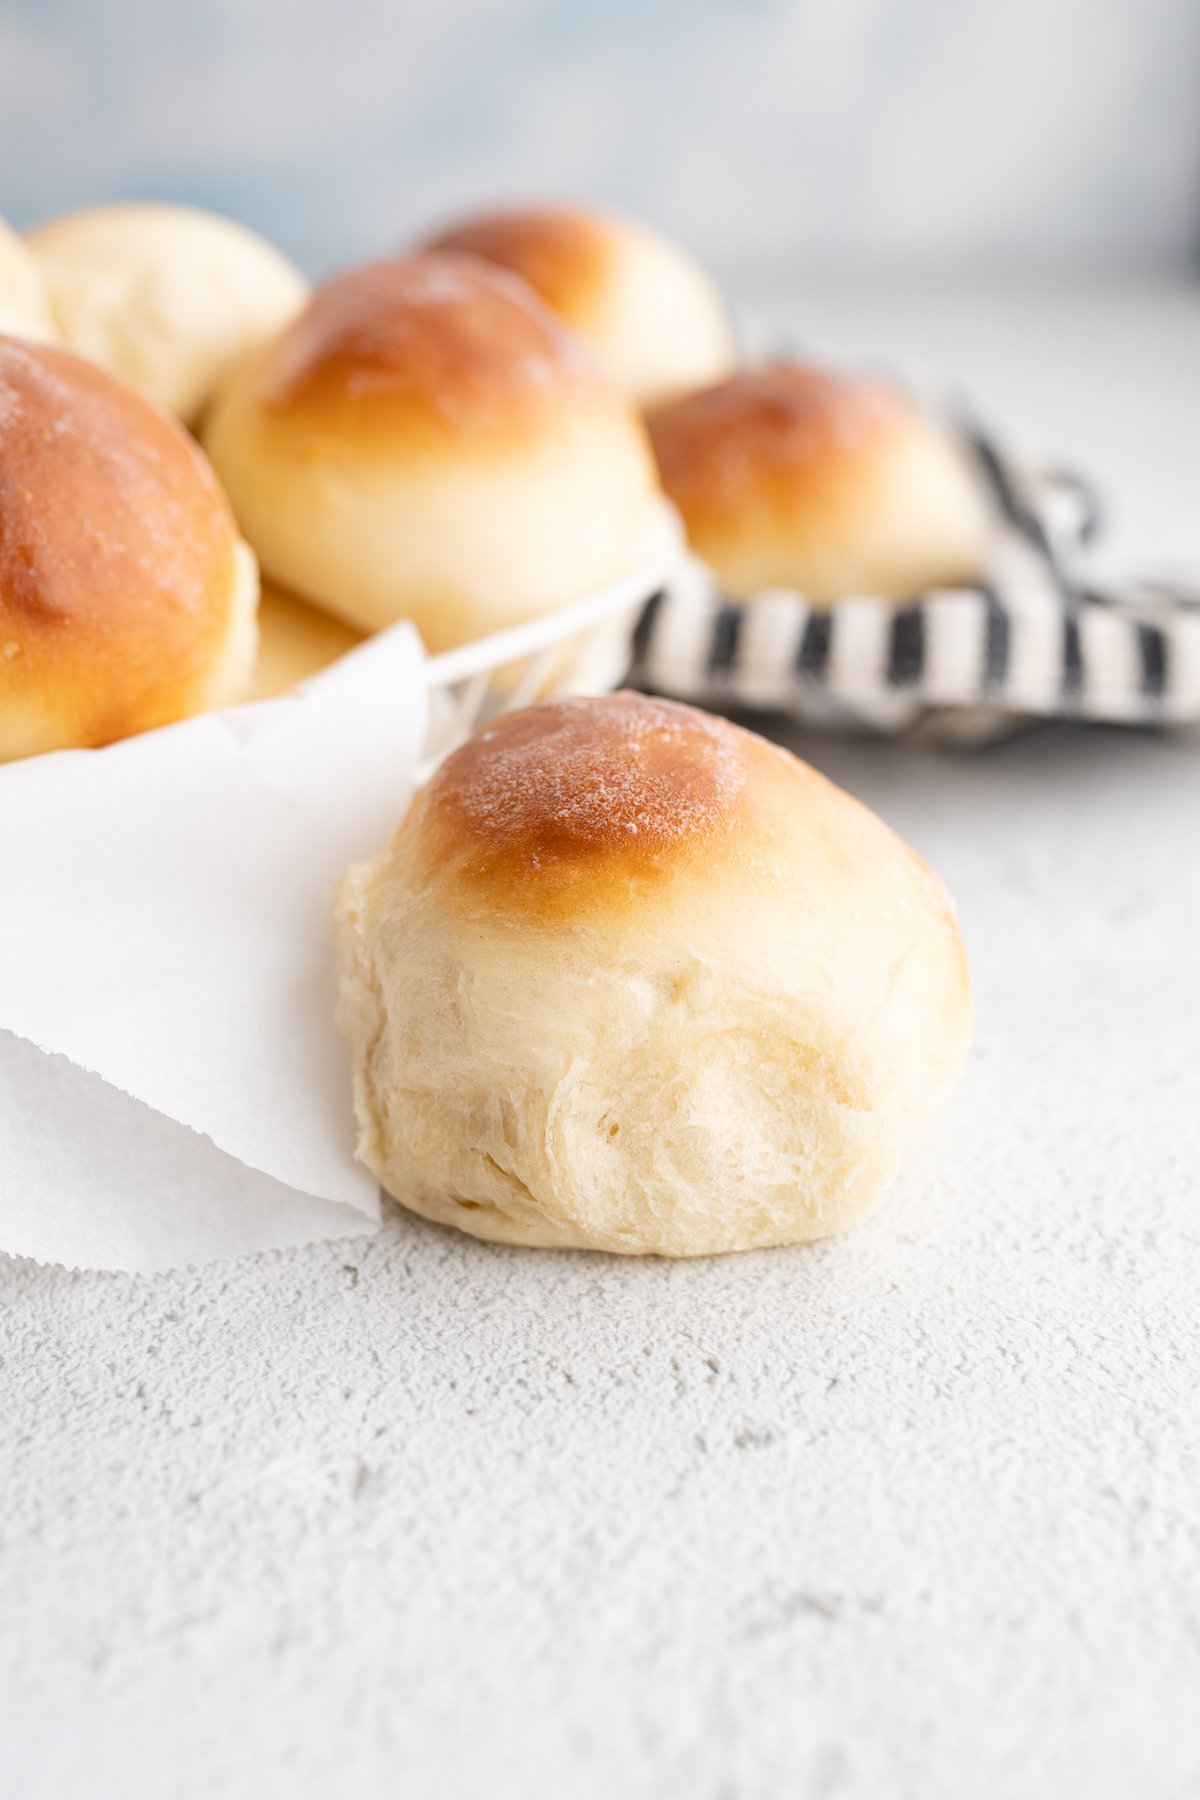
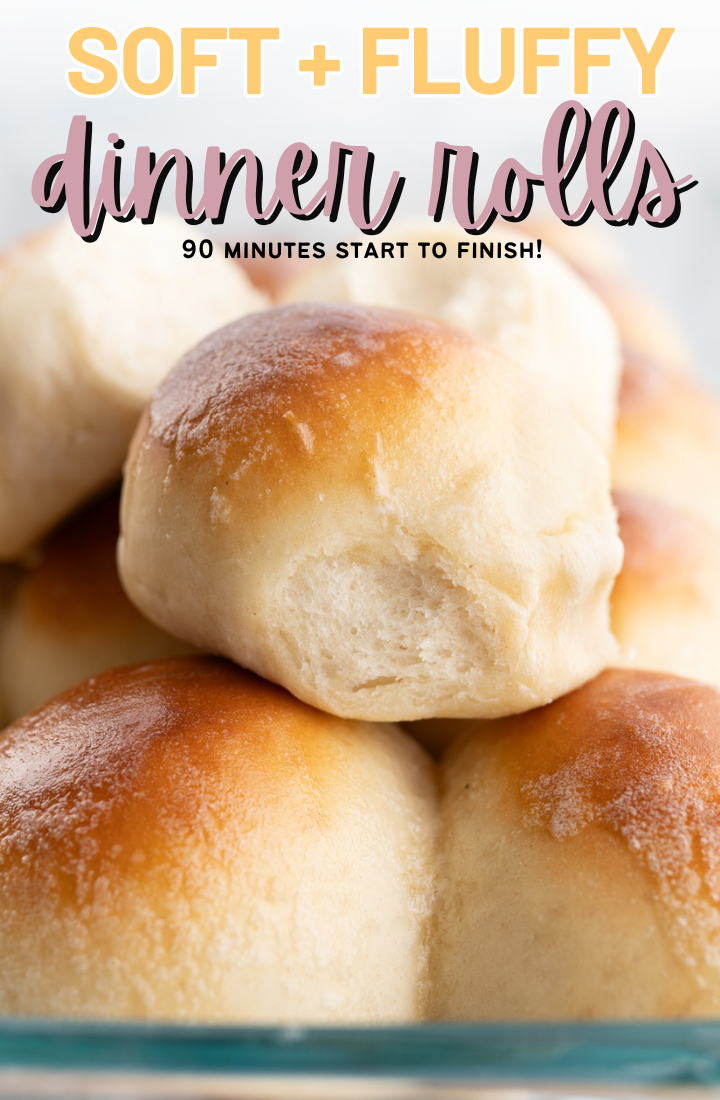
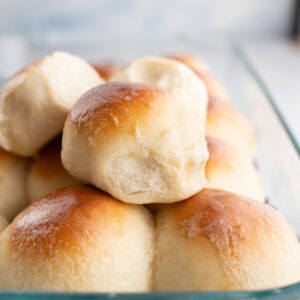
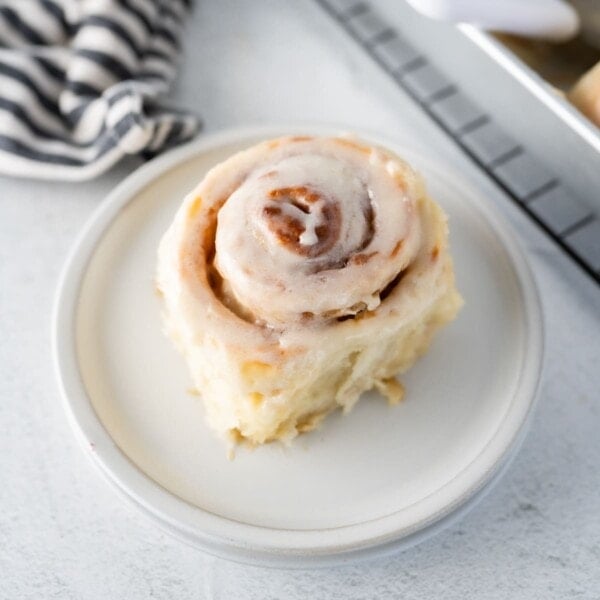
Light, fluffy and hearty enough to satisfy, these dinner rolls are the epitome of comfort food. And bonus – they’re quick and easy to make!
This is the Best Dinner Rolls Recipe
If you’re looking for the best dinner roll recipe you’ve ever had in your life, you’ve found it! Adapted from my mother’s famous roll recipe, these rolls are quick, easy to make, and SO tender (but won’t fall apart if you dip it into gravy). My mom made these practically every Sunday while I was growing up and you better believe she taught me all of her tricks for making the perfect roll every single time. And of course I’m going to share them all with you!
Why you’ll love these Homemade Dinner Rolls
Homemade rolls sometimes get a bad rap as being “too difficult to make” or “way too time consuming.” That is NOT the case with this roll recipe. Including rise time, you can have these bad boys on your table in an hour and half! While you can hand-knead these, I typically let the mixer do the work – which may be bad for my muscles, but dang does it make getting dinner on the table easier.
When making these, expect the dough to be very sticky! To make sure you get the perfect texture, you should be able to touch the dough quickly without it sticking to your finger but if you were to set your finger on the dough for a second it would stick. If you need to, you can add up to an additional ½ cup of flour until you get the right consistency.
Homemade Dinner Roll Ingredients
- Milk
- Salted butter, cold – You’ll want a little extra butter to brush on the tops of the baked rolls.
- Dry active yeast – I just use 1 packet and it works great!
- Warm water – Make sure your water isn’t too hot or cold. This will help feed your yeast so it grows and becomes nice and bubbly/foamy.
- Sugar
- All-purpose flour – Yep! Just regular all-purpose flour here.
- Salt
- Egg

How to make Fresh Dinner Rolls
- Measure the milk into a microwave safe bowl. Heat until boiling.
- Place the cold stick of butter into the hot milk. Let the butter melt and then stir. Cool until almost room temperature.
- Mix the warm water, yeast and 1/2 tsp of sugar together. Let the yeast activate while the milk is cooling. The yeast will get very bubbly, this means the yeast is alive.
- Pour the room temperature milk and the yeast mixture into the bowl of a stand mixer.
- Add in the flour, the remaining sugar, salt and egg, mixing together until thoroughly combined. This dough will be very sticky, if needed, add up to an additional 1/2 cup of flour. You should be able to touch the dough quickly without the dough sticking to your finger but if you were to set your finger on the dough for a second it would stick.
- Cover with plastic wrap and set in a warm place for 30 minutes. The dough should rise to nearly double the size.
- Punch down the dough and pour out onto a floured surface. Flip the dough so both sides are floured.
- Portion the dough out into 15 equal sized pieces, you can just eyeball this. I use a bench scraper to help cut the dough.
- Roll each portion into a ball and then place in a greased 9×13 pan.
- Cover and let the rolls rise while the oven is preheating.
- Move the rack to lower in the oven and then preheat oven to 400° F.
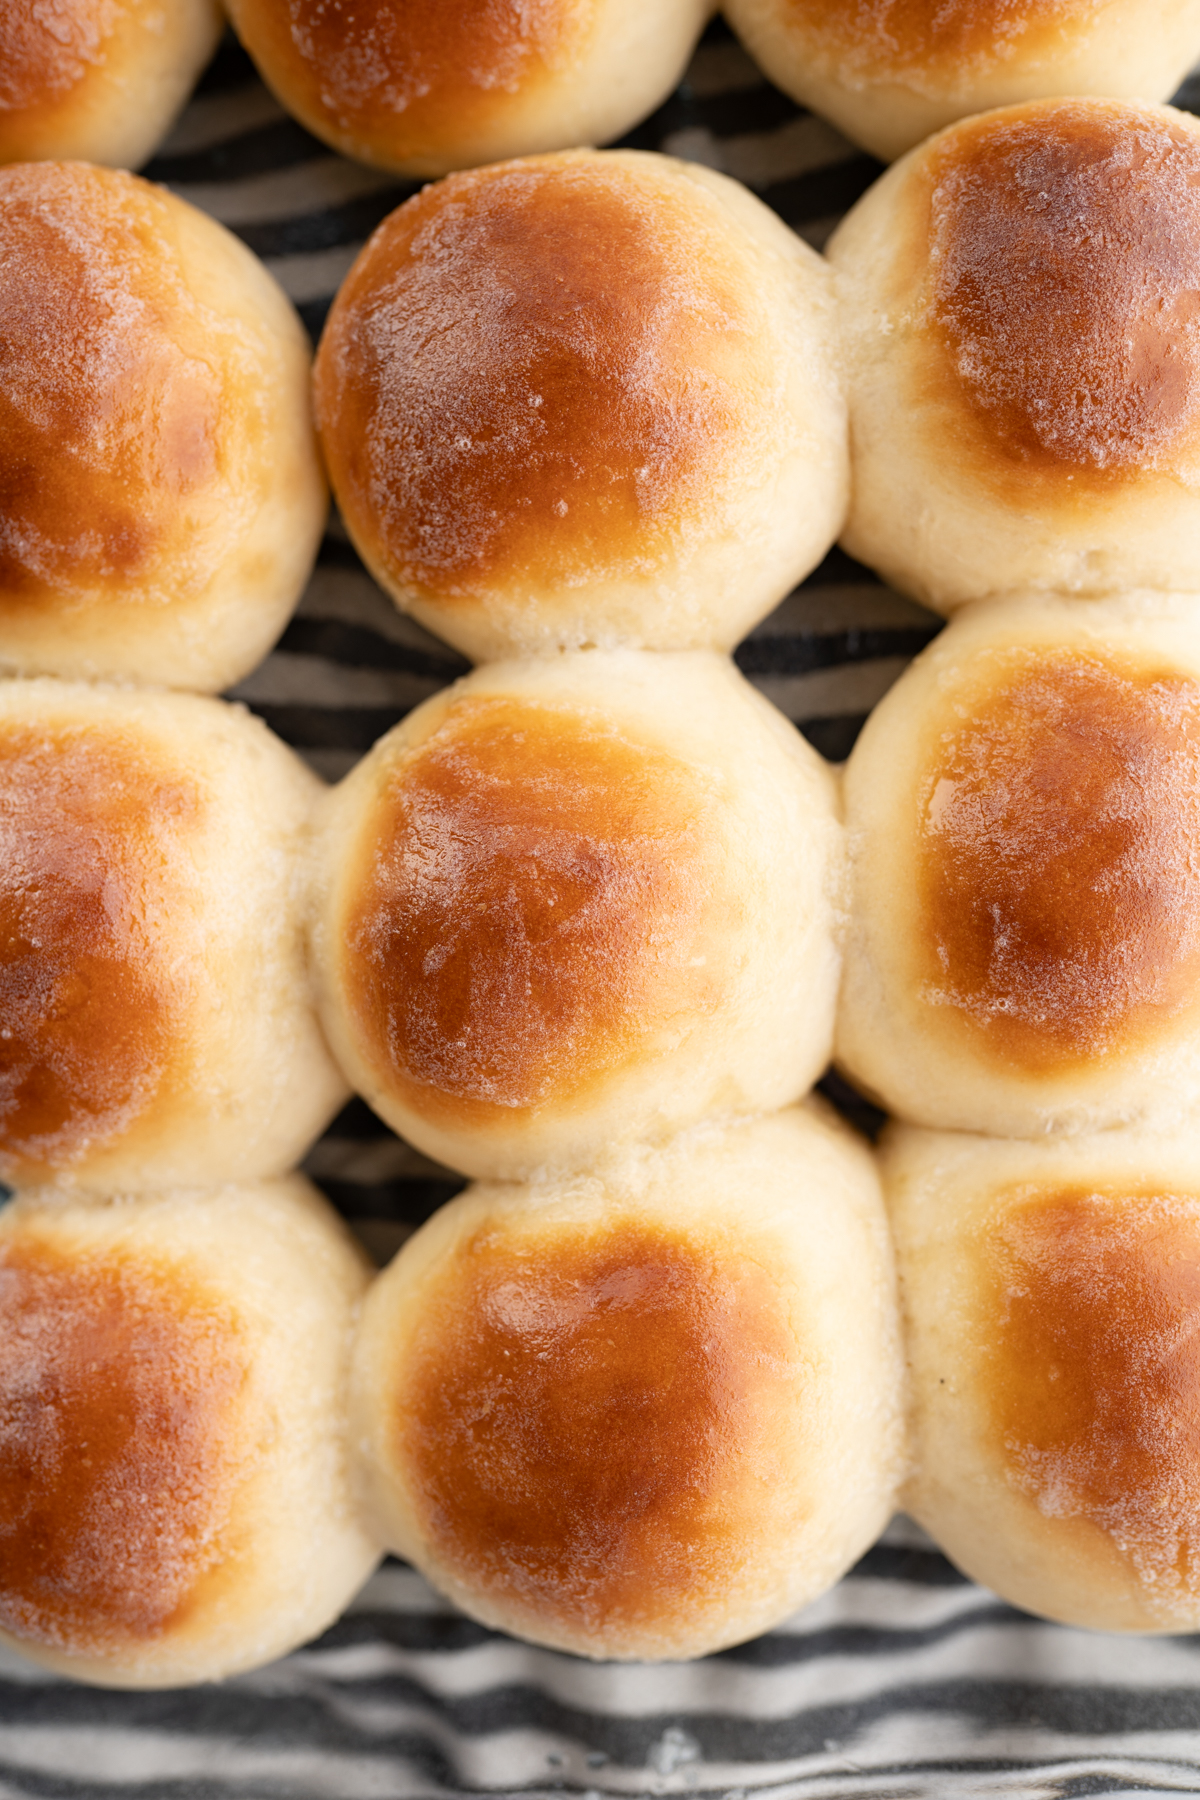
- Once the oven has heated, bake the rolls for 15-17 minutes or until golden brown.
- Brush cooked rolls with melted butter, if desired.
- Best eaten within the first 24 hours. Enjoy!
Dinner Roll Recipe variations
If you’d like, this recipe also works incredibly well in a crescent shape. Instead of portioning the dough into 15 balls, you will roll it out and cut it into triangles. Then, roll the triangles into a crescent shape, let it rise briefly and bake!
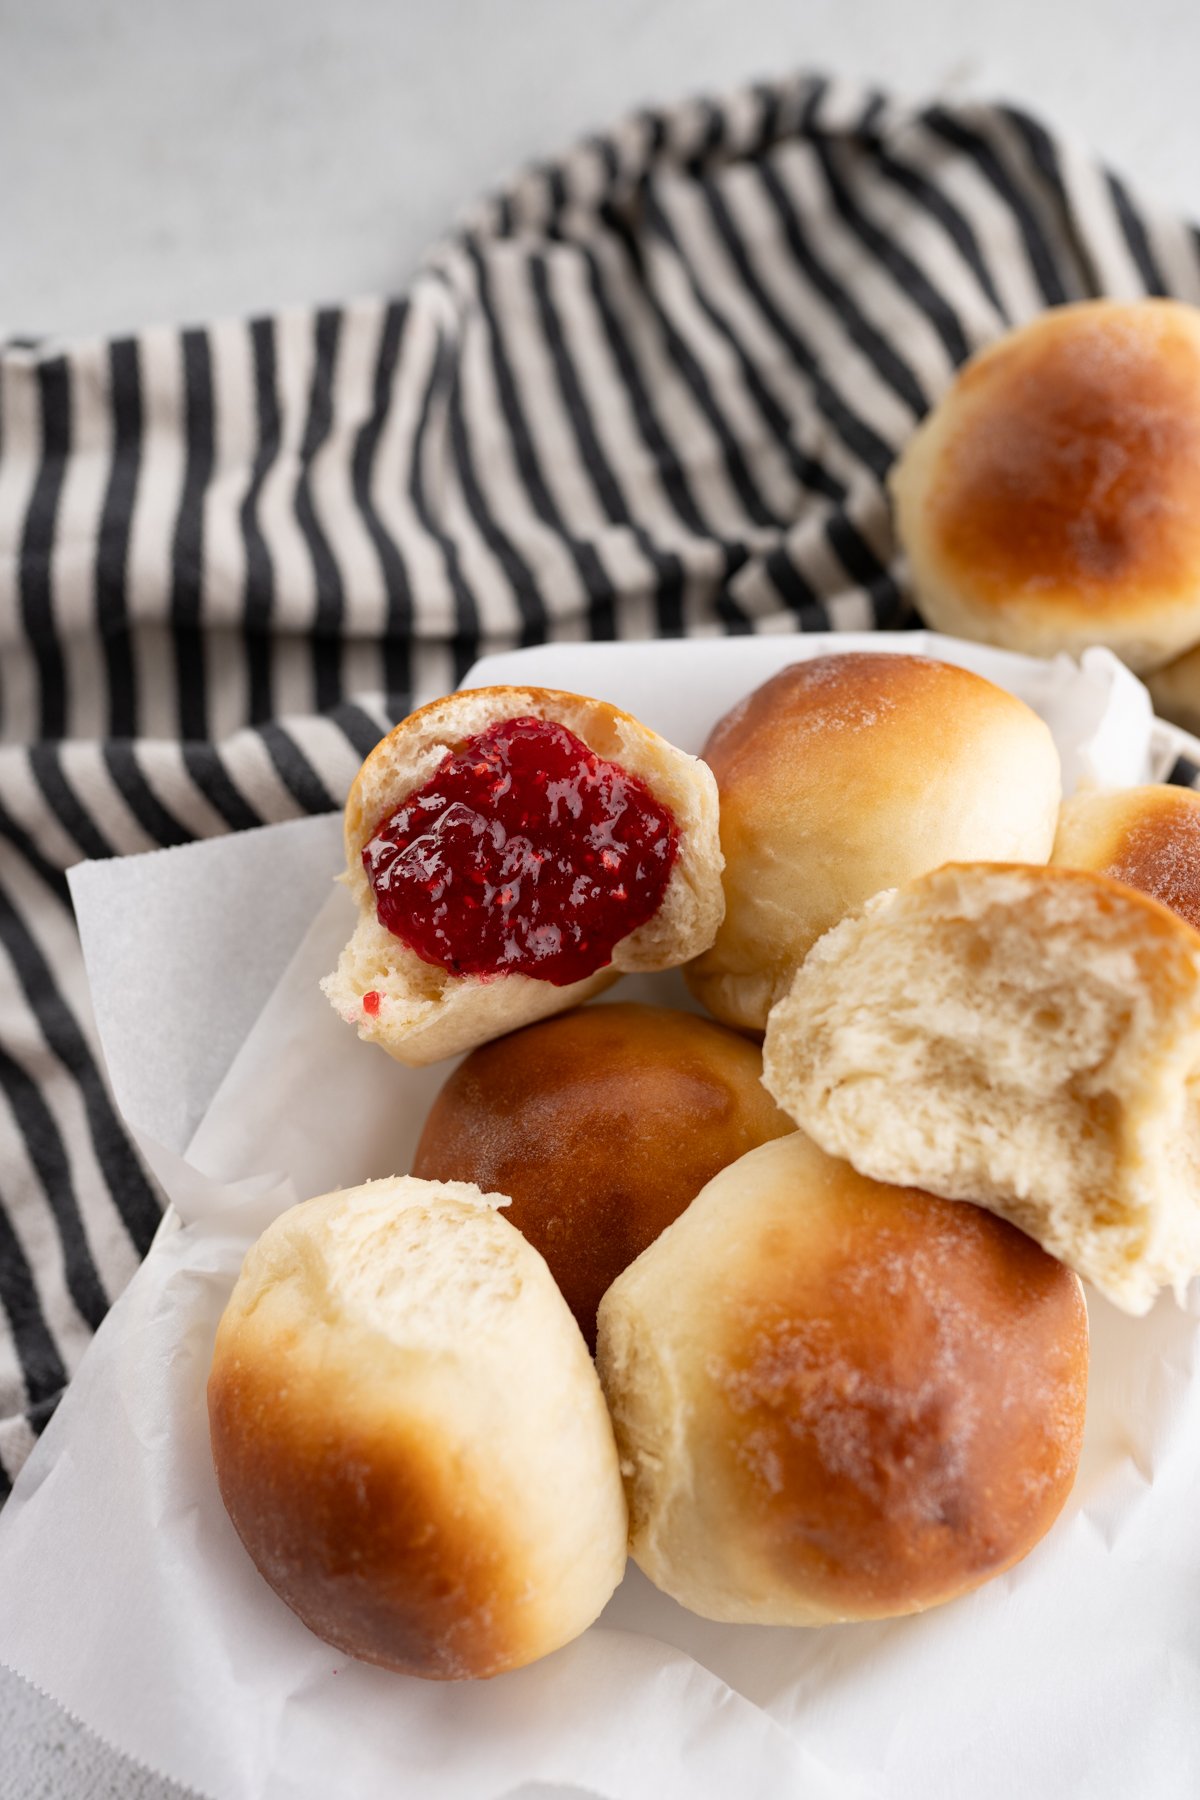
How to serve Homemade Dinner Rolls
These rolls go so well with practically everything! I especially love it with a hearty dinner like my homemade chicken noodle soup or my salisbury steaks. They also make excellent mini sandwiches the next day!
Homemade Dinner Roll storage
These rolls are best eaten within 24 hours of making them! I typically let them cool and then store in a ziplock bag.
How to freeze Fresh Dinner Rolls
Once your rolls have cooled, place them in a freezer ziplock bag. Label the bag and freeze for up to 2 months! When you’re ready to eat, simply thaw on the counter or reheat in the oven.
Homemade Dinner Rolls Recipe FAQs
If your rolls are not light and fluffy like you’d like, you may need to mix for a little bit longer or allow a longer proof. When letting it rise, your dough should double in size. If it hasn’t, it likely needs a little bit longer.
Make sure to store your rolls in an airtight container at room temperature – do not store in the fridge!
Yes! Place your dough in a pan and cover it tightly with plastic wrap and pop it in the fridge for up to 24 hours. When you’re ready, pull the dough out of the fridge and let it come to room temperature for 1 hour before baking.
Some of my other favorite sides!

Homemade Dinner Roll
Ingredients
- 1 cup milk
- 1/4 cup butter, cold
- 1 tbsp dry active yeast
- 1/4 cup warm water
- 2 tbsp + 1/2 tsp sugar
- 3 cups all-purpose flour
- 2 tsp salt
- 1 egg

Instructions
- Measure the milk into a microwave safe bowl. Heat until boiling.
- Place the cold stick of butter into the hot milk. Let the butter melt and then stir. Cool until almost room temperature.
- Mix the warm water, yeast and 1/2 tsp of sugar together. Let the yeast activate while the milk is cooling. The yeast will get very bubbly, this means the yeast is alive.
- Pour the room temperature milk and the yeast mixture into the bowl of a stand mixer.
- Add in the flour, the remaining sugar, salt and egg, mixing together until thoroughly combined. This dough will be very sticky, if needed, add up to an additional 1/2 cup of flour. You should be able to touch the dough quickly without the dough sticking to your finger but if you were to set your finger on the dough for a second it would stick.
- Cover with plastic wrap and set in a warm place for 30 minutes. The dough should rise to nearly double the size.
- Punch down the dough and pour out onto a floured surface. Flip the dough so both sides are floured.
- Portion the dough out into 15 equal sized pieces, you can just eyeball this. I use a bench scraper to help cut the dough.
- Roll each portion into a ball and then place in a greased 9×13 pan.
- Cover and let the rolls rise while the oven is preheating.
- Move the rack to lower in the oven and then preheat oven to 400° F.
- Once the oven has heated, bake the rolls for 15-17 minutes or until golden brown.
- Brush cooked rolls with melted butter.
- Best eaten within the first 24 hours. Enjoy!


The recipe sounds delicious. I had a question about the glass lid. I don’t have one, what could I use instead? I’m assuming that I shouldn’t lock the traditional instapot lid on. Thank you
Hi Anita- you could use a plate upside down, or go shopping in your drawers for a different lid for a pot you may already have. You might have one already that fits!
What size IP did you use? I have a 3qt and was wondering if it would be big enough to proof the dough.
Thank you!!
Hi Michelle, I have a 6 qt. You’d probably be able to do half a batch with the 3 qt.
Wondering how many rolls this usually yields? Do they freeze well if I made a full batch but wouldn’t eat them quick enough? Thanks!
This will yield a large cookie sheet worth. Yes, they freeze well as long as you freeze them when they are still fresh.
These are sooooo good! Soft tender dinner rolls. Very easy to make! I will add less salt next time. Other than that they are Super Delicious! I love the smaller batch too! Thanks for sharing!!!
These were amazing! So moist and fluffy and bonus – so easy to make!
These are unbelievably good. My family LOVES them. I just accidentally let them rise for an extra hour once formed into balls and they were extra good!
I just made these for the first time today and everyone loved them! Pretty easy for this beginner bread maker.
Question… do you use the paddle or dough hook in the stand mixer when mixing the butter, milk, and yeast mixture with the flour, sugar, and salt?
I use the Dough hook the whole time.
I love ur recipes ..🙏
What can I use as egg replacement for baking.
My son is allergic to eggs..
Hi! Here are egg replacements I would recommend: https://cookiesfordays.com/egg-substitutes-for-baking/