This post may contain affiliate links. Please read our disclosure policy.
Bread Bowl recipe is a quick and easy recipe to make bread bowls for your soup right at home! The crusty, chewy crust pairs perfectly with your favorite soup! Elevate soup night this fall by making these homemade Bread Bowls!
Bread Soup Bowl
Have you had soup inside of a bread bowl before? If not, it is about time that you do!
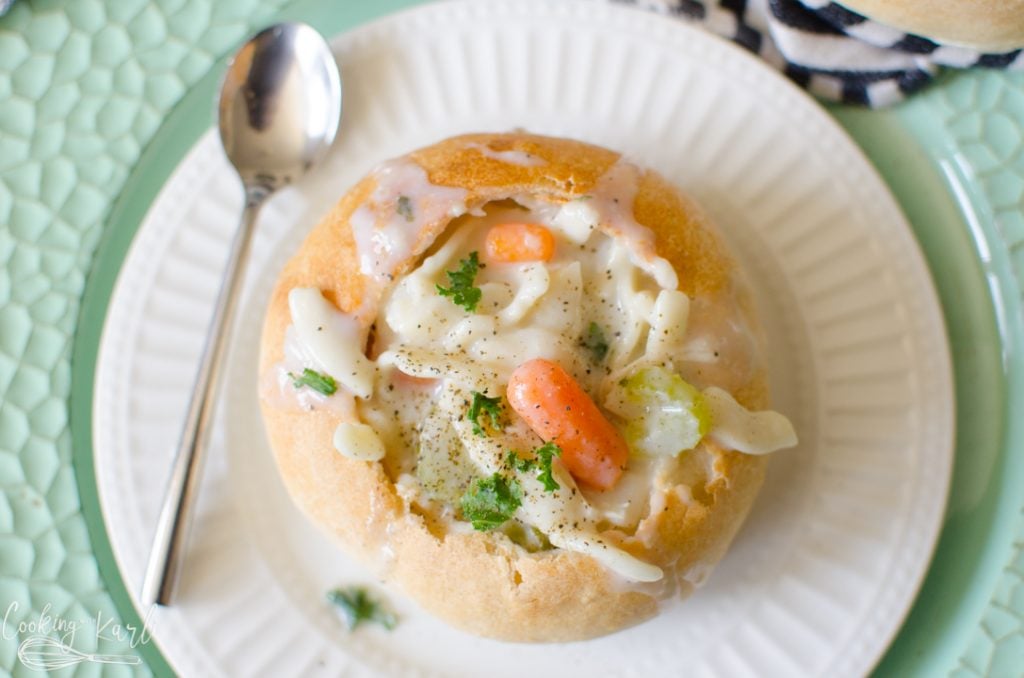
Having soup in a bread bowl is probably one of my favorite fall time meals for multiple reasons. If eating that creamy soup soaked bowl very last isn’t enough of a reason, you don’t even have to wash any bowls! Yes, a dish-less meal is just as glorious as it sounds.
Creamy soups do really well inside of these bread bowls, I think Cheddar Broccoli or Vegetable Beef Soup might be my favorite.
This bread recipe is easy enough for extreme beginners to master on the first try! I will walk you through it all, step by step!
Let’s get to it!
Homemade Bread Bowl ingredients
(Printable Recipe Below)
Bread Bowl recipe is a quick and easy recipe to make bread bowls for your soup right at home! The crusty, chewy crust pairs perfectly with your favorite soup! Elevate soup night this fall by making these homemade Bread Bowls!
- 1 1/2 tbsp + 1/2 tsp sugar divided
- 2 tbsp oil
- 2 1/4 tsp salt
- 6 cups flour
- 1 1/2 tbsp quick rise yeast
- 1/2 cup + 2 cups very warm water divided
How to make a Bread Bowl at home!
To make the bread bowls at home you’ll want to have a Stand Mixer. You could definitely make the dough by hand but I wouldn’t recommend it.
To speed up the rising process I always utilize my Instant Pot. This is not necessary, but I will share how to proof the dough both in the Instant Pot and traditionally.
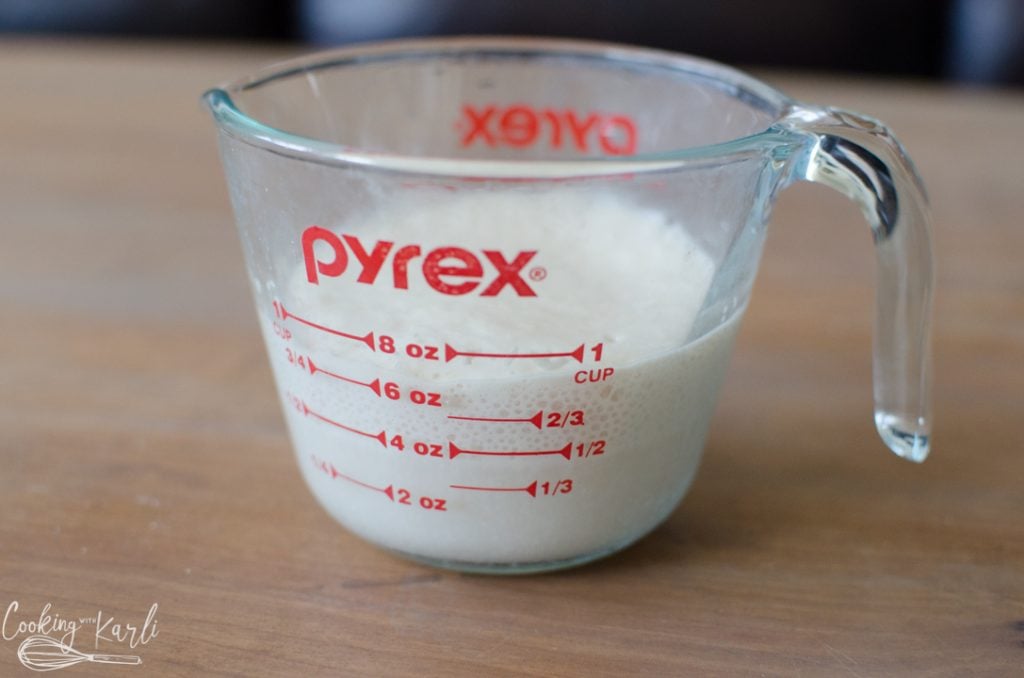
The first thing you’ll do is mix together the yeast, warm water and sugar. The temperature of the water is important here. If it is too hot, it will kill the yeast and your bread will not rise. If it is too cold, the yeast won’t activate and the bread will not rise.
Let the water in your tap run and test the temperature on the inside of your wrist, it should feel warm but not hot.
Mix together the warm water, yeast and sugar and let it sit and proof for 10 minutes. If the yeast is bubbly by the end of the 10 minutes, you’ve done it! Your yeast is alive and kicking! If it still looks the exact same as it did 10 minutes ago, throw it out and try again.
While the yeast is proofing, measure out the remaining ingredients (flour, water, sugar, salt and oil) and add them to the bowl of your stand mixer.
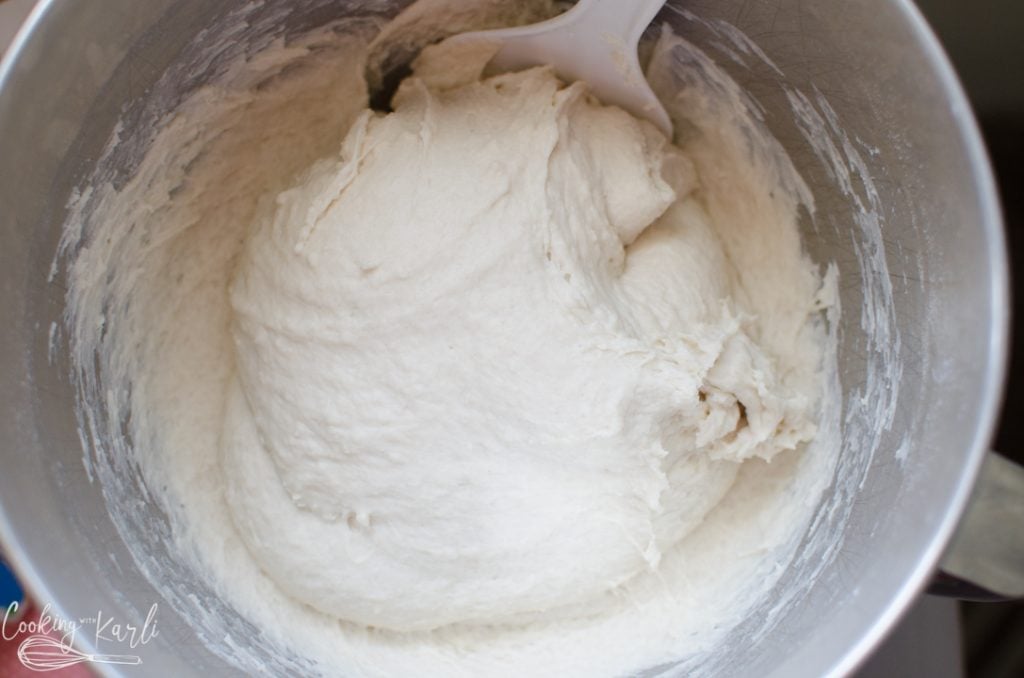
Add in the proofed yeast and mix slowly with the dough hook until completely mixed together.
Let the stand mixer knead for 5 minutes. The dough will be very sticky. That is normal and A-OKAY!
If rising the dough traditionally, cover the bowl with plastic wrap and let it rest for 15 minutes. At the end of 15 minutes, punch down the dough and knead a few times by hand. Repeat this 4 times.
So, you’ll let it rise for a total of 1 hour, punching down and kneading every 15 minutes.
If utilizing the amazing Instant Pot, you’ll grease the liner so the dough doesn’t stick and then turn on the Instant Pot’s Yogurt Normal setting. Let the dough rise for a total of 30 minutes, punching down and kneading the dough every 10 minutes.
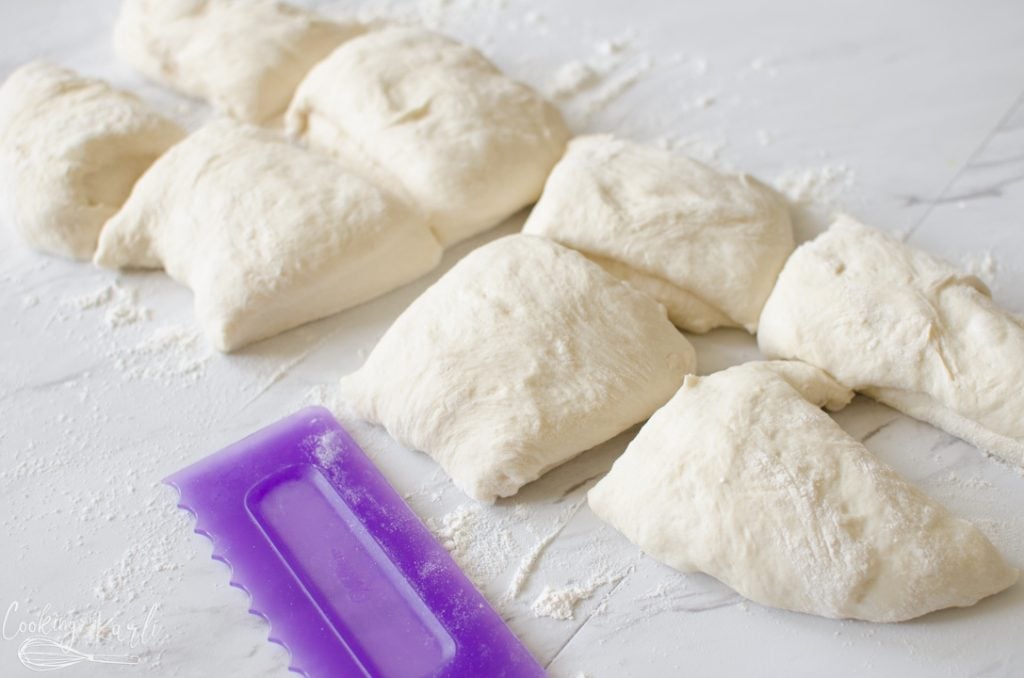
After the rising process is complete, turn the dough out onto a floured surface.
Form the dough into a long log and cut into 6 or 8 equal pieces (depending on how many bowls you want!).
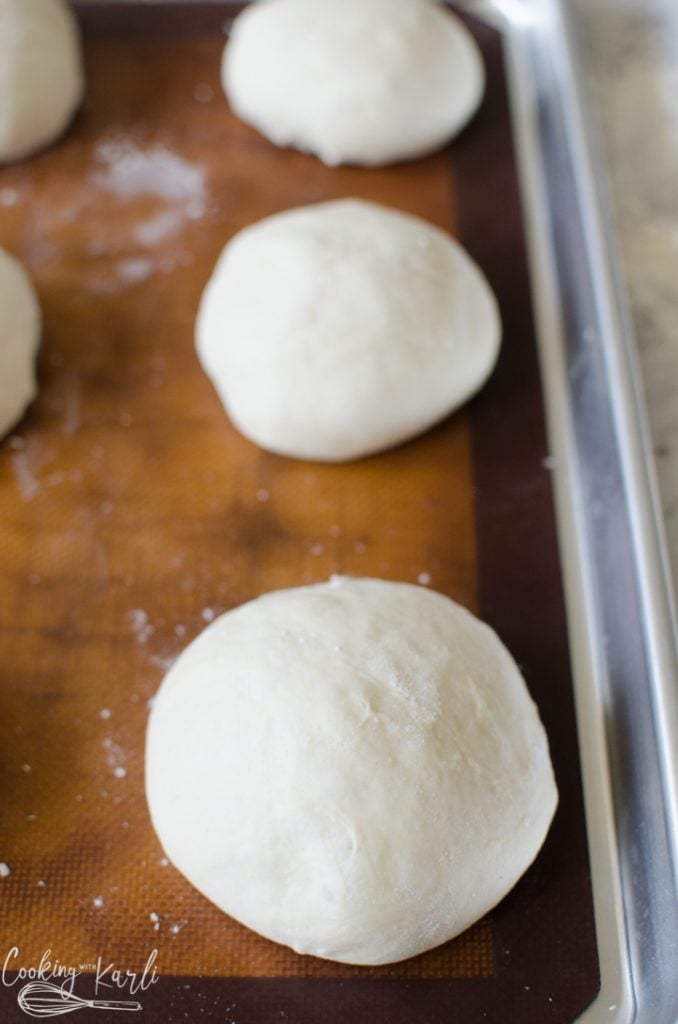
Take each piece and shape into a ball. Place the dough balls onto a silicone baking mat lined cookie sheet and brush with egg whites.
At this time, preheat the oven and let the dough rise while the oven is preheating, about 15-20 minutes.
To get that chewy crust we will be baking at two different temperatures. First, bake for 10 minutes at 450° and then without taking the bread out of the oven change the baking temperature to 375° and bake for the remaining 20 minutes.
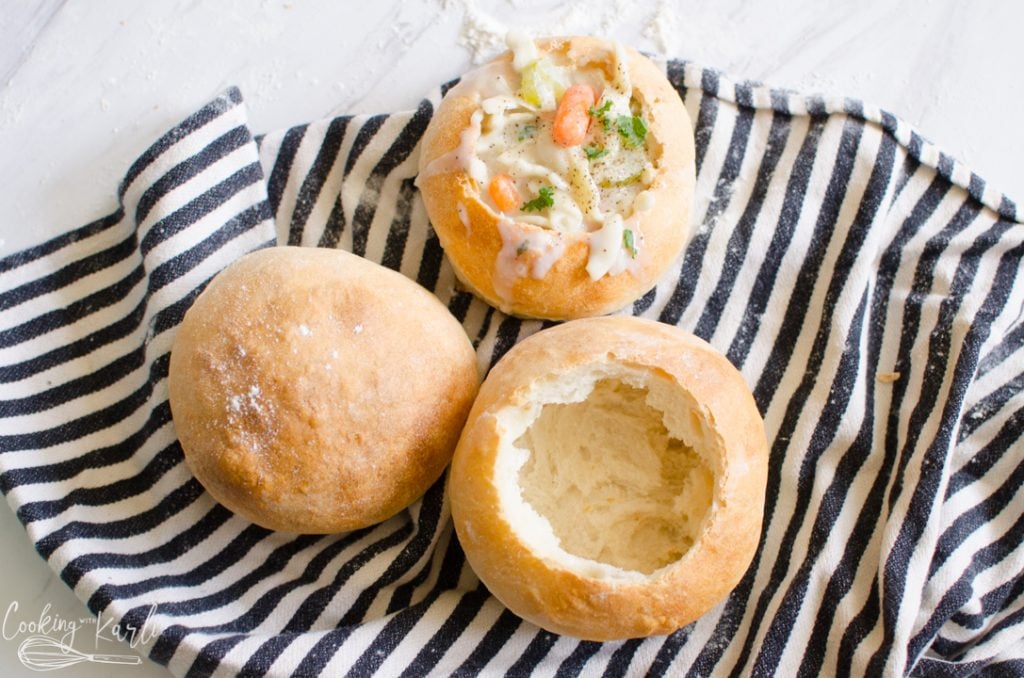
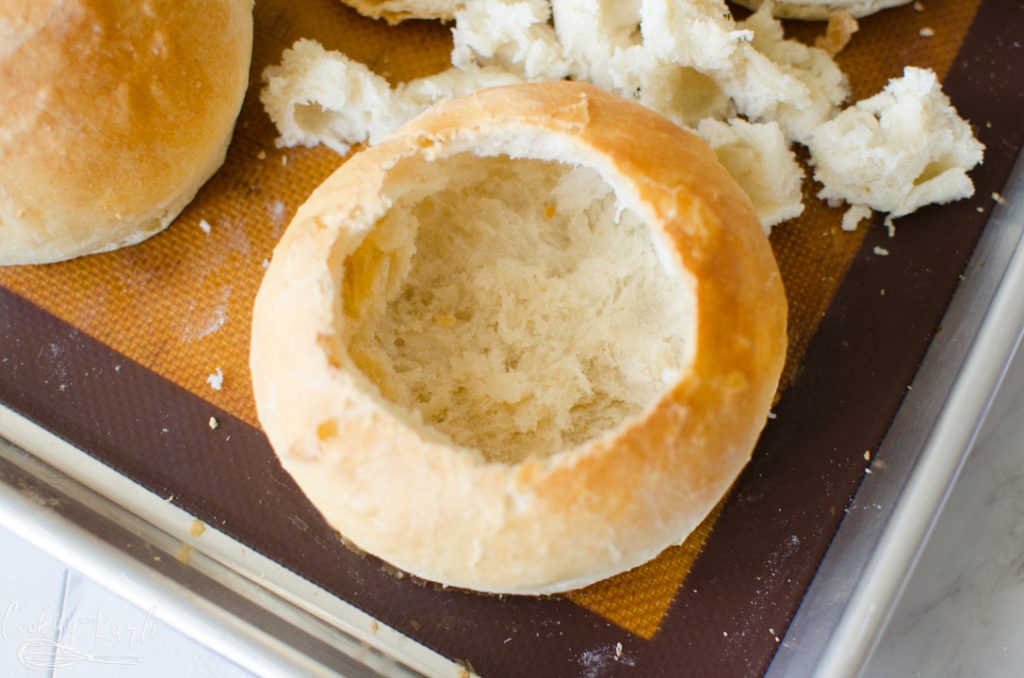
Let the bread bowls cool a bit (or all the way!) before cutting the tops off, scooping out as much bread as desired (dip those pieces into your soup!!) and filling it with your absolute favorite soup.
Tips for making this Bread Bowl Recipe
- Make sure your water temperature is correct! We are looking for 100°-110° F. Too hot of water will kill your yeast, and too cold of water will make it hard for your yeast to grow.
- Proof your yeast first to make sure it’s alive and kicking before making the bread dough .(see instructions for exact steps on how to do this)
- Use a stand mixer and let it do all of the work.
- The Dough will be sticky, Sticky dough means you’ll have soft, tender bread.
- Don’t rush the rising process!
- Brush with an egg wash to get that shiny golden crust.
Favorite Soups to serve in Homemade Bread Bowls
Bread Bowl Recipe FAQs
I would suggest having a stand mixer of some sort, whether that is a Kitchenaid mixer or a Bosch mixer.
I like using all purpose flour because it is what I have on hand.
They are best served and eaten immediately. If you want to bake ahead of time, allow the bread bowls to cool completely and then immediately store in the freezer.
Yes, you can freeze a homemade bread bowl. However, it’s important to wrap it properly to prevent freezer burn and maintain its quality.
To freeze a bread bowl, first, make sure it has completely cooled down to room temperature. Then, wrap the bread bowl tightly in plastic wrap or aluminum foil. If you have a large freezer-safe plastic bag, you can also use that to store the bread bowl. Make sure to press out any excess air from the bag to prevent freezer burn.
When you’re ready to use the bread bowl, remove it from the freezer and let it thaw at room temperature. Once it has thawed, you can reheat it in the oven at 350°F for 5-10 minutes to freshen it up.

Related Posts:
If you loved what you saw here, get more of it on Facebook, Instagram & Pinterest! I’d love to connect! Sign up for my weekly newsletter below to never miss a new recipe again!


Bread Bowl Recipe
Ingredients
- 1 1/2 tbsp quick rise yeast
- 1/2 cup + 2 cups very warm water divided
- 1 1/2 tbsp + 1/2 tsp sugar divided
- 2 tbsp oil
- 2 1/4 tsp salt
- 6 cups flour

Instructions
- Combine 1/2 cup of warm water, the yeast and 1/2 tsp sugar. Let the mixture sit for 5-10 minutes until nice and bubbly.
- Add the bubbly yeast and all other ingredients to the bowl of a stand mixer. Using the dough hook, combine the ingredients. Once ‘dough’ has formed, turn the mixer’s speed up a little and let the mixer knead for 5 minutes. The dough will be very sticky.
- If rising traditionally, let the dough rise covered for a total of 1 hour, punching down the dough every 15 minutes.
- If utilizing the Instant Pot, Pour 1 Tbsp of oil into the instant pot. Place the dough into the Instant Pot and push the yogurt button, adjust it to the normal setting. Roll the dough in oil so it will not stick.
- The dough will now rise for 30 minutes. Punch down the dough every 10 minutes. At the 30 minute mark, turn the dough out onto a floured surface.
- Divide the dough into 6-8 equal sections. Roll each section into a large ball and arrange on a silicone lined baking sheet. You may do an egg white wash at this point if desired.
- Preheat the oven to 455°. Let the dough balls rise while the oven is preheating.
- Bake at 450° for 10 minutes. Without taking the bread out, turn the oven down to 375° and bake for an additional 20 minutes.
- Remove from oven and let cool before cutting the tops of the bread bowl off, removing the inside of the bread and filling with soup.


Just wondering, can these be made in a bread maker on the dough cycle? Liquids first followed by dry ingredients? Sure plan on giving these a try. I will return with update. They truly look wonderful.