This post may contain affiliate links. Please read our disclosure policy.
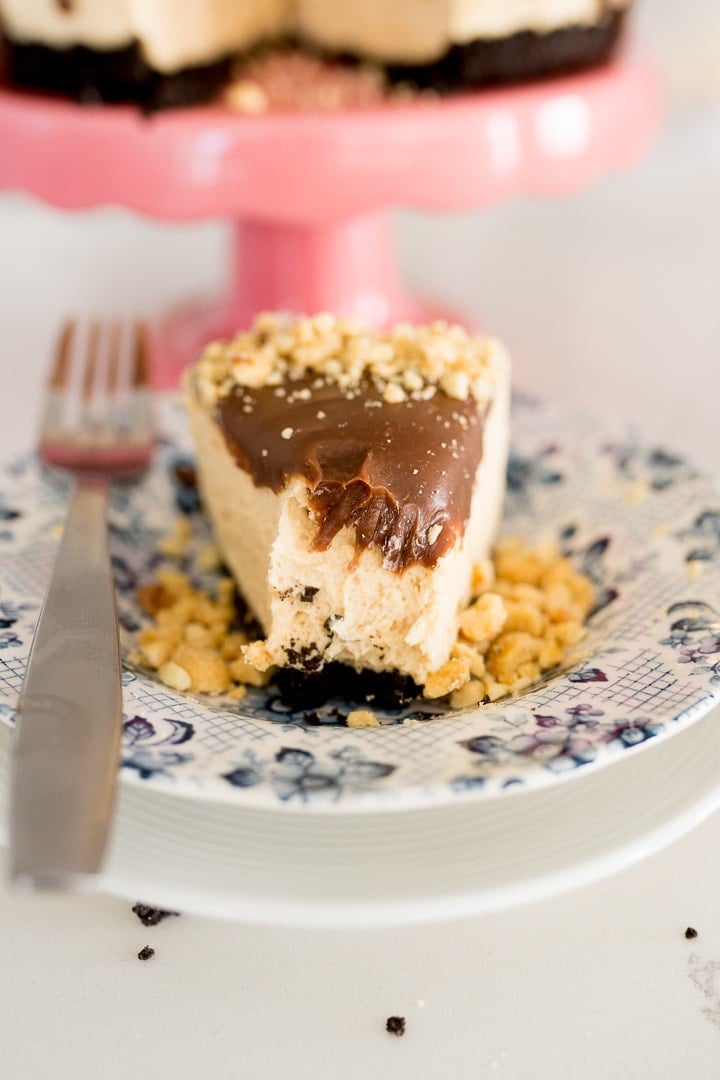
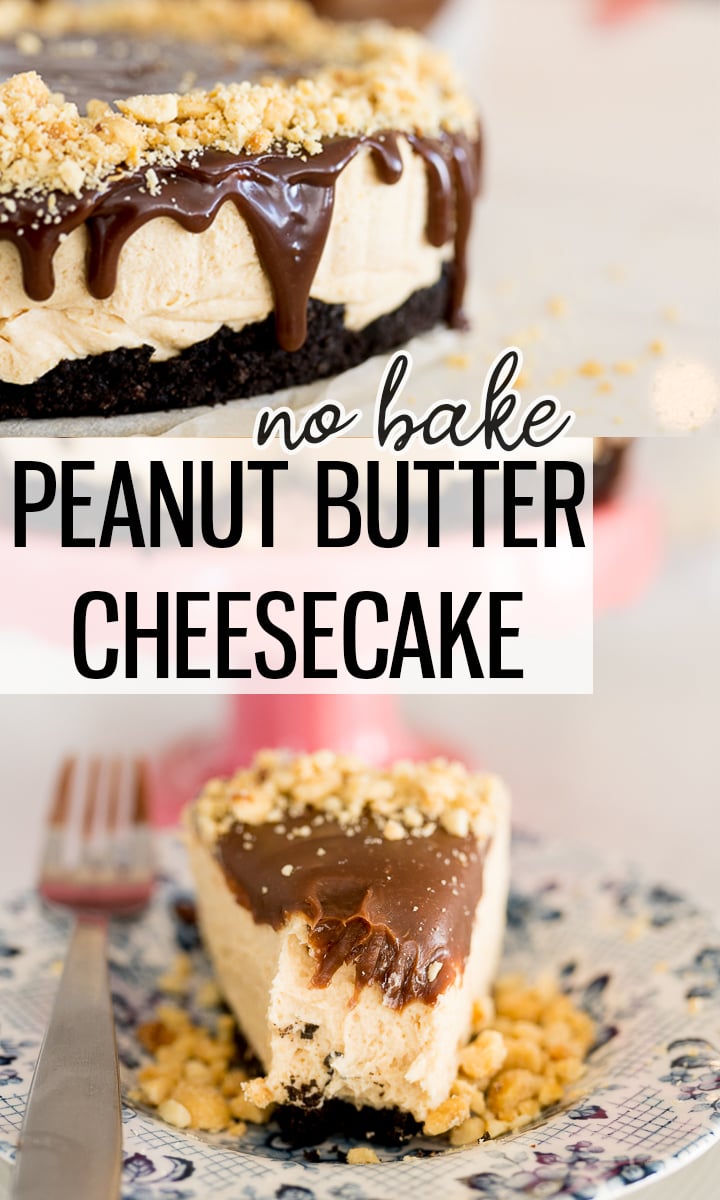
Peanut Butter Cheesecake is a creamy, no bake cheesecake. Rich with peanut butter and chocolate flavor. With only a handful of ingredients, you could be licking the bowl in less than 20 minutes!
Peanut Butter Cheesecake with Chocolate
No bake peanut butter cheesecake is a delicious and creamy pie that brings you all of the flavors and textures you want. Chopping up some Reeses candies and sprinkling them over the top is another creative idea for a Recess cheesecake recipe, I mean, we’ve already got the peanut butter and chocolate, so why not?! If you love peanut butter and chocolate like I do (ahem, check out this Chocolate Peanut Butter Pie), you know this is a great idea!
What makes this no bake chocolate peanut butter cheesecake so amazing is that it is super simple to make and it’s always a crowd-pleaser. It’s perfect for gatherings and parties. We’ve been known to request one of my many no bake cheesecakes for our birthdays instead of the classic cake. (Shh! It’s okay, I swear. 😉 ) It’s also great as one of those “just because” dessert recipes that you whip together to fix a craving for something sweet.
What’s In No Bake Peanut Butter Cheesecake?
For the peanut butter cheesecake portion, here are a preview of ingredients you’ll want on hand.
- Heavy Whipping Cream
- Sugar
- Cream Cheese
- Creamy Peanut Butter
- Cheesecake (or Vanilla) Flavored Instant Pudding Mix
For the Chocolate Crust, this is what you’ll need.
- 2 cups Chocolate Cookie Crumbs (I leave the cream in!)
- 4 tbsp melted butter
And finally, for the Chocolate Ganache..
- Heavy Whipping Cream
- Chocolate Chips (your favorite! I like milk but you could use semi sweet or dark if you’d like!)
Check out the recipe card below for the exact measurements and the steps that you need to make!
How to Make No Bake Peanut Butter Cheesecake
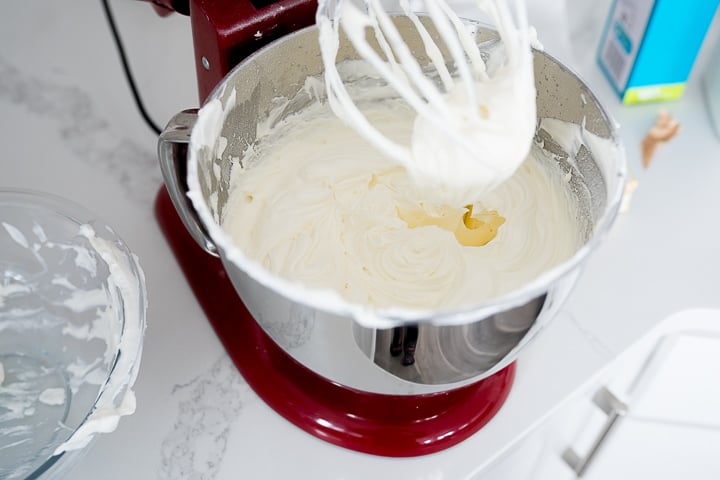
In a mixing bowl, whip together the cream and sugar until stiff peaks form. You can do this with either a stand mixer or an electric hand mixer, although the hand mixer does generally take a bit longer. Just turn that speed up as high as it can go and wait until you have whipped cream! Seriously as easy as that.
In a separate bowl (or, if using your stand mixer, transfer the whipped cream to a separate bowl!) and mix together the cream cheese, peanut butter and pudding mix (just the powder!) until completely incorporated and smooth.
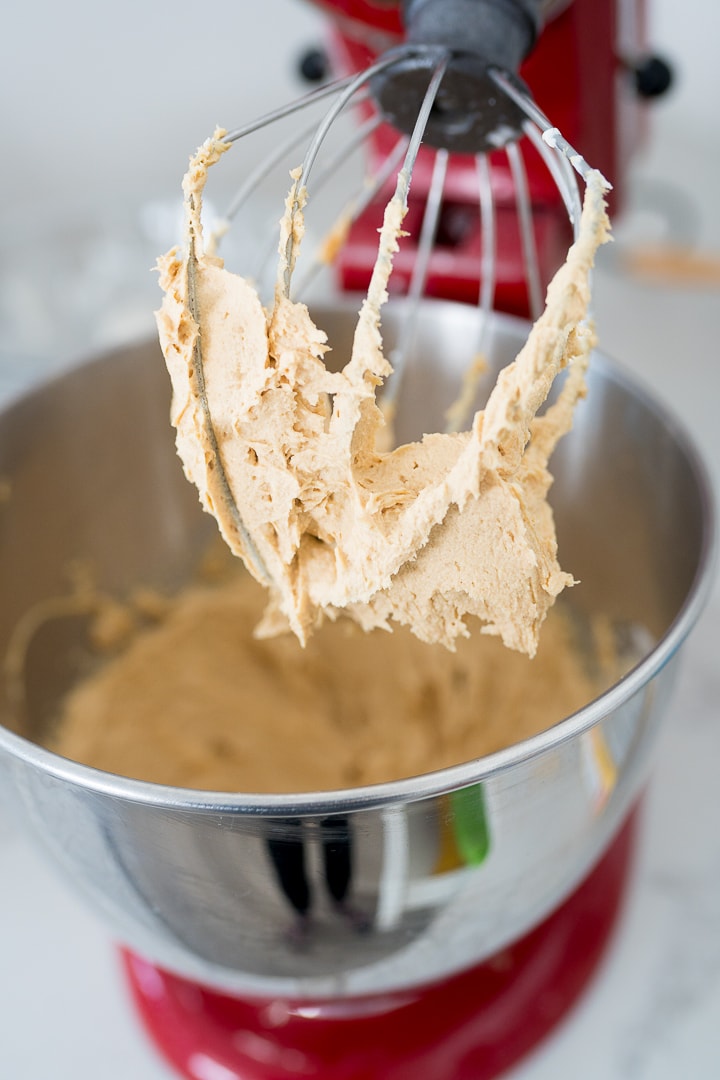
The key to getting a really smooth mixture is to cream the the cream cheese and peanut butter until smoooooooth. Once it is extremely smooth, SLOWLY add in the powdered pudding mix. We are talking like 1 tsp at a time, mixing and scraping the sides as you go. This will give you a smooth mixture. When finished, it should be thick, smooth and look something like the photo below.
Slowly add the whipped cream to the cream cheese/peanut butter mixture and beat until smooth. Make sure to stop adding the whipped cream and scrape the sides of the bowl periodically.
Pour the mixture into the crust (see below for more crust info) and refrigerate until serving! For best results, let it chill in the fridge overnight.
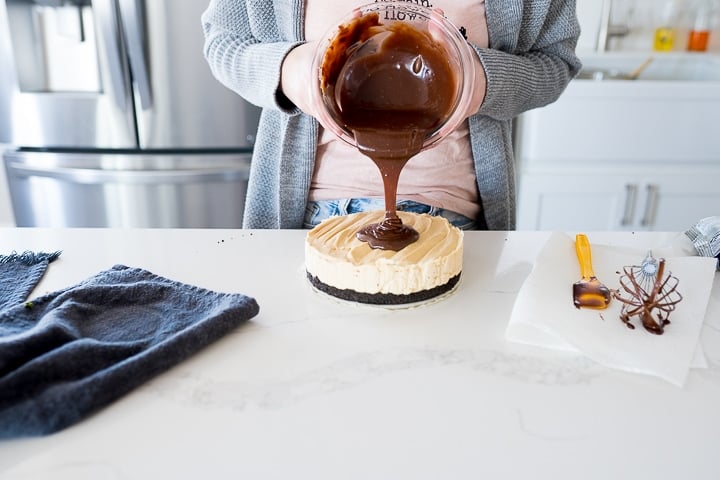
Before slicing, place your chocolate chips in a bowl and then heat the cream in the microwave until steaming.
Pour it over the chocolate chips. Allow it to sit for 5 minutes and then stir to combine the cream and chocolate chips. Allow the ganache to cool slightly prior to pouring onto the top of the chilled cheesecake.
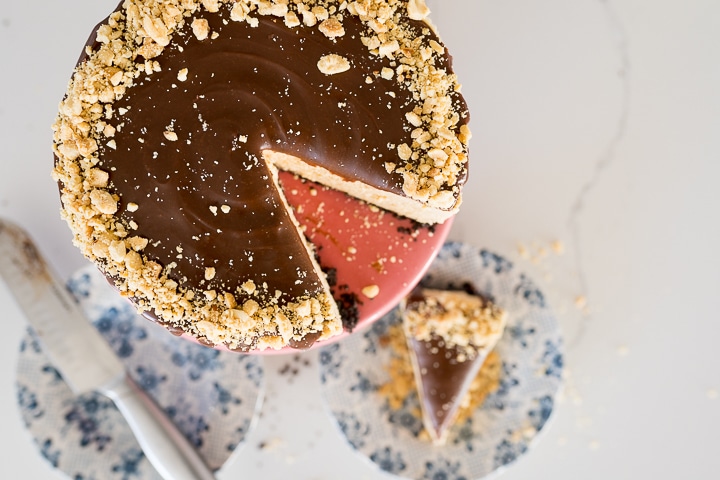
I like to garnish the top of the cheesecake by adding chopped peanuts, if desired.
How to make a homemade crust for your cheesecake
First, determine whether you’d like your crust to go up the sides of your cheesecake or only on the bottom of the cheesecake like I have shown in this recipe. I will give the ingredient amounts below for each. I like to crush my cookies using my blender, but a baggie and rolling pin works great, too.
- Bottom Crust only: 1 cup cookie crumbs, 2 tbsp melted butter
- Bottom and side Crust: 2 cups cookie crumbs, 4 tbsp melted butter
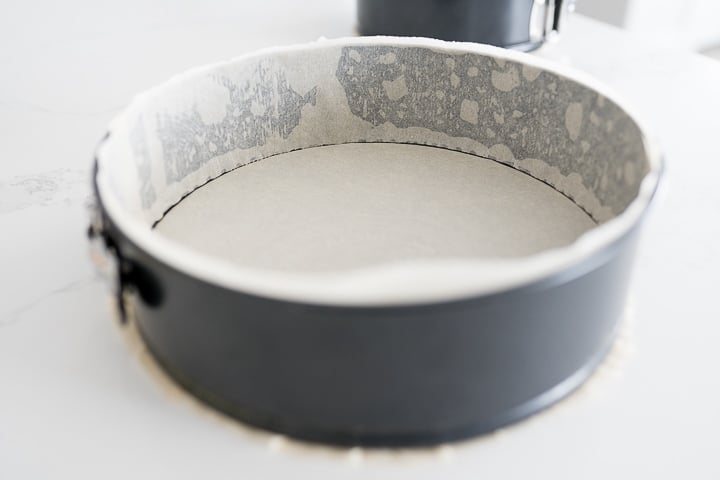
Combined the ingredients and then press into your parchment lined springform pan. Place the pan and crust in the freezer to set the crust while you make the filling, that way the crust doesn’t move around when you spread the filling into it.
See the photo below for how I line my springform pan with parchment paper. Quick Tip: Spray your pan with non stick spray before placing the parchment paper in and the parchment paper will stick to the pan instead of curling back up.
How long is no bake cheesecake good for?
If you keep your no bake cheesecake in the fridge and keep it well covered, you can get it to last up to 5 days and still taste great!
If you loved what you saw here, get more of it on Facebook, Instagram & Pinterest! I’d love to connect! Sign up for my weekly newsletter below to never miss a new recipe again!
[et_bloom_inline optin_id=optin_2]
Love No Bake Treats? Try these other recipes!
- Puppy Chow
- Reese’s Fudge
- Microwave Peanut Brittle
- Egg Free Monster Cookie Dough
- No Bake Cheesecake
- Cookie Dough Bites
- Oreo Pie
- Rice Krispie Treats
- No Bake Cookie Dough Cheesecake
- Buckeye Balls


No Bake Peanut Butter Cheesecake
Ingredients
Chocolate Crust (see notes)
- 1 cup chocolate cookie crumbs
- 2 tbsp melted butter
Cheesecake Filling
- 1 pint whipping cream
- 3/4 cup sugar
- 16 oz cream cheese , room temperature
- 1 cup peanut butter
- 1 pkg cheesecake (or vanilla) flavored pudding mix
Chocolate Ganache
- 1 cup heavy whipping cream
- 1 1/2 cups chocolate chips

Instructions
- Combine the melted butter and cookie crumbs to create the crust mixture.
- Press the crust into the bottom of a 9 inch springform pan. Place in the freezer while making the cheesecake filling.
- Whip together the cream and sugar until stiff peaks form. Set aside.
- In a separate bowl, mix together the cream cheese and peanut butter until smooth. Slowly add the pudding mix (just the powder!) until completely incorporated and smooth.
- Add the whipped cream to the cream cheese/ peanut butter mixture and beat until smooth.
- Pour into the crust and refrigerate. For best results, let it chill in the fridge over night.
- About an hour before serving, add the chocolate ganache. Make it by microwaving the heavy cream until steaming. Pour the steaming cream over the chcoolate chips and let it sit or 5 mintutes. Then stir until smooth. Allow the ganache to cool a bit before pouring onto the chilled cheesecake.


This was so good! Everyone raved about it. I doubled the recipe for a 2 layer chocolate cake. I did have some left over, but am glad I doubled so that I could put more between the layers. It’s too good not to!