This post may contain affiliate links. Please read our disclosure policy.
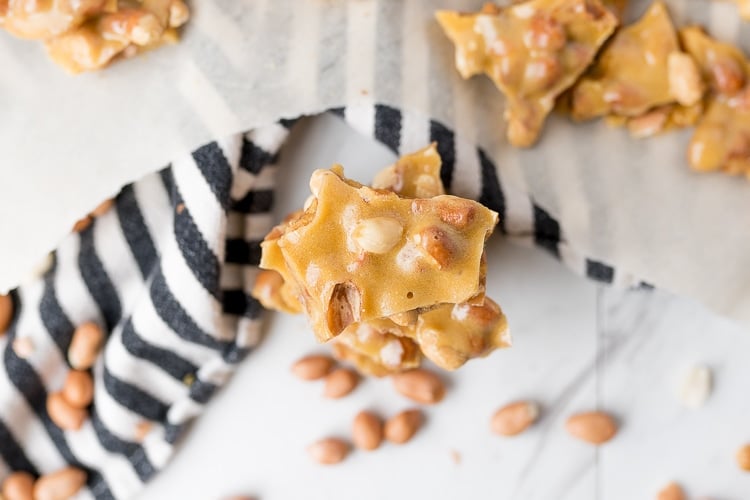
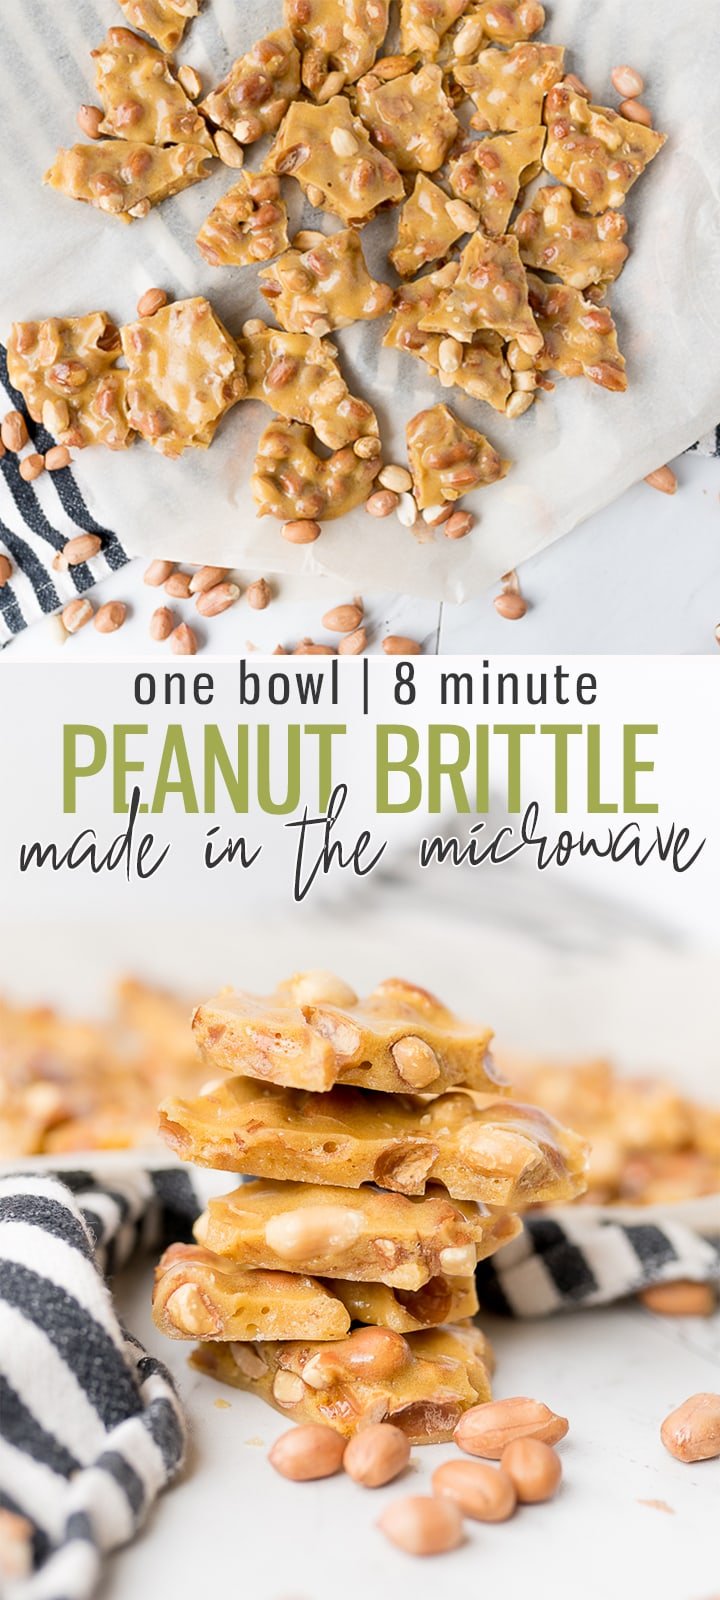
Peanut Brittle is a hard, crunchy caramelized candy filled with peanuts. Classically made around the holidays. Make it in the Microwave this year without any hassle!
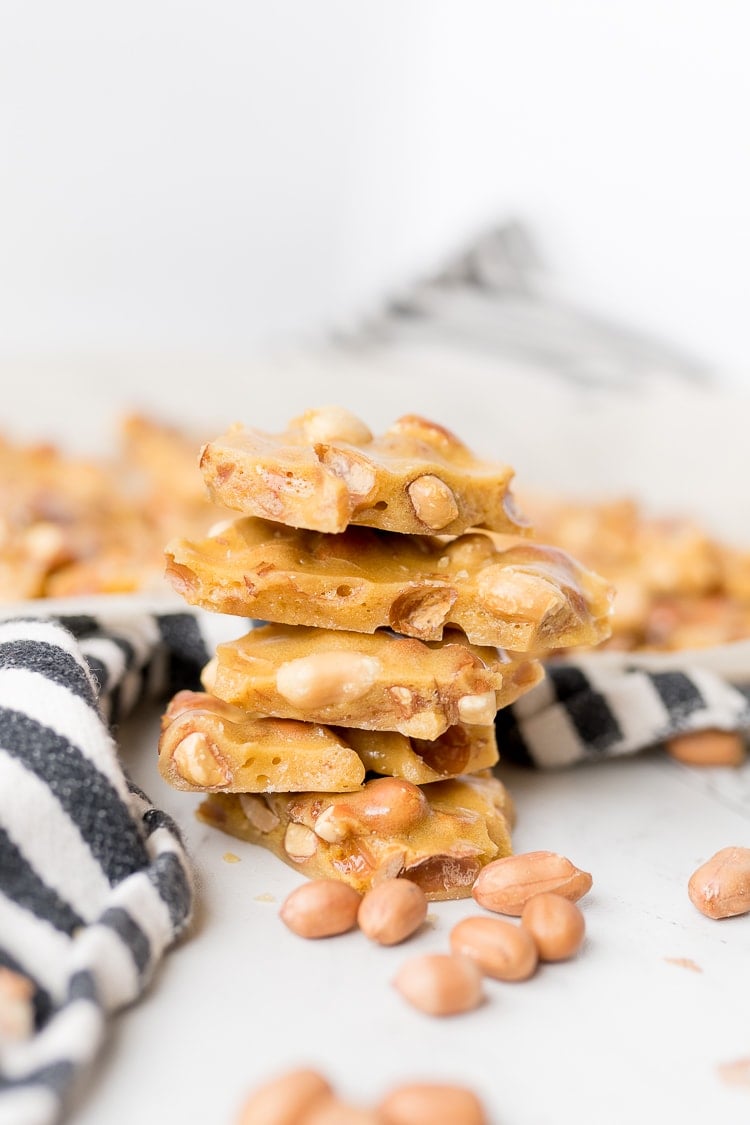
What is Peanut Brittle?
Peanut brittle is a delicious hard candy that you can often see given out as gifts around the holidays. While there doesn’t need to be a reason to enjoy this sweet treat, a lot of people shy away from making it at home due to the crazy level of skill required to make it on the stove. I’m going to show you an easy peasy Peanut Brittle that anyone can master!
This real simple Microwave Peanut Brittle is as easy as placing ingredients in a bowl and pushing some buttons. Seriously, if you can do that (and stir), you’re pretty much golden! What’s even better is that this is an easy peanut brittle recipe without a candy thermometer! No need to buy extra fancy gadgets or learn to calibrate one.
Easy Peanut Brittle Recipe Ingredients
- Corn syrup
- Granulate sugar
- Butter
- Baking soda– this is how we get those delicious air bubbles in the final product
- Raw Peanuts– You’ll be able to find the Raw Peanuts in the baking isle at your grocery store.
Along with these ingredients you’ll need a large microwave safe bowl, a silicone spatula and a parchment paper lined cookie sheet.
How to make Microwave Peanut Brittle
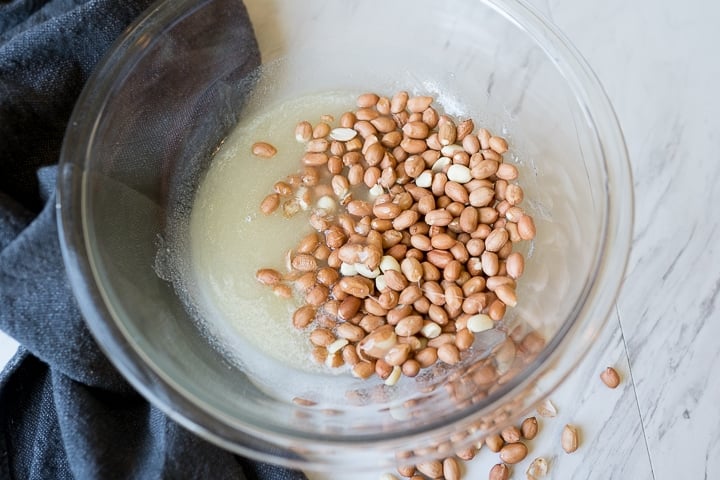
- In a large microwave-safe bowl, combine your corn syrup and granulated sugar. Just quickly stir the two together. Place it in the microwave and heat at 100% power for 4 minutes.
- Remove from the microwave and add in the butter and the peanuts and then microwave for another 4 minutes. The brittle will turn a golden brown color during this second 4 minute cook time.
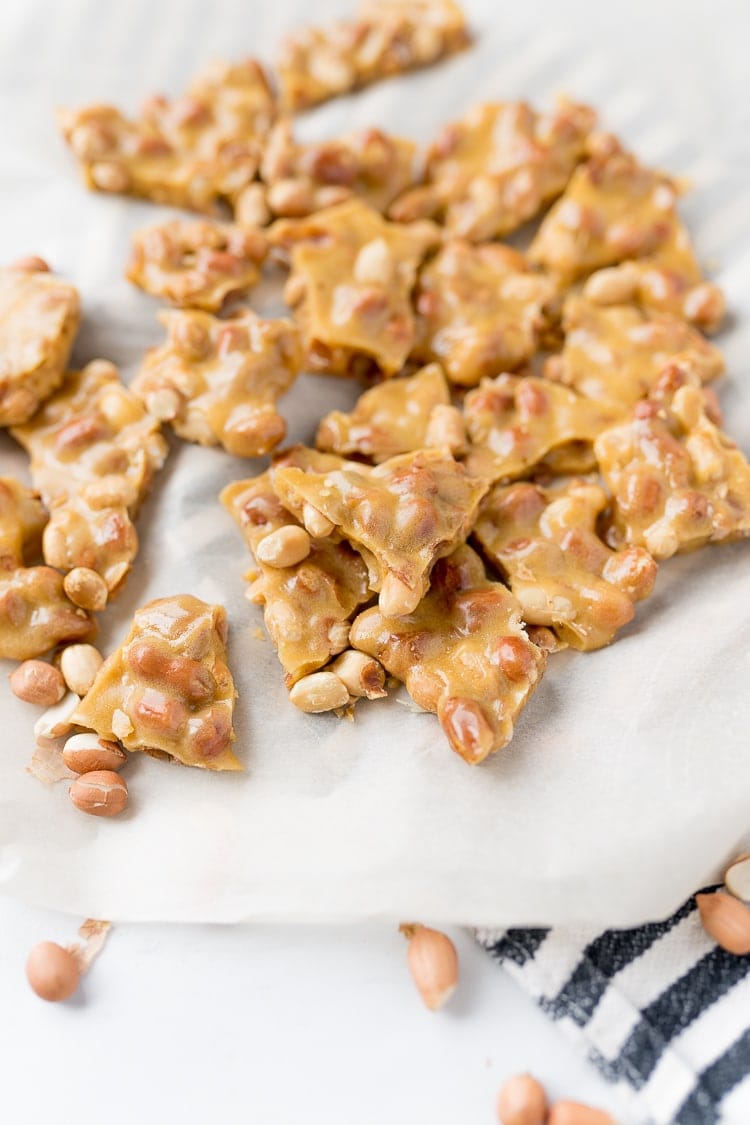
3. Quickly stir in the baking soda. Pour your mixture onto a parchment paper-lined baking mat.
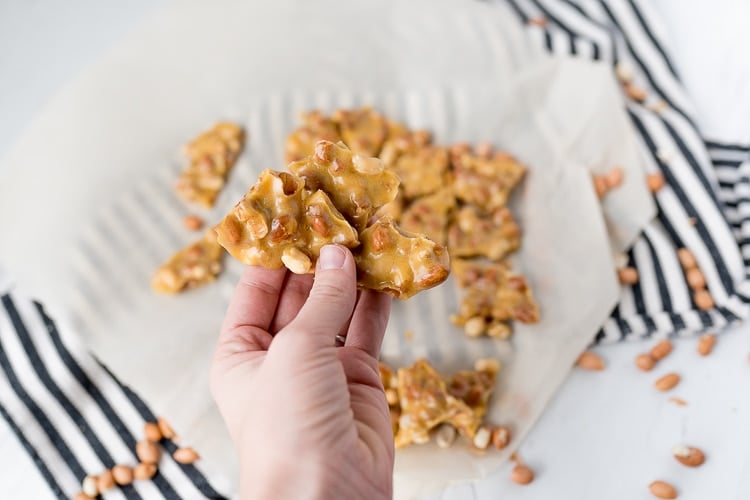
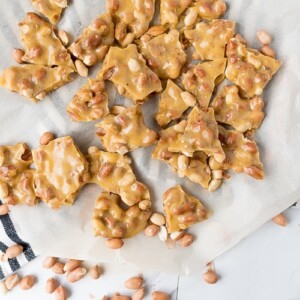
4. Let it harden completely, this should only take 5-10 minutes and then break into smaller pieces before eating.
Note: This recipe makes a small batch of peanut brittle. If you are looking for a larger batch, consider doubling the recipe.
How long does this Easy Peanut Brittle Recipe take to set up?
When letting your brittle cool on a sheet, it shouldn’t take longer than about 15 minutes for it to harden. It will take longer than that to cool completely, however. The temperature in the room may lower or increase this time estimate.
If your brittle didn’t reach 305 degrees to begin with, it will not harden no matter how long you leave it to cool.
If you are in the market for a quick read thermometer, I use Thermoworks Thermapen mK4.
How to store Easy Microwave Peanut Brittle
How long does Peanut Brittle last?
If wrapped tightly and stored in an airtight container at room temperature, your peanut brittle can last up to two months and still remain pretty fresh.
Cleaning up Microwave Peanut Brittle
Surprisingly enough, just letting your microwave safe bowl soak in hot water will dissolve the remaining brittle that is stuck onto the bowl quite easily.
Microwave Peanut Brittle Recipe FAQs
If you find that your peanut brittle is more sticky and soft as opposed to hard and crunchy (as it should be), then it’s because it didn’t cook long enough. This could happen if you have a lower watt microwave. You can double checking that your brittle reached the hard-crack stage before pouring can help you to avoid this from the get go.
If you do not have a quick read thermometer, next time try cooking for an additional minute or two. Look for that golden brown color before adding the vanilla and baking soda.
Even if your brittle is sticky, it’s still delicious!
Have to? No, but it is very helpful to know that your peanut brittle isn’t undercooked (it would then be very sticky and not harden) and to check the temp so you don’t burn your peanut brittle. This Thermometer is a highly reviewed one on amazon.
If you loved what you saw here, get more of it on Facebook, Instagram & Pinterest! I’d love to connect! Sign up for my weekly newsletter below to never miss a new recipe again!
Want more Holiday Candy Recipes? Try these out!
- Chocolate Fudge
- Peanut Butter Fudge
- Peanut Clusters
- Cookie Dough Fudge
- Popcorn Balls
- Chocolate Covered Strawberries

Easy Peanut Brittle Recipe
Ingredients
- 1/2 cup (163ml) corn syrup
- 1/2 cup (115g) granulated sugar
- 2 tbsp salted butter
- 1 cup (125g) raw spanish peanuts
- 1 tsp baking soda

Instructions
- In a large microwave safe bowl, mix together the corn syrup and sugar.
- Microwave the corn syrup and granulated sugar for 4 minutes.
- Stir and add in the butter and peanuts. Microwave for an additional 4 minute.
- Quickly stir in the baking soda.
- Pour onto a parchment paper lined cookie sheet or a silicone baking mat. Cool completely before breaking.


Amazing!!!