This post may contain affiliate links. Please read our disclosure policy.
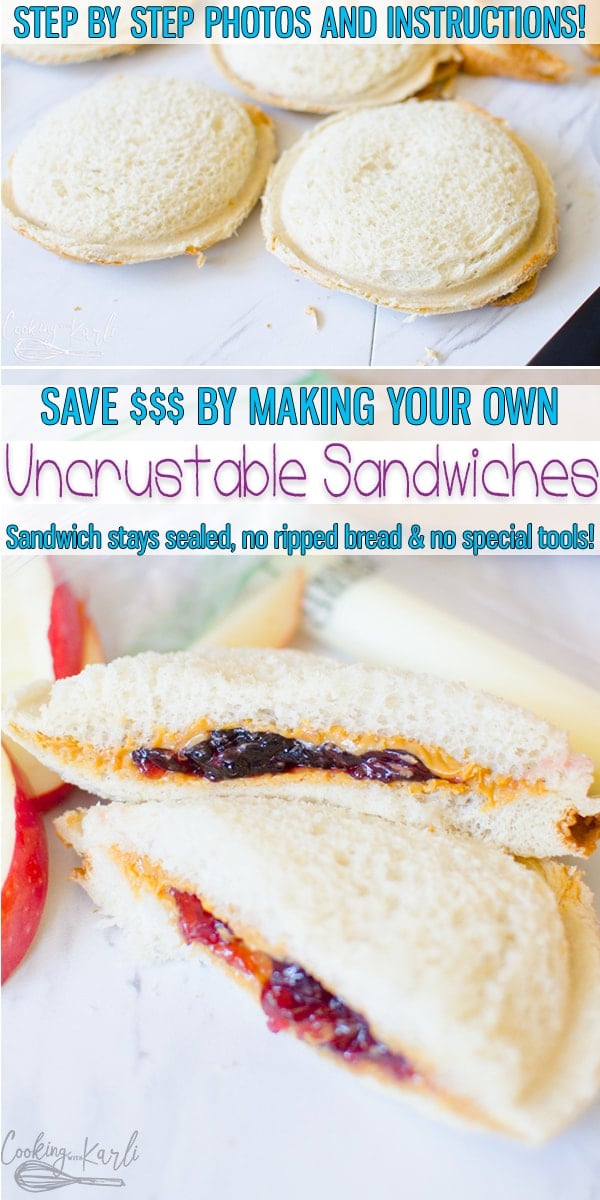
Uncrustables taste just like the frozen, store bought Smucker’s Uncrustable sandwiches but cost a fraction of the price! Prep ahead and freeze to make school lunches as easy as possible.
Smucker’s Uncrustables Recipe
I can not believe it is already time to start thinking about BACK TO SCHOOL! How is summer already almost over? One thing is for sure, I haven’t spend near enough time at the pool.
Whether I like it or not, Chase is headed to Kindergarten this year. This has me thinking back to when I went to elementary school, which honestly feels like yesterday.
I was a picky eater and really didn’t eat school lunch often. I ate it every Friday (aka pizza day! They had the best pizza with stuffed crust.) and every time the Hawaiian Chicken Rice bowls were served.
Every other day I’d go to school with a PB&J. Confession: I went through a phase where I liked Peanut Butter and Sugar sandwiches. I totally loved the grainy texture. Now, it kind of gives me the willies.

Do you need an Uncrustables Maker?
I loved the Smucker’s Uncrustable Peanut Butter and Grape Jelly Sandwiches. My mom didn’t buy them often though. Now, being a mom myself, I totally get why! Those suckers cost $1 a pop! Can you say, OUCH?
I never buy them just because of the price! Then, someone suggested I buy them for my kids to eat on the airplane when we were moving across the country and I kind of fell in love with them all over again. Chase loved them too.
That was 3 years ago and I like to think I have perfected the DIY Uncrustable. The best news yet? No crazy sandwich cutters needed!
How Uncrustables are made
The Bread used for Uncrustable Sandwiches
Believe it or not, the bread you use to make these uncrushable sandwiches really does matter! Now, I am going to say something that I haven’t ever said before in my life and I probably will never say again.
My all time favorite, ultra soft and dense Grandma Sycamore bread is not good for this. That bread is LIFE and it just doesn’t cut it here.
If you don’t have a clue what I am talking about, you are most definitely not from Utah. This is a bread that is made local in Salt Lake City and sold in all grocery stores across the state and in a few others as well. If you ever vacation or even drive through Utah, you HAVE to pick up a loaf of Grandma Sycamore’s bread.
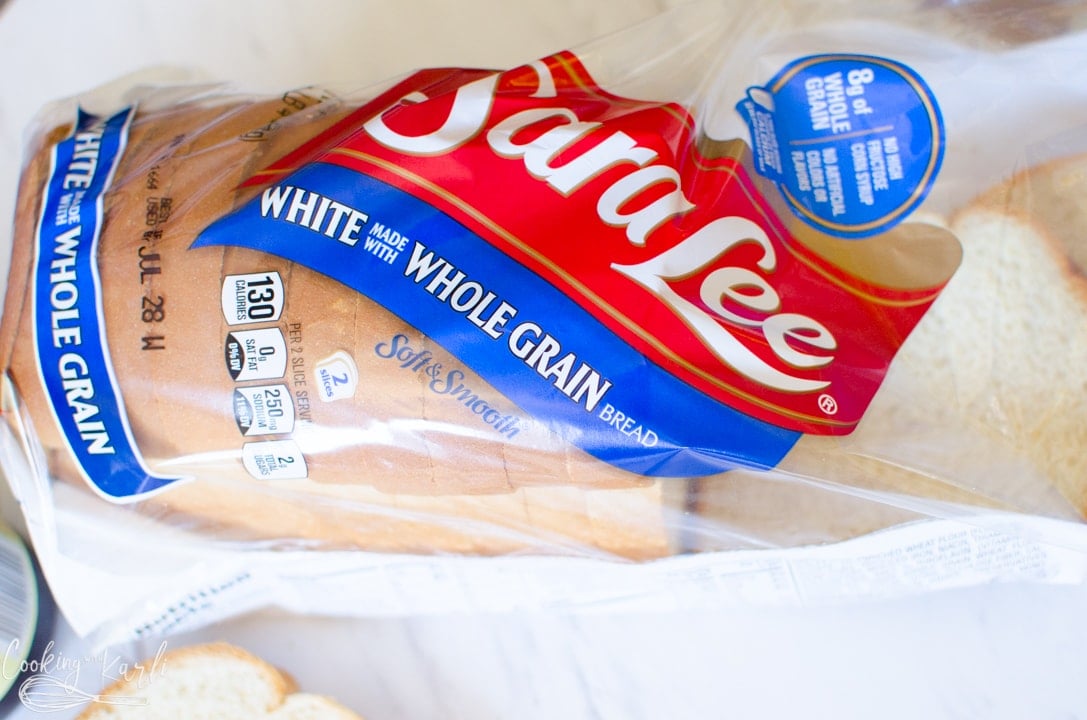
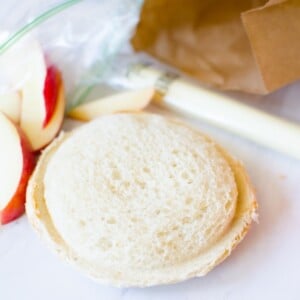
For the Uncrustable Sandwiches, you are going to want the light fluffy bread. I used Sarah Lee’s White made with Whole Grain bread. The light and fluffy bread sticks together when pressed and it doesn’t tear when pressing the edges together.
Assembling the Uncrustable
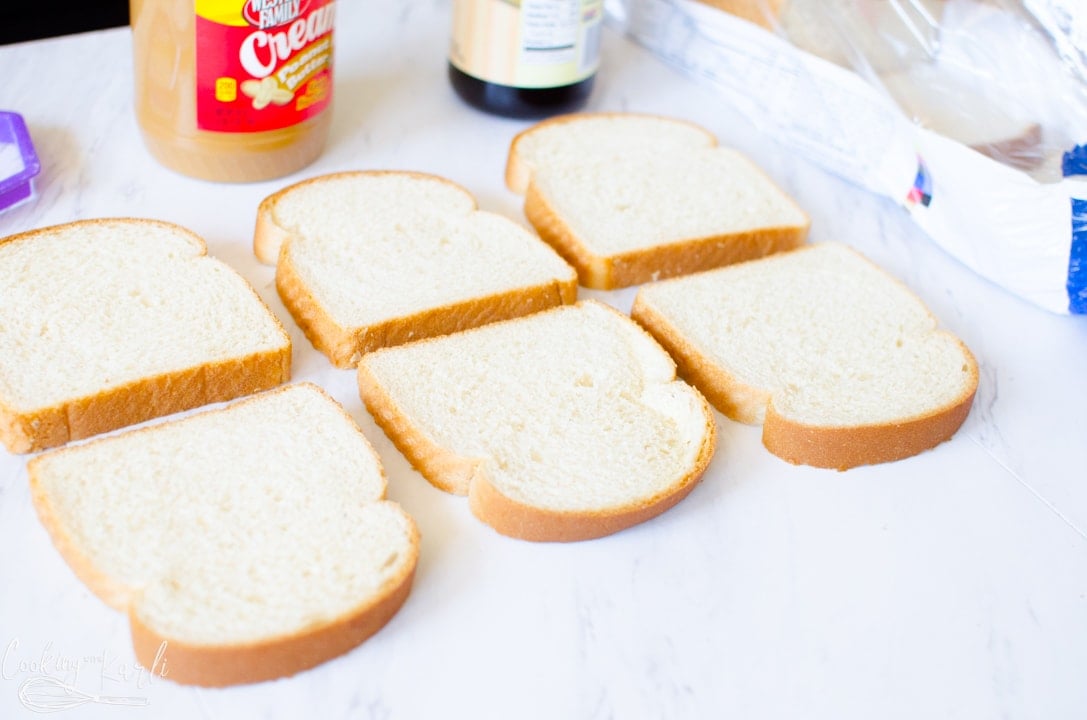
Lay out the bread on your counter. You can make and entire loaf’s worth of sandwiches or you could make a few, it really just depends on how many you’d like.
I like to lay the bread out in 2 rows, make an assembly line and get all the sandwiches made at the same time!
Spread peanut butter on all of the bread slices. You’ll want to make sure the edges of the bread are left alone, without any peanut butter touching them. The bread will not seal together when pressed if there is peanut butter there.
Also make sure that there is a solid layer of peanut butter (doesn’t have to be thick, just make sure the peanut butter covered all of the bread) in the middle of the bread slice. The peanut butter acts as a barrier for the jelly. If the jelly touches the bread it will make the sandwich all soggy.

Next, it is time for the jelly. I used store-bought grape jelly so that these sandwiches would taste exactly like the Smucker’s Uncrustables.
You can use whatever jam or jelly you’d like. Store-bought or homemade!! This 3 ingredient strawberry jam is one of my favorites!
Spoon a small amount (probably a couple of teaspoons worth) of jam or jelly and place it in the center of the bread. You’ll see I put the jam on all of the slices of bread in the bottom row, that way I could make 3 sandwiches all at the same time.
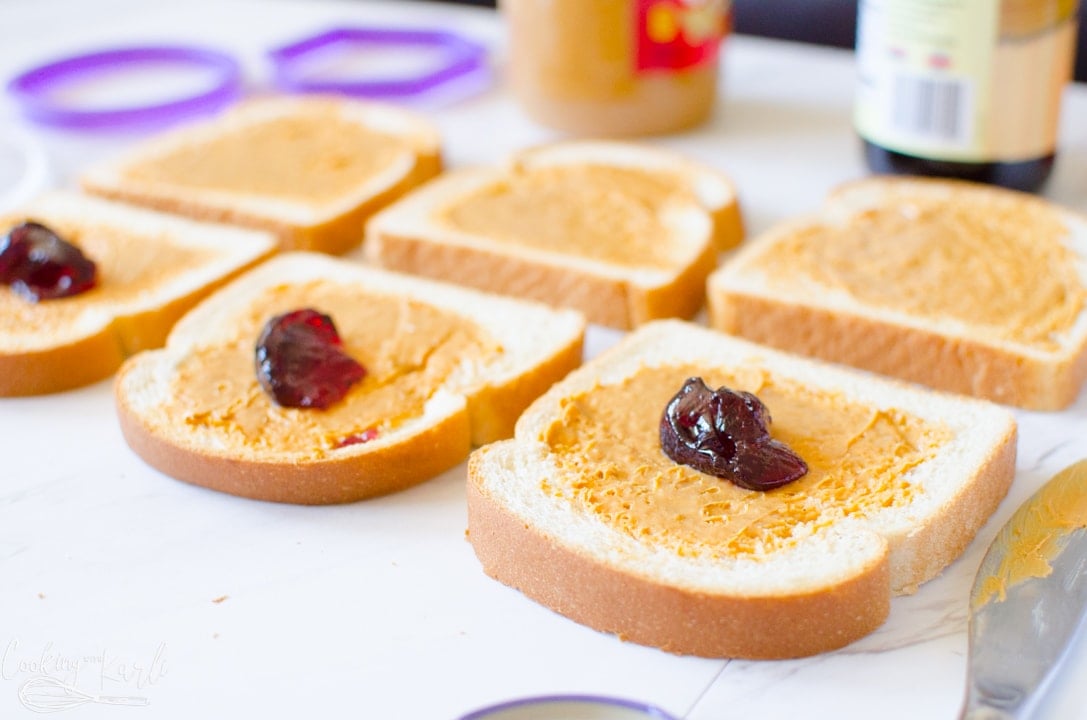
Complete the sandwich by putting the opposite slice of peanut butter bread on top of jam slice of bread.
Use your fingers and pat down around the edge of the bread where the peanut butter on both pieces of bread meet. This will seal the jam in place.
Cutting and Sealing the Uncrustable Sandwiches
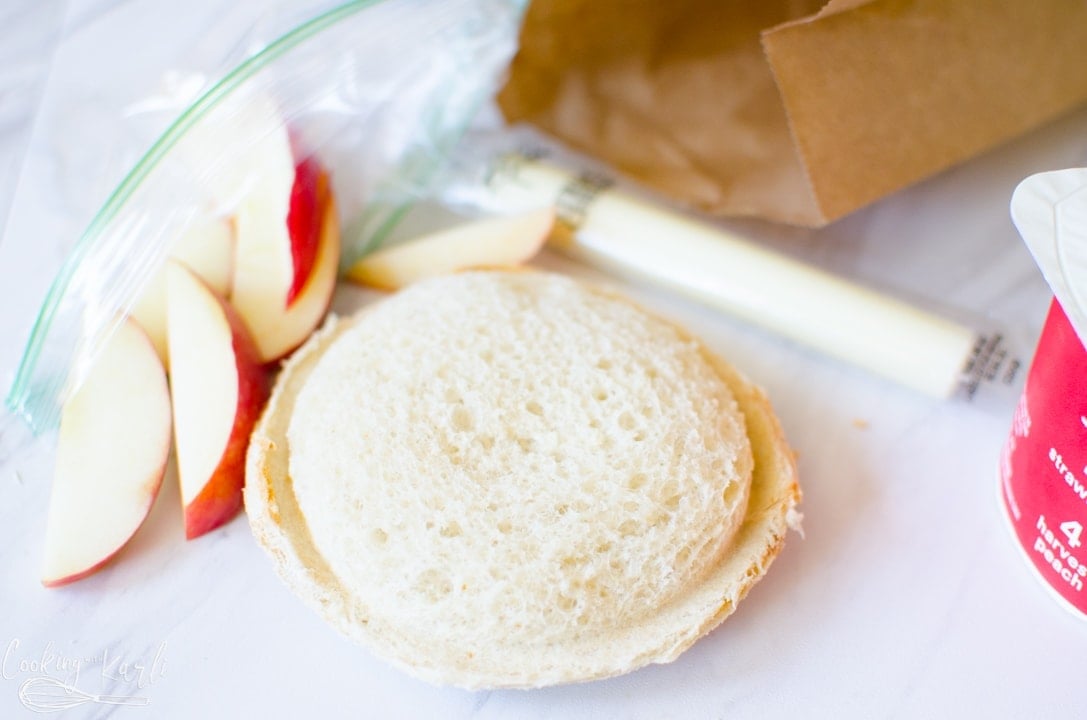
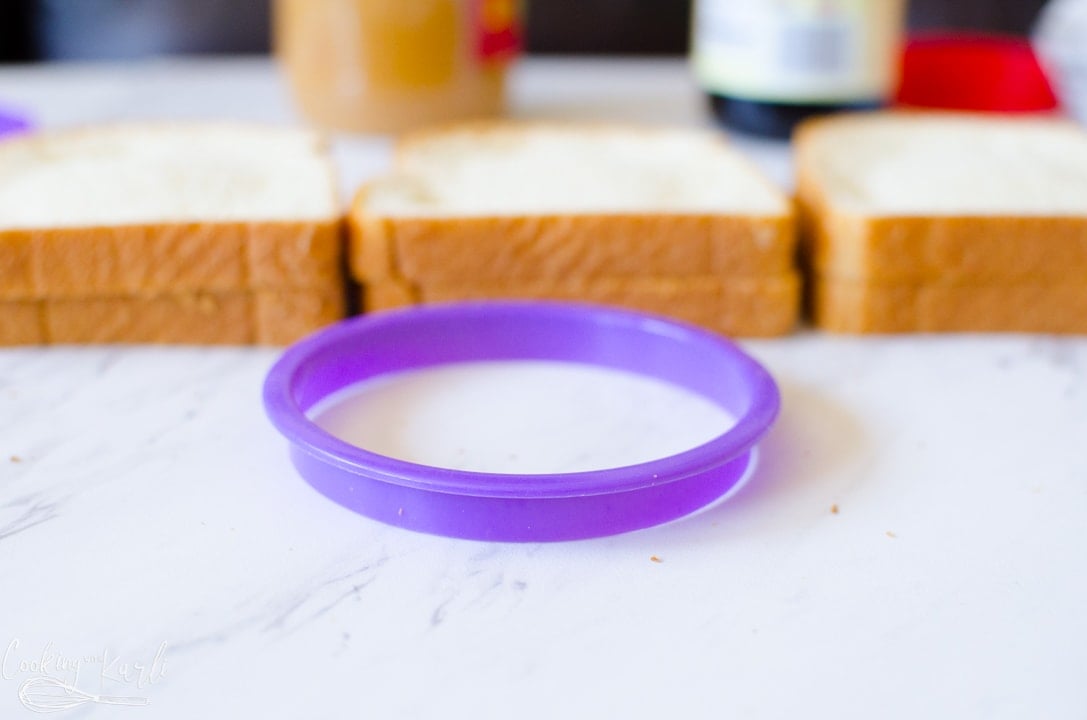
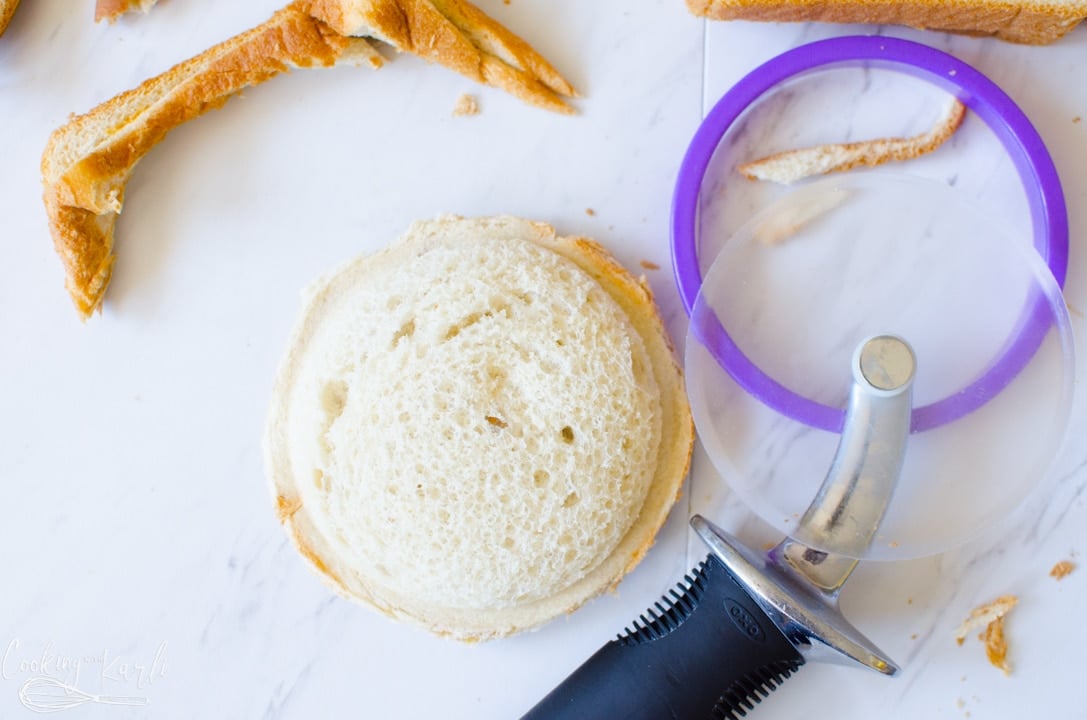
I used this Cookie Cutter to help seal and cut my sandwiches. Notice how it has a dull lip on the top of the cookie cutter where you’d usually be pushing down it. This is a 4 inch circle cookie cutter.
If you don’t have a cookie cutter on hand, don’t worry! I have a solution for you. I’ll talk a bit more about it below.
Use the flat, thicker side of the cookie cutter to seal the bread. So, basically, use the cookie cutter upside down.
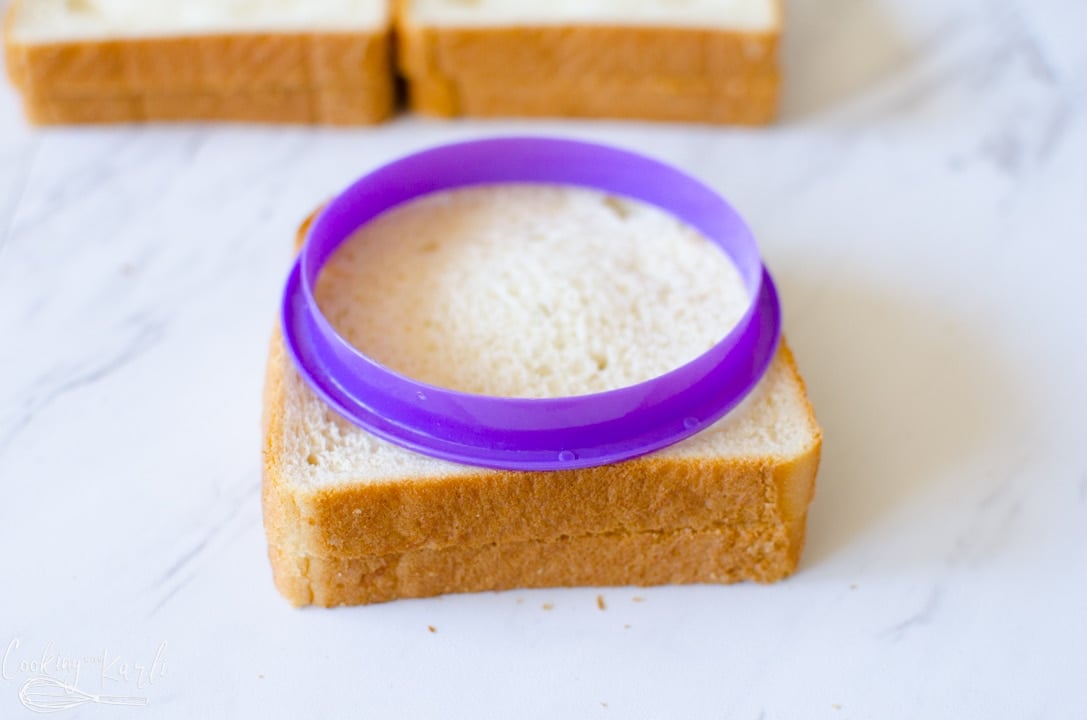
I set a small plate on top of the cookie cutter and then press down on the plate with all of my strength to really seal the bread.
I figured out the plate trick after trying to push down on the sharper side of the cookie cutter and really hurting my hands! The plate really helps!
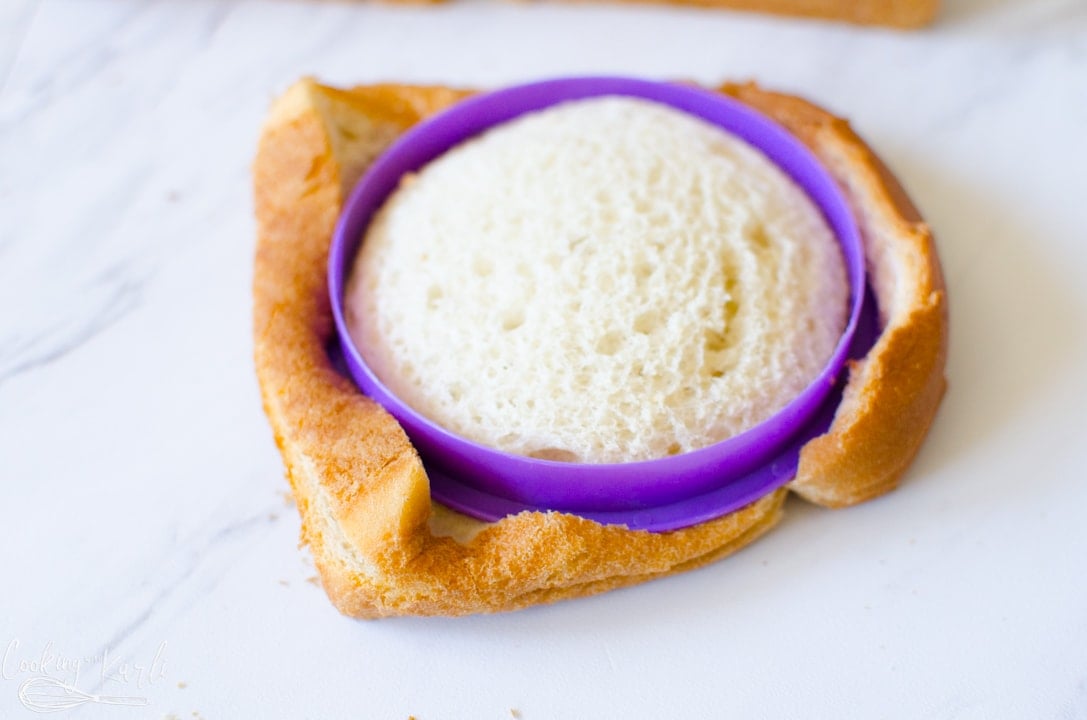
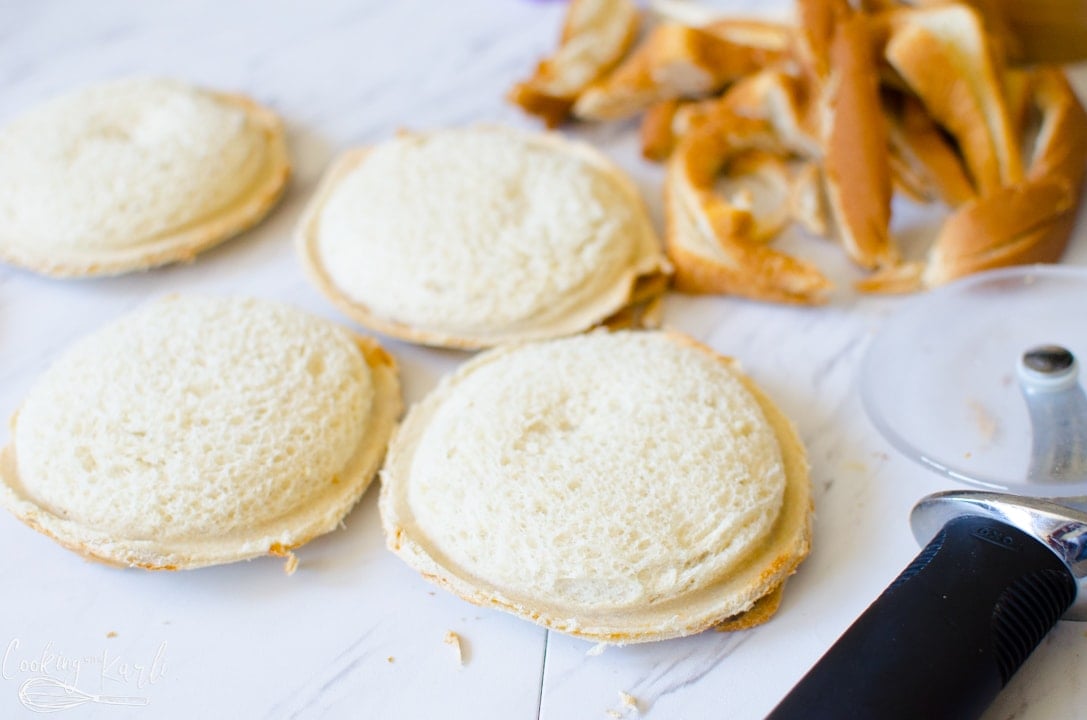
Then use a pizza cutter and cut the crust off.
I leave the cookie cutter on the sandwich and use the edge of the cookie cutter as a guide for the pizza cutter.
I place mine in a large zip top bag and toss them in the freezer!
From there they are just like the store-bought Uncrustables! Your kids won’t even be able to tell the difference!!
If you do not have a cookie cutter to use:
Slice the crust off of the sandwich so you are just left with the soft, fluffy part of the bread.
Then using the dull side of a butter knife, press down on the edges of the bread to seal the sandwich shut.
You will end up with a square sandwich this way instead of the classic circle sandwich but it will seal just as well and taste the same!
If you loved what you saw here, get more of it on Facebook, Instagram & Pinterest! I’d love to connect! Sign up for my weekly newsletter below to never miss a new recipe again!
[et_bloom_inline optin_id=optin_2]
Do your kids love Uncrustables? Mine do, too! Check out their other favorite lunch box recipes!
- Chocolate Peanut Butter Granola Bars
- BLT Chicken Wrap
- Rice Crispy Treats
- Cheesecake Fruit Dip
- Pancake Mix Muffins

Uncrustable Recipe
Ingredients
- 8 slices bread
- peanut butter, can use creamy or crunchy
- jam or jelly, use your favorite

Instructions
- Lay the bread out into two rows.
- Spread a thin layer of peanut butter on each slice of bread. Make sure to leave the edge of the bread free of peanut butter, this will help seal the sandwich together.
- Place about 1 tsp of jam or jelly onto the bottom row of bread slices.
- Gently top the slice of bread with jam or jelly with the slice of bread on the top row.
- Use your fingers to gently but firmly press and seal around the edges of the bread.
- Use a 4 inch round cookie cutter upside down to seal the edges. Use a pizza cutter to cut off the crusts, using the cookie cutter as a guide.
- Repeat with all sandwiches.
- Freeze in a large zip top bag.
Video
Nutrition


I love this idea. We used to buy the Uncrustables in Strawberry, my Fav and the Grape at Costco years ago. My Son loved them. Now he travels for work, but He can take these Frozen, and they won’t spoil in a day in his backpack. We could buy them again, but this looks like so much more fun. Thank You
So happy you found me!! Hope you and your son love these!
Been following a while but was searching the recipes and came across this. I went to search for the cookie cutter on Amazon and saw that Pampered Chef has an uncrustable maker! It’s a press/sealer/crust cutter all in one. It’s on Amazon for $12! It has great reviews, too. Just an FYI!
Awesome! I’ll have to go check it out! Thank you!
These are great. My kids and husband love these and I hate spending money on the premade ones. My girls are currently eating one each for lunch. Also, I really try to not spend money on mlm products so this is a great tutorial. I use a large drinking cup and pizza cutter and they came out perfect on the first try, thank you!
The drinking cup and pizza cutter is perfect! I am so glad that this post has helped you! Thanks so much for taking the time to comment, Priscilla!
They look so EASY! Great ideas!!
Thank, you Jessica!!
Easy and worked perfectly! My grandchildren will love these when we are camping!
Oh, your grandkids are lucky to have you!! You are right, these are perfect for camping!
What about using sun butter instead of peanut butter since we can’t have peanut butter in school? I assume the same procedures and results? Thanks for all your good tips, recipes etc.
Yep! Feel free to swap out the nut butter and follow the same process.