This post may contain affiliate links. Please read our disclosure policy.
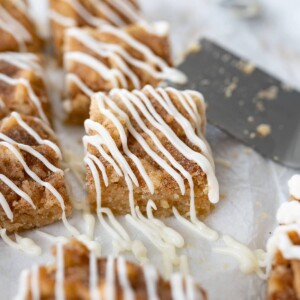
Snickerdoodle Bars are everything you love about snickerdoodles, just (you guessed it) in bar form, plus drizzled with icing! This sugar cookie, cinnamoney goodness is sure to be a new favorite!
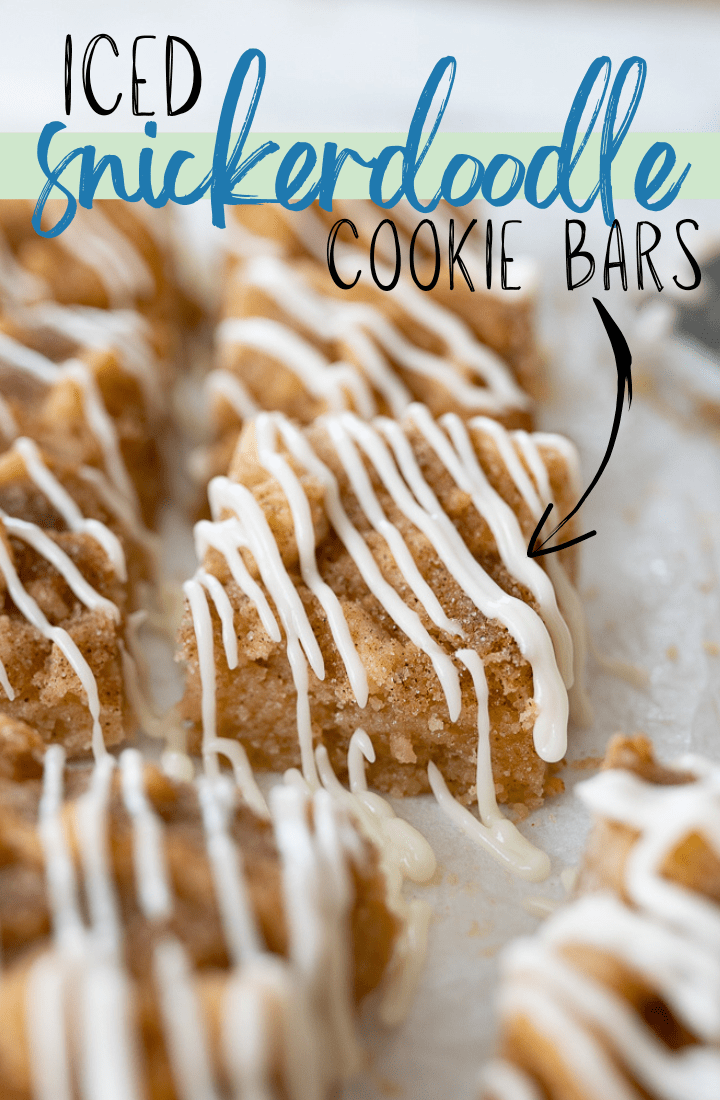
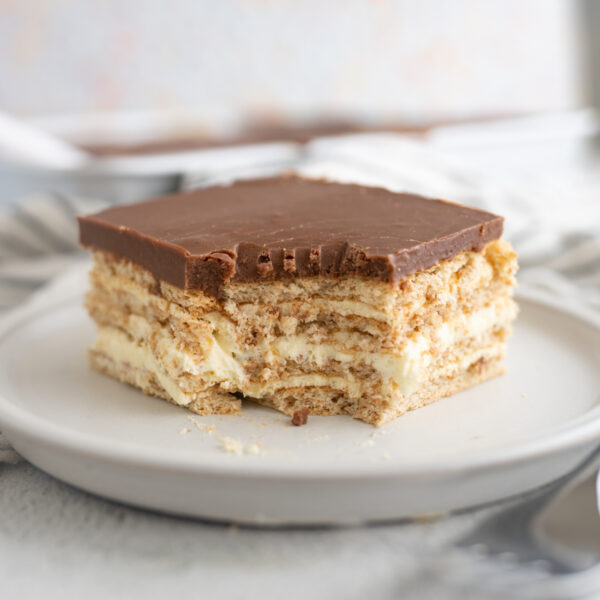
These Snickerdoodle Cookies Bars are next level!
When I’m making dessert for a group, sometimes bars are so much easier than cookies. You don’t have to take the time to form each ball of cookie dough; you can just bake the pan and then cut into your desired portion size – so easy!
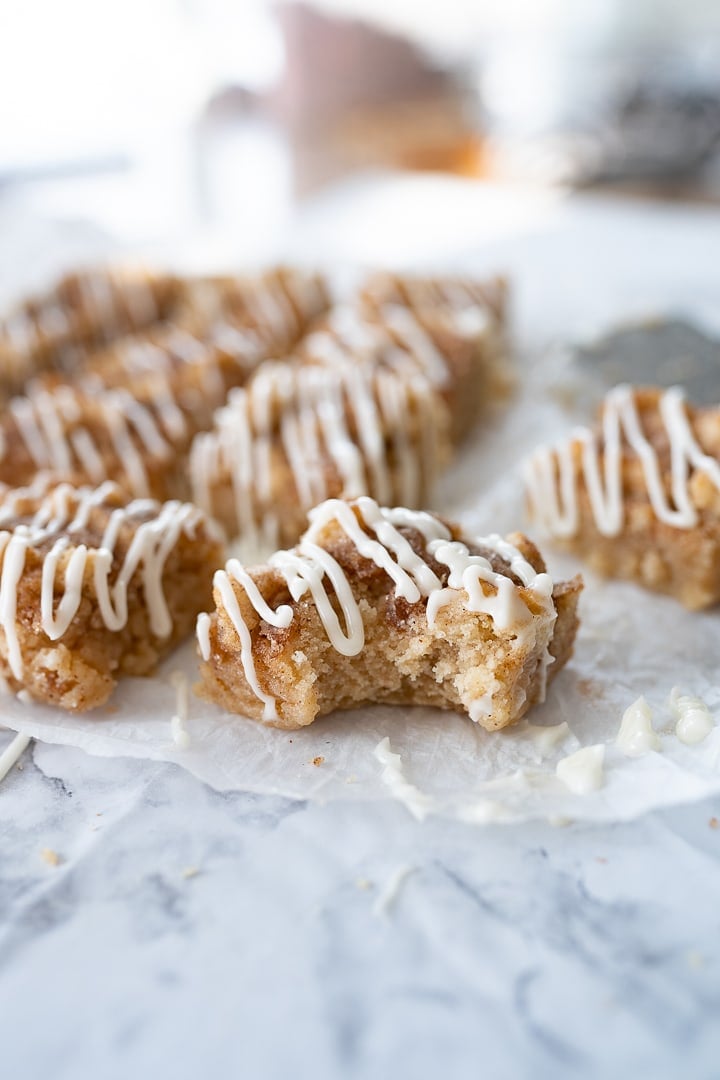
The texture of these bars are like a fudgey brownie, but full of cinnamon and sugar cookie flavors. The crispy cinnamon and sugar coating the top along with the icing really takes these to the next level.
Snickerdoodle Cookie Bar ingredients
Cookie Bar Base
- Softened Butter – I always prefer salted butter, but if you only have unsalted you can just add a pinch of salt to the dough.
- Granulated Sugar – We only use granulated sugar in this recipe because it is a sugar cookie based bar.
- Eggs
- Vanilla Extract – Yes, there’s a lot of vanilla in this recipe because it pairs so well with the cinnamon and brings a lot of flavor to the cookie bar.
- All Purpose Flour
- Baking Powder – Baking powder is what helps the cookie bars puff up and rise while baking.
- Cinnamon – This cinnamon flavors the dough itself, in addition to the cinnamon sugar topping.
Cinnamon Sugar Topping
- Granulated Sugar
- Cinnamon – These two ingredients make a perfect topping for the cookie bars that will bake into the bars and create a delicious cinnamon sugar crust on top.
Icing
- Softened Butter – Again, I always prefer salted butter.
- Powdered Sugar
- Clear Vanilla Extract – I prefer to use clear vanilla here. If you only have regular vanilla, just note that the icing will no longer be a bright white color.
- Milk – Use a small amount of milk, as needed, to thin the icing.
Snickerdoodle Bar Recipe variations and substitutions
Snickerdoodle bars are a versatile treat, and you can experiment with various flavor variations and ingredient substitutions to customize them to your liking. Here are some ideas:
- Add Nuts or Chocolate Chips:
- Cinnamon Swirl: Create a cinnamon swirl effect by sprinkling a mixture of cinnamon and sugar on top of the dough before baking. Use a knife to gently swirl it into the batter for a marbled appearance.
- Brown Butter Snickerdoodle Bars: Elevate the flavor by browning the butter before incorporating it into the dough. Browning the butter adds a nutty aroma and rich flavor to the bars.
- Lemon Snickerdoodle Bars: Add a refreshing twist by adding lemon zest to the dough or drizzling a lemon glaze over the cooled bars for a citrusy kick.
- Pumpkin Spice Snickerdoodle Bars: Embrace the fall season by incorporating pumpkin puree and pumpkin pie spice into the dough. It adds a warm and cozy flavor profile to the bars.
How can I make these Snickerdoodle Bars thinner?
These are a very thick cookie bar. If you’re wanting a thinner bar, use a 9×13 pan and then bake for only 15-20 minutes.
How can I make gluten-free Snickerdoodle Bars?
You can definitely make these cookie bars gluten-free! Just substitute the all purpose flour for gluten-free flour at a 1:1 ratio. My favorite brand is Bob’s Red Mill.

How to make Snickerdoodle Bars
- Begin by preheating your oven to 350°F.
- Prepare a 9×9 baking pan by lining it with parchment paper, and set aside.
- In the bowl of a stand mixer, or using an electric hand mixer, cream together the butter and granulated sugar until light and fluffy.
- Add in the eggs and vanilla and mix until fully combined.
- Now add in the flour, baking powder, and cinnamon and mix until a soft dough forms.
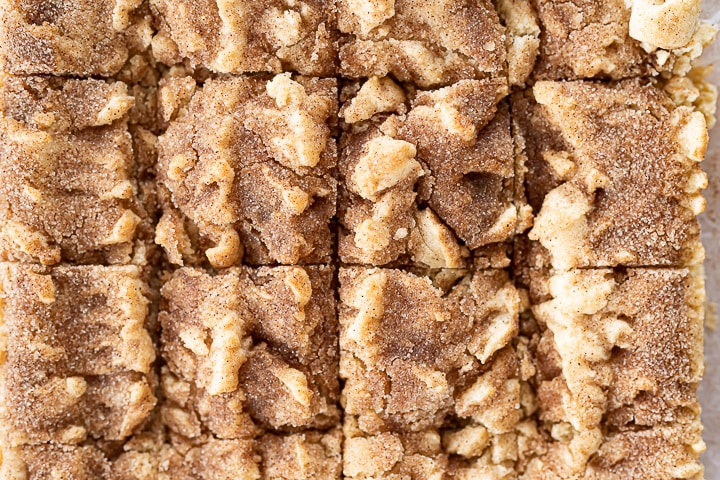
- Take your prepared baking pan and gently press the dough into the bottom of the pan.
- Use the back of a spoon to “spread” the dough and give the top of the bars a slightly rough texture.
- In a small bowl, mix together the cinnamon and sugar topping, then sprinkle on top of the dough in your baking pan.
- In the preheated oven, bake your snickerdoodle bars for about 25-28 minutes or until the bars have puffed up and the top is beginning to turn slightly golden brown.
- When done baking, allow the bars to cool completely.
- While the bars are baking and cooling, it’s time to make the icing.
- In a small bowl, combine the softened butter, powdered sugar, and vanilla and mix with an electric hand mixer, or in your stand mixer.
- Slowly add milk, one tbsp at a time, until a thick and creamy icing forms.
- Microwave the bowl of icing for 5-8 seconds to warm and slightly thin the icing.
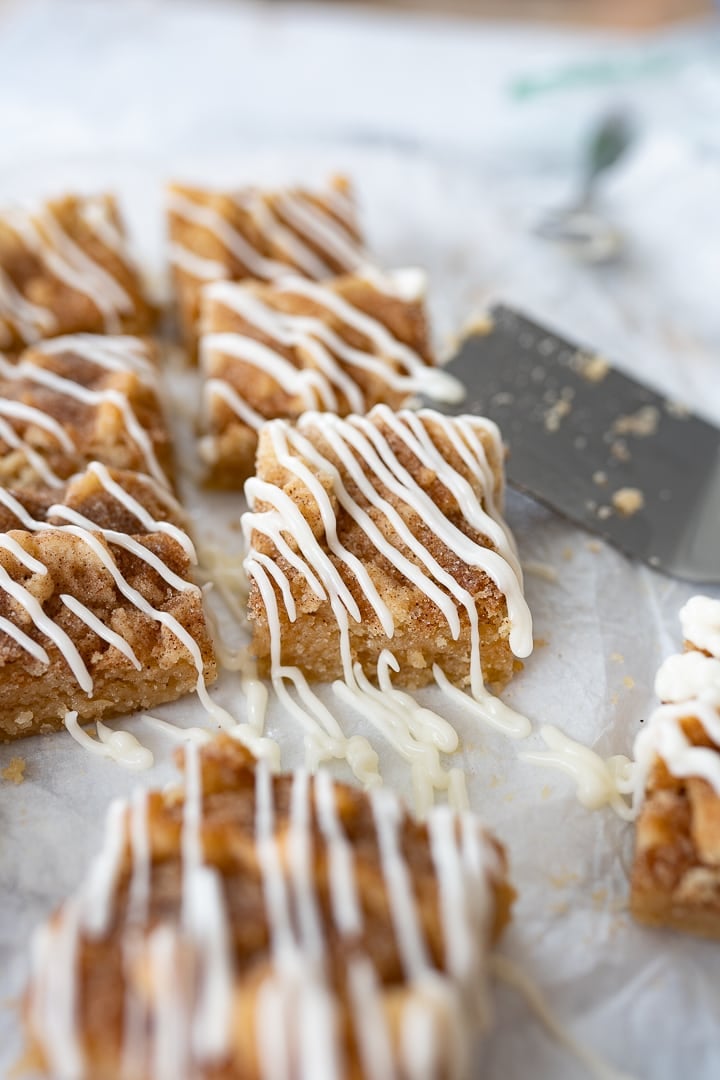
- When the cookie bars have finish cooling, cut the bars before adding the icing.
- Transfer the icing to a piping bag to drizzle on top of the bars. If you don’t have a piping bag, you can use a zip-top plastic bag and make a small cut in the bottom corner for the icing to come out. Alternatively, you can just drizzle the warm icing on the cut bars with a spoon.
- Enjoy!
- Store the snickerdoodle bars in an airtight container at room temperature for up to 3 days, in the fridge for up to 1 week, or in the freezer for up to 3 months.
How to store these Snickerdoodle Cookie Bars
To keep your Snickerdoodle Cookie Bars fresh and maintain their texture, follow these storage guidelines:
- Room Temperature: Store the cooled bars in an airtight container at room temperature for up to 3 to 4 days. Ensure they are completely cooled before sealing to prevent moisture buildup.
- Refrigeration: If you prefer a chilled treat or if you need to extend their shelf life, you can store the bars in the refrigerator. Place them in an airtight container or wrap them tightly with plastic wrap. They should stay fresh for up to 1 week in the refrigerator.
- Freezing: Snickerdoodle Cookie Bars freeze well, so you can make them ahead of time or save leftovers for later. Once completely cooled, wrap individual bars tightly in plastic wrap and place them in a freezer-safe container or zip-top bag. They can be stored in the freezer for up to 2 to 3 months. Thaw them at room temperature before enjoying.
Snickerdoodle Bar FAQs
The origin of the name “snickerdoodle” is not entirely clear. It is believed to be a whimsical name that originated in New England or Germany. The word itself doesn’t have a specific meaning, but it has become synonymous with a type of cookie rolled in cinnamon sugar.
There isn’t a particular fancy name for a snickerdoodle. However, you can refer to them as “cinnamon sugar cookies” or “cinnamon swirl bars” if you prefer a more descriptive name.
Recipes Similar to Snickerdoodle Bars

Snickerdoodle Bar Cookies
Ingredients
Cookie base
- 3/4 cup salted butter
- 3/4 cup granulated sugar
- 2 eggs
- 1 tbsp vanilla extract
- 2 1/4 cup all purpose flour
- 1 1/2 tsp baking powder
- 1/2 tsp cinnamon
Cinnamon and Sugar Topping
- 1 1/2 tbsp granulated sugar
- 1/2 tsp cinnamon
Icing
- 2 tbsp salted butter
- 1/4 cup + 2 tbsp powdered sugar
- 1/2 tsp clear vanilla extract
- milk to thin

Instructions
- Preheat the oven to 350° F.
- Line a 9×9 pan with parchment paper and set aside.
- Cream together the butter and granulated sugar until combined.
- Mix in the eggs and vanilla extract until distributed evenly.
- Mix in the flour, baking powder and cinnamon until a soft dough forms.
- Press into the bottom of your prepared 9×9 pan.
- Use the back of a spoon to 'spread' the dough smooth, giving the top a rough texture.
- Sprinkle the cinnamon and sugar on top of the bars evenly.
- Bake at 350° F for 25-28 minutes or until the cookie bars have puffed up and the top is beginning to turn golden brown.
- Remove from the oven and allow the cookie bars to cool completely.
- Cut into bars and then drizzle with the icing.
- To make the icing, add the butter, powdered sugar and vanilla to a bowl and mix with an electric hand mixer, slowly adding 1 tsp of milk at a time until the icing is thick and creamy.
- Microwave the icing for 5-8 seconds to warm and thin the icing just slightly.
- Transfer to a piping bag and then drizzle the top of the bars with the icing. Alternately you can drizzle the warm icing on top with a spoon.
- Store at room temperature for up to 3 days, in the fridge for up to 1 week or in the freezer for up to 3 months.


hello! hope to reach out to you and ask for grams conversion system in all your recipes! =) love them all!! most of the festive ones im making for the chsitmas season =) again, hoping for a grams conversion =)
Hi! I am working my way through adding grams to all of my recipes! Stay tuned!
No cream of tartar like the cookies?
Just a personal preference, but the snickerdoodle flavor still hits!
I can’t wait to try these. But is there a readon there is no cream of tartar in them?
Just personal preference there! But I think the flavor still mimics the snickerdoodle flavor perfectly.
I’m genuinely not sure where all of the negative comments about texture and dryness are coming from. I took mine out at 25 minutes, and it was still a bit doughy. I ended up taking them out a bit too soon because I was so scared of them drying out, so mine ended up being a little bit on the raw side, but that was my mistake and next time I’ll leave them in longer. Overall though, I love the taste and texture! I baked mine in a glass pan so maybe that made a difference too? I thought this was a great recipe!