This post may contain affiliate links. Please read our disclosure policy.
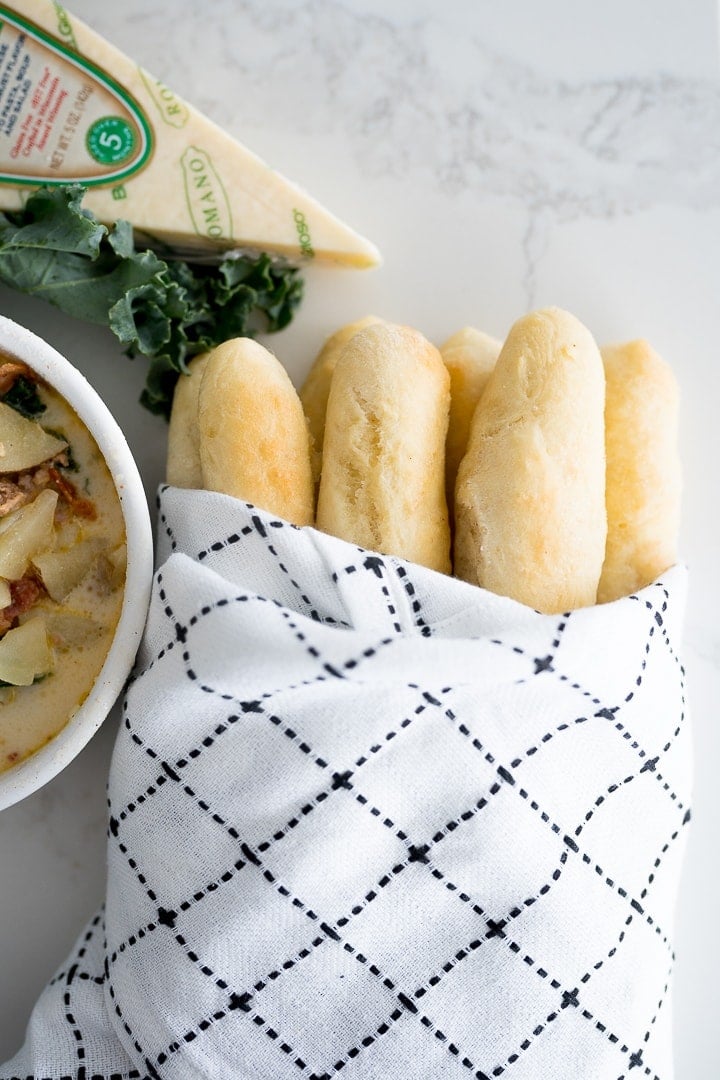
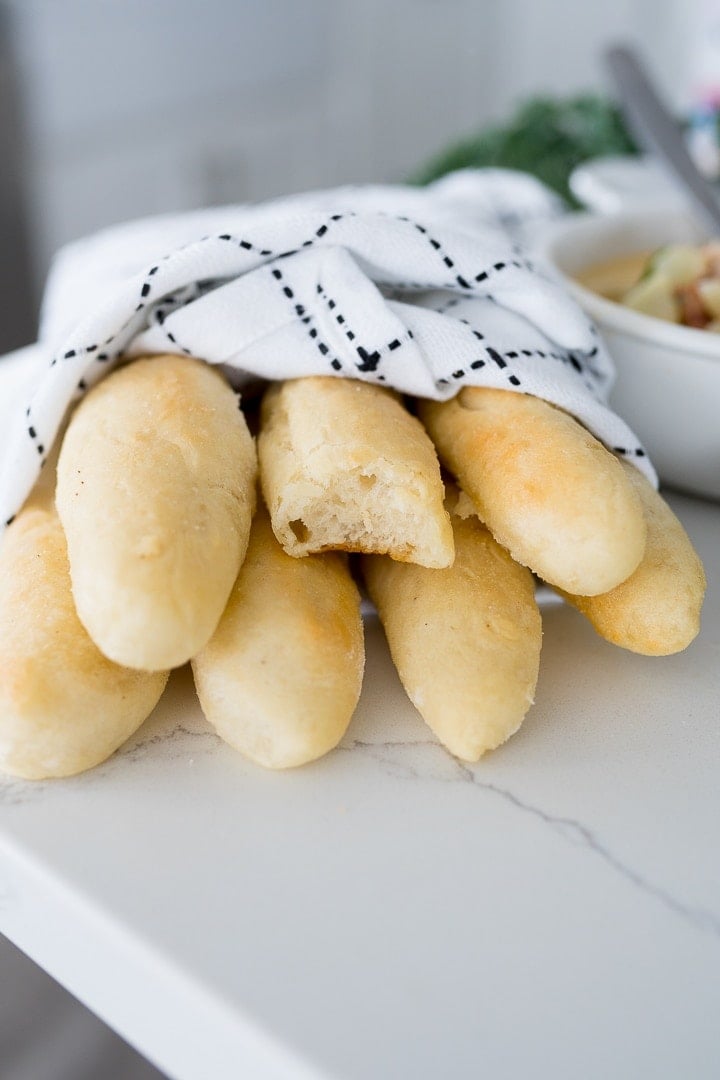
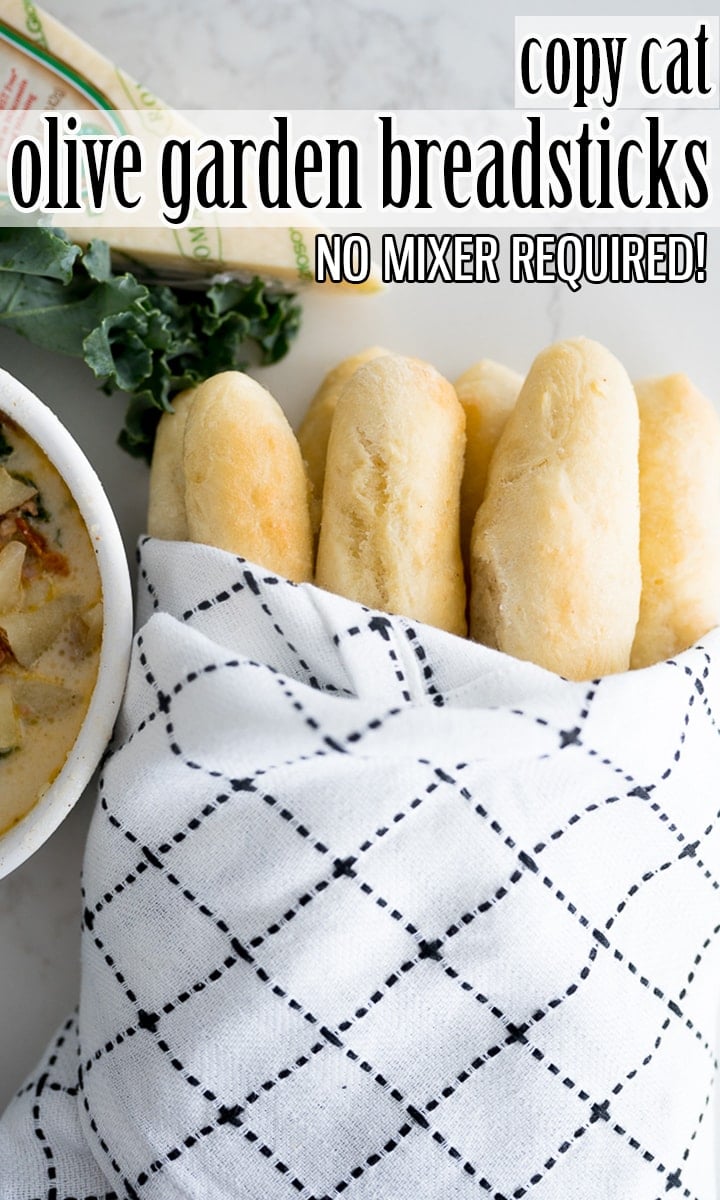
Homemade Olive Garden Breadsticks are fluffy on the inside with a perfect balance of buttery garlic and salt on the outside! This recipe is NO KNEAD, so literally anyone can (and should!) make it!
Olive Garden Bread Sticks
We all know that the greatest thing about Olive Garden is their breadsticks. They’re famous for the breadsticks and salad deals! Every time you go to eat, they sit a bread basket full of warm Olive Garden breadsticks in the middle of the table to munch on and enjoy while waiting for your meal to come.
Waiting for your food to come and filling up on breadsticks is a two sided sword. On the one hand the breadsticks are amazing, but on the other hand, if you don’t practice self-restraint, you get too full to enjoy eating your entire dish. There’s a solution to this though- making your own breadsticks at home!
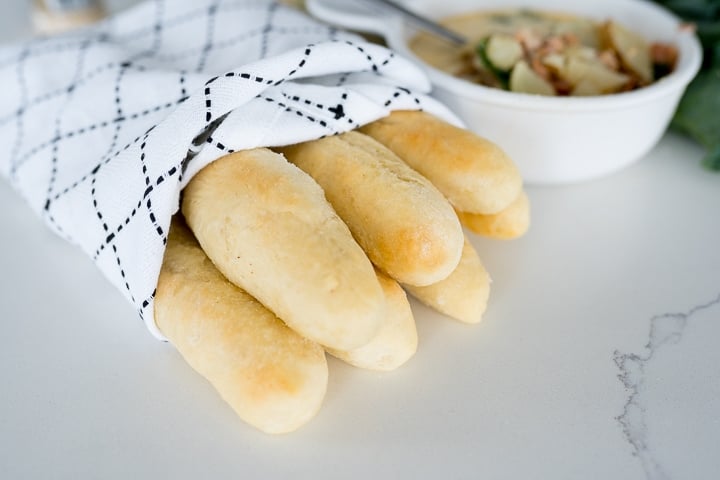
You will love these Copycat Olive Garden Breadsticks
When you follow this copycat Olive Garden Breadstick recipe at home you can make a ton of delicious fluffy breadsticks in the comfort of your own home and eat as many as you want! And the best news yet?? This recipe is NO KNEAD! Pair with Copycat Olive Garden Alfredo or Ziti and you’ll be golden!
Copycat Olive Garden Breadsticks ingredients
There is nothing crazy in this recipe, you probably have all of the ingredients in your pantry already! There are two parts to this recipe, the dough and then the butter and garlic topping.
Breadstick Dough
- All Purpose Flour
- Active Yeast
- Sugar
- Salt
- Warm Water
- Canola Oil
Topping
- Butter
- Garlic Powder
- Salt
What yeast should I use for breadsticks?
Using dry, active yeast in these breadsticks will give you a light and fluffy breadstick.
How to make Olive Garden Breadsticks
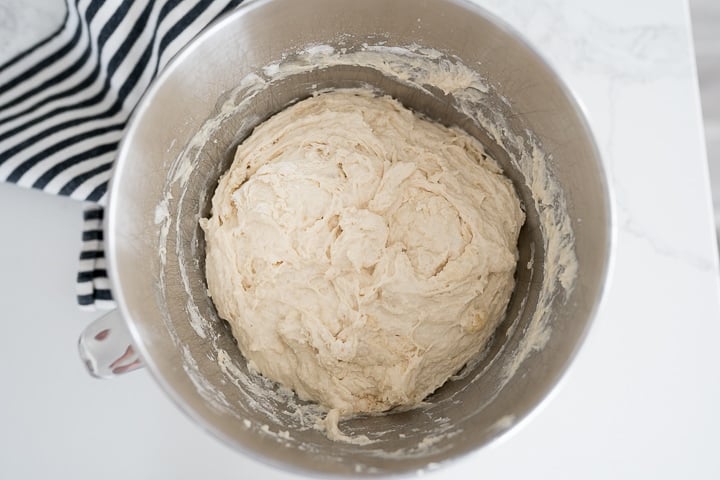
In a large bowl, whisk together flour, yeast, sugar, and salt. Then we will add in water and oil, stirring until combined. The dough will look shaggy, don’t worry about kneading it. Below is a photo of the dough prior to the dough rising.
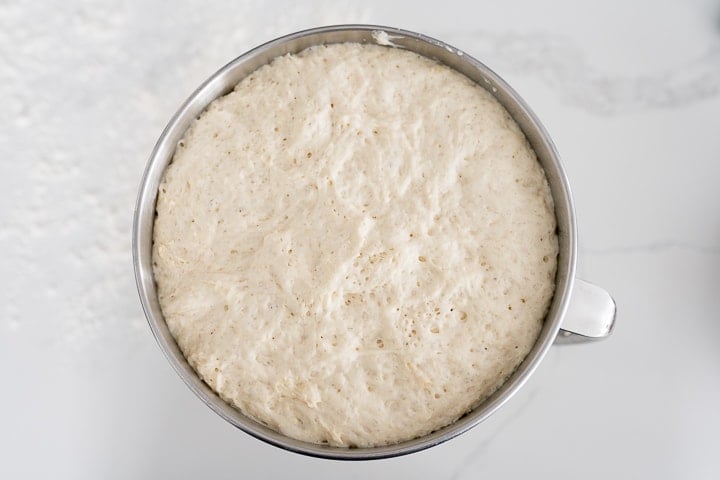
Cover and allow the dough to rise in a warm place for 1 hour. Find that sunshine and and get that bowl into it! If it is cold and dreary, I have a trick for that! Turn your oven on to 180° for about 5 minutes, TURN THE OVEN OFF, and then place the covered bowl inside of the oven for the hour.
When your dough has risen for an hour (and should definitely be doubled by now! See photo below) Flour your counter generously. Pour the dough out onto the counter. Flour the top of the dough and knead a few times until it is no longer sticky and easy to handle.
Cut the dough into 4 equal pieces. Then cut each of those into 8 pieces. Knead each piece in a little flour, to make it easier to handle. The dough will be sticky, so a little extra flour is a must! Roll into a rope that is about 8 inches long. Arrange the breadsticks on your pan, allowing some rising room.
Repeat with remaining dough. Expect to have about 3 pans worth of breadsticks so if your oven has a convection function, I would suggest using it! If not, once your first pan is ready, I would start baking as you are rolling the remaining breadsticks.
Let the breadsticks rest while the oven is preheating to 375°. (350° if you are using convection) Bake fro 15-17 minutes, until golden brown. Immediately after taking the breadsticks out of the oven, brush the tops with melted butter and sprinkle on a mixture of Garlic Powder and Salt.
How to tell when dough is risen
The dough will literally double in size when it has risen. If your dough is not rising and getting bigger, your yeast may be old or your water was either too hot or too cold so the yeast is not active. If that is the case, it is best to start over or your breadsticks will be super dense and hard.
How to shape breadsticks
Divide your dough into equal sized portions and then roll your dough into a rope on the counter with your hands.
What to serve with these Homemade Olive Garden Breadsticks
How to store this Olive Garden Breadstick Recipe
How long will these breadsticks keep?
These are best eaten same day, if you are hoping to make them ahead of time and eat at a later date, I suggest freezing the breadsticks as soon as they cool.
Can You freeze Olive Garden Breadsticks?
Yes you can! After your breadsticks have cooled, place them flat on a baking sheet and freeze solid. Them transfer to a Ziploc bag and squeeze out the extra air. Now you can reheat the breadsticks when you’re ready to eat and they’ll taste just as good as when they were fresh.
How to reheat Olive Garden Breadsticks
Place your breadsticks in the oven at 350 degrees for 10-20 minutes or until they have a nice deep golden brown color and are warmed all of the way through. You can also heat them in the microwave for about a minute or so.
Homemade Olive Garden Breadsticks FAQs
The combination of the fluffy bread texture and the salty garlic that they put on top, these are irresistible.
According to the website, each breadstick has approx 140 calories to it.
Certainly, although this recipe already makes a lot of breadsticks.
The only correct answer here is as many as you can. 🙂 According to their website, however, 2 breadsticks is a serving size.
If you loved what you saw here, get more of it on Facebook, Instagram & Pinterest! I’d love to connect! Sign up for my weekly newsletter below to never miss a new recipe again!
Want all the Bread Recipes? Try some of these!
- Asiago Cheese Bagels
- Dinner Rolls
- Honey Wheat Bread
- French Bread
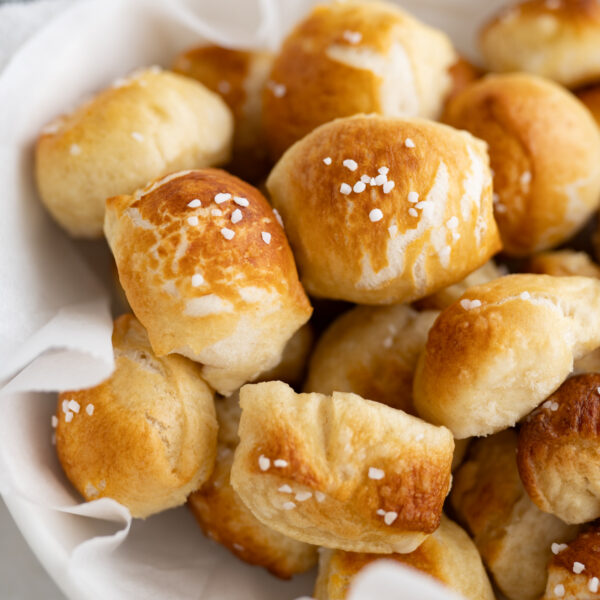
- Soft Pretzels
- Cinnamon Roll Recipe
- Blueberry Quick Bread
- Bread Bowls
- Garlic Parmesan Focaccia Bread

Copycat Olive Garden Breadstick Recipe
Ingredients
- 6 cups all purpose flour
- 2 pkg active yeast
- 1 1/2 tbsp sugar
- 4 tsp salt
- 3 cup warm water
- 2 tbsp canola oil
Garlic Topping
- 1/2 cup melted butter
- 1/2 tsp garlic powder
- 1/2 tsp salt, (optional)

Instructions
- Mix flour, yeast, sugar, and salt in a large bowl.
- Add in water and the oil. Stir until combined.
- Cover and allow to rise for 1 hour.
- Flour your counter generously. Pour the dough out onto the counter. Flour the top of the dough and knead a few times until it is no longer sticky.
- Cut the dough into 4 equal pieces. Then cut each of those into 8 pieces. Knead each piece in a little flour prior to rolling into a long rope. Arrange the rope on your pan, allowing some rising room.
- Repeat with remaining dough. Expect to have 3 pans worth of breadsticks.
- Let the breadsticks rise for an additional 15-20 minutes, while the oven is preheating to 375°.
- Bake at 375° for 15-17 minutes.
- Mix together the garlic powder and salt.
- Immediatly after taking the breadsticks out of the oven, brush each breadstick with melted butter and then sprinkle the salt/garlic mixture onto each breadstick.
- Serve immediately!


The step by step directions nor the list of ingredients has “minced garlic”, yet in the printable recipe, the first step in the instructions has the addition of “minced garlic” with the flour, yeast, sugar and salt. I assume that is an error?
Hi Sara- it’s all fixed now. Thanks!
Delicious! 2 questions though:
1) the recipe calls for 4 tbsp oil but the instructions only require 2 tbsp
2) the instructions mention adding minced garlic but that ingredient isn’t called for.
Hi Megan- Those errors have been fixed, this recipe is an adaptation of my Garlic Parmesan Focaccia Bread recipe and when I was writing things up those two things must have been overlooked. Thanks for having my back. 🙂
Even better than Olive Garden!
Good job Halle, I’m glad it worked out. Isn’t it awesome to get better that restaurant food in your own home? One of my favorite things. Happy baking!
My daughter did these while I was doing the Fettuccine Alfredo recipe in the Instant Pot. Both worked out great!
BTW We kept the bread sticks in the fridge and then cut them in half lengthwise, added a good grated cheddar along with garlic. We heated them in the oven at 375 to get the bread a bit crisp and the cheese to melt. Voila nice garlic breads for dinner another night.
So far your recipes are a hit in our house.
Thanks!
You should do a video of this it sounds yummy. im a visual learner. 🙂
what does 2pkg of yeast = to in tsp?
4 1/2 tsp.