This post may contain affiliate links. Please read our disclosure policy.
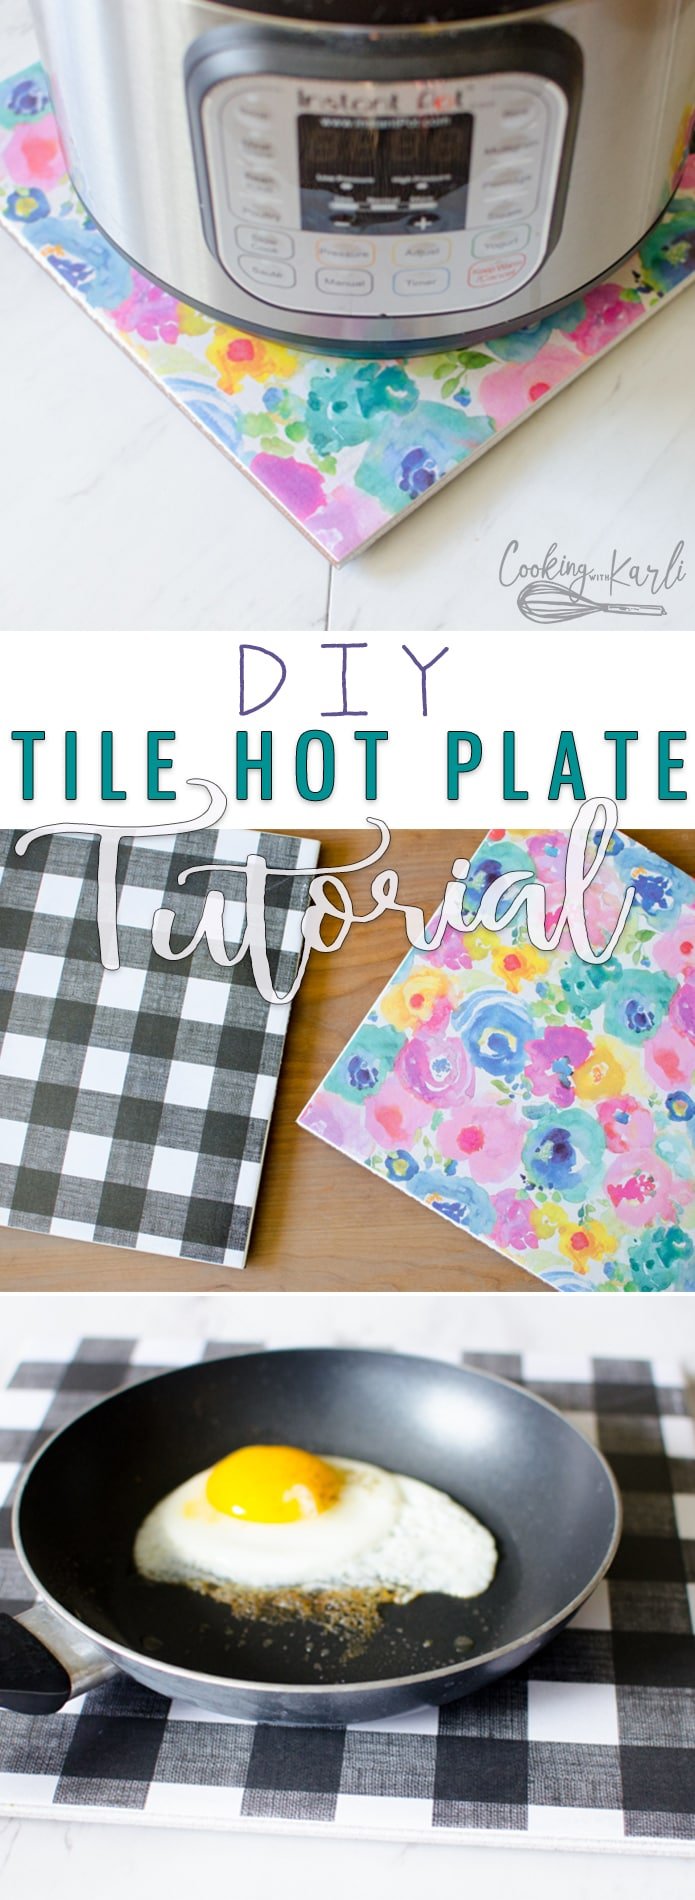
Don’t want to set a hot dish on the counter? Want something underneath your Instant Pot while on the stove? This DIY Tile Hot Plate is the perfect solution! Easy, affordable and ADORABLE! Customize your hot plate to match the decor of your kitchen!

Why Do I Need a Hot Plate?
If you are here reading this post, I am assuming you already have a reason for wanting a hot plate. If by some weird coincidence you are here just for reading pleasure, I’ll tell you my reasons for always having a hot plate near by.
I made my very first hot plate over 5 years ago.. and I am still using it!! I made two new ones while taking these pictures, but those will probably be going to new homes here soon.
5 years ago, we were living in a tiny studio-ish apartment with, honestly, the worlds smallest kitchen. The kitchen was right as you enter into the apartment. It was probably about 4 ft x 8 ft.
I had a fridge, a little camper oven, the sink, enough counter space for a dish drying rack, 4 drawers and 3 overhead cupboards. Boom, done, that was IT.
So, naturally, I needed someplace to put hot dishes as they were coming out of the oven! Heaven forbid I place a hot dish on my hand-me-down, horribly DIY painted dinner table. ?
So my hot plate sat on my dinner table and was used multiple times per day. The hot plate has moved with us to many apartments and even made it across the country and back. I LOVE that thing.
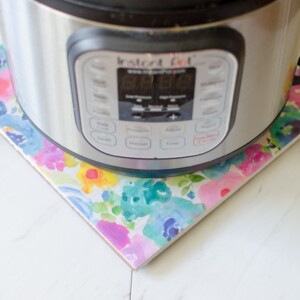
Not only is it amazing for keeping hot stuff away from the countertop, it is also perfect for setting your Instant Pot on.
The felt feet make it super easy to rotate away from cabinets while releasing the steam and it would also give a little protection if you had to use your Instant Pot on the stove top.
**Moment of silence for all of the Instant Pot’s lost to melting on the stove top.**
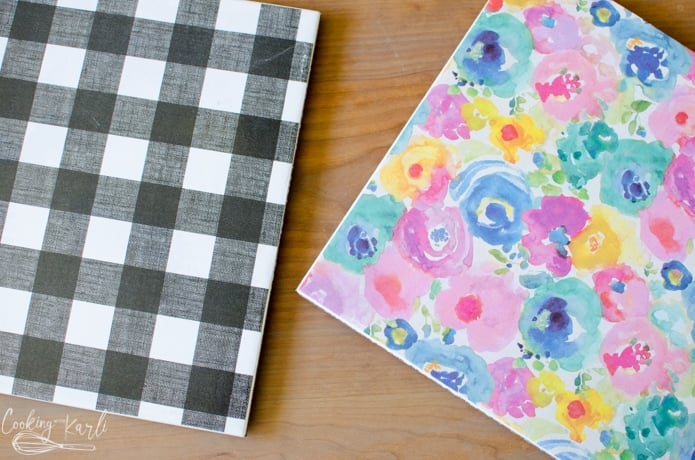
Last of all (but a very serious point!) is this not the CUTEST option out there?? Totally 100% customizable to your taste AND it is super cheap to make! ??
How to Make Your Own DIY Hot Plate
Note: I recommend buying the white tile from Home Depot. If you do not have a Home Depot near, call your hardware store beforehand and make sure they will sell you the tile individually. My local Lowes wouldn’t sell them to me by the piece, they would only sell them by the case. Home Depot was happy to sell them individually though. Each tile was $0.99.
Supplies:
- 12″x12″ white tile from Home Depot
- 12″x12″ craft paper
- Mod Podge
- (Or equal parts white school glue and water)
- Gloss finishing Spray
- 4 Felt Pads (1 inch)
- Paint brush
- Old gift card/credit card
Instructions
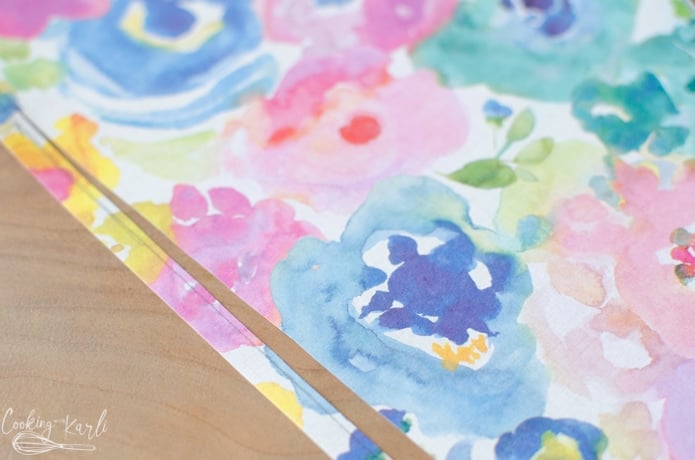
- For some reason, the 12″x12″ tile is actually a little smaller than that. (Makes no sense to me either!)The first step will be to cut the paper to fit the top of the tile. Place the tile on top of the paper and then use a pencil to trace around the tile.
Cut a little inside of the line you traced so the paper will fit on top of the tile. You won’t want any paper hanging over the edges.
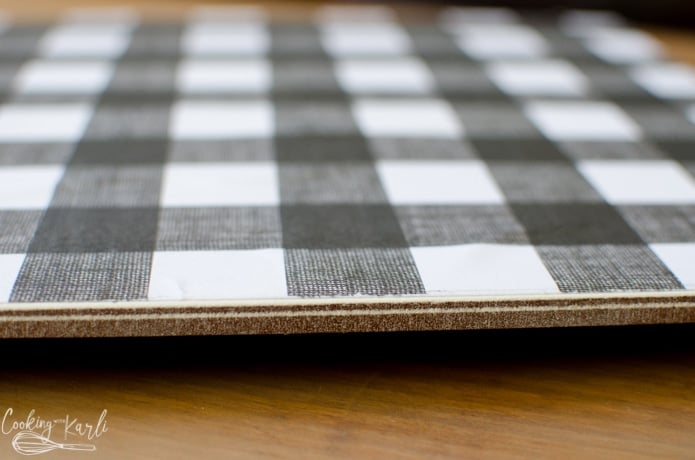
- Once the Paper is cut out, apply a thin layer of Mod Podge to the tile. Place the paper onto the tile, starting at the top and working your way down removing as much air as possible.The paper will naturally curl, that is okay. Before the Mod Podge dries, apply a thin layer to the top of the paper.
The paper should be staying in place better now. Take the old gift card/credit card and gently rub and bubbles or creases out from underneath the paper.
Mod Podge down the edges extremely well.
Let the Mod Podge dry completely.
**I have tried to use spray glue for this step before and it DID NOT work.**
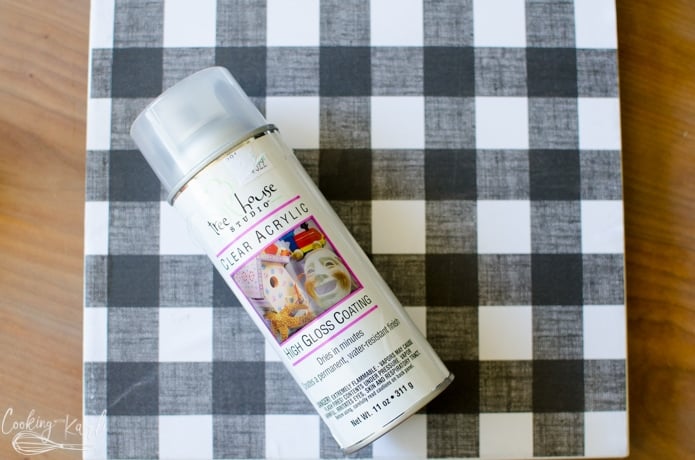
- Take the tile to a well ventilated area and spray a thin coat of the gloss top coat onto the tile.Wait a few minutes and then apply a second layer. Apply as many layers as needed until you have your desired glossiness. (Totally a word. ?)
Wait until completely dry (aka 24 hours) before handling.
- Apply the felt pads onto each corner of the hot plate.
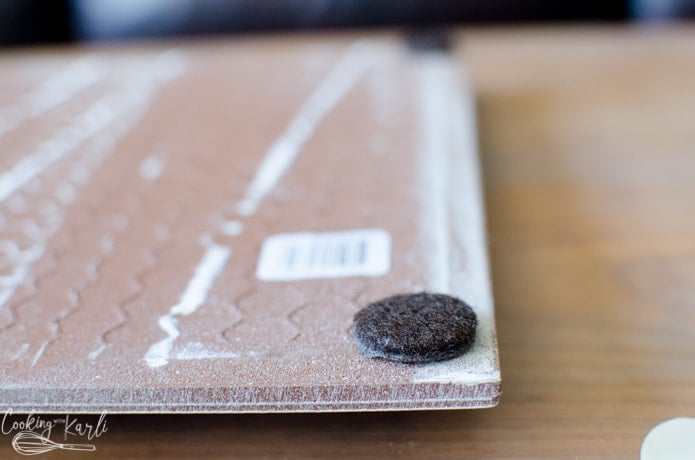
The hot plate is now ready to be used!!
With the glossy coat, the hot plate is water resistant, and can be wiped down easily
Note: The first few times these are used with extremely hot items (i.e. a cookie sheet, or a hot frying pan) the hot item *may* stick slightly to the topcoat. I haven’t ever had any issues with it though. The pot would just ‘pop’ off, if you will, and then we would go on with life! After the hot plate had been ‘seasoned’ it didn’t do it anymore.
Thanks for stopping by my website!! Here are some of my all time FAVORITE treats!
 Chocolate Cut-Out Cookies
 Chocolate M&M Cookies
 Peanut Butter Chex Bars

DIY Tile Hot Plate
Ingredients
- 1 12"x12" white tile, from Home Depot
- 1 12"x12" craft paper
- mod poge, (or equal parts white school glue and water)
- gloss finishing spray
- 4 1 inch round felt pads
- paint brush
- old gift card/ credit card


Love your tutorial! Can you use any type of paper? I’m thinking christmas wrapping paper or construction paper.
What a fun idea!! I think wrapping paper would work as long as it is thick, nice wrapping paper. The thinner wrapping paper might tear during the step where the air is being removed from underneath the paper. I would imagine construction paper would work as well. I haven’t tried either so I can’t say for sure, though. If you try them out, let me know how it goes! ?
This will be the perfect addition to our newly renovated kitchen so I don’t ruin my new countertops! On the topic of renovations, we have the tile ready to go for our entryway. I read where you said the tile is smaller than 12×12 and it didn’t make sense. I was right there with you a few months ago. But then I learned why! It’s so when you lay tile and add the grout, the tile +half of your grout line is 12 inches. If you are measuring an area and it’s 6 feet wide, you would buy 6 tiles plus 1/4 inch grout line, you’d have to cut some off of a tile. This way, you would buy the 6 tiles, add the grout and it is exactly 6 feet!
That makes so much sense, Lindsey! Thanks! Hope you love these!
I am really glad I found this today. I actually melted, yup MELTED a silicone hot pad on Saturday. And let me tell ya, the house stunk for hours, the dogs & cats were scared out of their minds because of the smoke detectors loud beeping, and who knew those pads would melt? Granted, they aren’t suppose to go in the oven, but I had put a hot cast iron pot on the pad, and when I went to put the pot back in the oven, well, evidently the pad was stuck on the bottom of it. Perhaps if I had seen it was stuck less chaos would have ensued, but hey…live & learn!
Can the spray gloss be purchased at the craft store or do I need to get that at Home Depot too?
That sounds awful! I’m so sorry!! The spray gloss can be purchased at the craft store. 👍🏻
Always looking for more craft ideas for the home and gifts, I have used your method for hot plates and also used your hot plate instructions for making wall hangings instead of felt. I would super glue picture hanger on the back , and hung some on wall . Thank you for all your dyi’s
I’m excited to try this but had 2 questions. One, could I use a photo for the tile instead of paper? Also, I’ve read somewhere that mod podge isn’t heat resistant. Does it get soft when it gets too warm?
Hi Kristan- I haven’t had any issues with the mod podge getting soft, you can get a heat resistant clear coat for the very end though!! You could definitely use photos if you’d rather instead of paper. Good luck!
Great idea!! Can’t wait to try it.