This post may contain affiliate links. Please read our disclosure policy.
The BEST french bread recipe ever! I walk you through how to make this easy french bread in a way that is beginner friendly without sacrificing taste.
Watch this video to see exactly how easy this French Bread really is!!
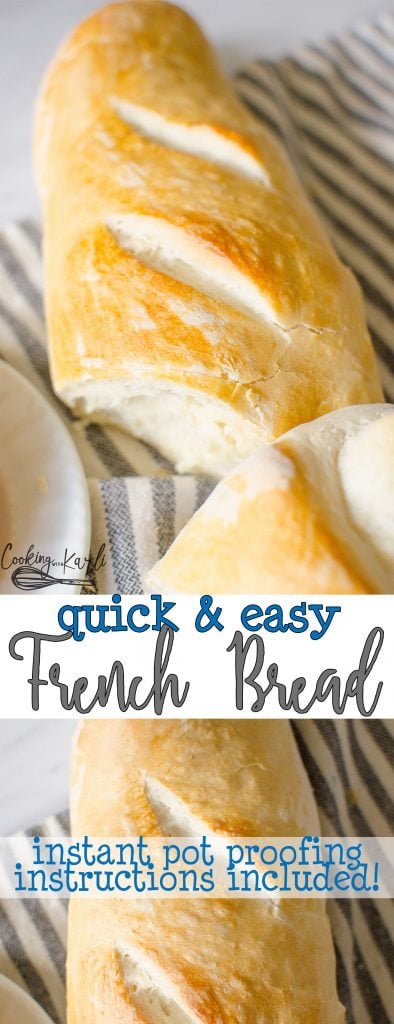
EASY French Bread
This is your step-by-step guide for easily making french bread and feeling like a rockstar while doing it! Homemade bread is one of life’s simplest pleasures, but people tend to overcomplicate the process. My recipe for french bread keeps it simple – without sacrificing the delicious taste of the finished product.
If you’ve never made bread before, this is honestly the best place to start! I’ll teach you how to whip up 2 quick french bread loaves that will impress you, your family and anyone else you break bread with. So if you’re looking for a way to avoid running to the grocery store *again* but still want a delightfully crusty bread to serve with dinner, let’s do this.
Why You’ll Love this Quick French Bread Recipe
This is the easiest French bread recipe out there- not only is it quick but honestly it’s the best recipe to start with if you’ve never made bread before. Plus, you get two large loaves from this one recipe so freeze one or gift it to a neighbor. Either way it is a win!
Easy French Bread Ingredients
- Quick Rise Yeast – This will help the dough rise faster, which yields a faster French bread!
- Warm Water – if you have an instant read thermometer, the water should be about 110°, if not, you’ll want it to just feel slightly warm when the water runs on the inside of your wrist.
- Sugar – the sugar will initially help activate the yeast and then more sugar is added to the dough. The final bread is not sweet by any means.
- Oil – the oil helps make the bread tender, without it the bread would be more heavy and tough.
- Salt
- Flour – all we need here is All-purpose flour. Nothing fancy needed!
How to Make French Bread in Instant Pot
- First you will combine warm water, yeast & a little bit of sugar and let it do its thing for 5 or so minutes. You’ll end up with bubbly yeast, this means that you yeast is active and working. If it hasn’t, your yeast is dead and you need to try again.
- Add the yeast, flour, sugar, salt, oil & water into your mixer. Using the dough hook, turn the mixer on low until the flour is incorporated. Turn the speed up just a tad and let the mixer kneed for about 5 minutes.
- When the dough is done kneading you should be able to pull off some dough and roll it into a ball. The dough will stick to the sides of the bowl a bit but it shouldn’t stick to your hands when you try to roll it.
- Add about 1 TBSP of oil to your Instant Pot and turn it on. Push the yogurt button and then adjust until the normal light is on.
- Dump the dough into the instant pot and coat the dough in oil so it will not stick.
- The dough will now rise for 40 minutes. Every 10 minutes you will want to come back and ‘knead’ the dough a few times.
- I found it easiest to use a spoon to push it down and move it around. The ‘kneading’ process should take about 30 seconds is all. Just push it down to release the built in air, cover and let it proof for another 10 minutes. So at 10 minutes, 20 minutes and 30 minutes you will ‘knead’ the dough. At 40 minutes you will dump the dough out onto a floured surface. Knead the dough in the flour a few times to soak up the excess oil.
- Divide the dough into the amount of loaves you’d like to make. Today I was taking dinner to a friend so I made 2 loaves. I’ve made one large loaf before as well as 4 small loaves.
- The best way to shape the loaves is to first roll the dough out into a rectangle.Then starting on the long end of the rectangle, roll & pinch the dough until you’ve rolled it into the desired shape.
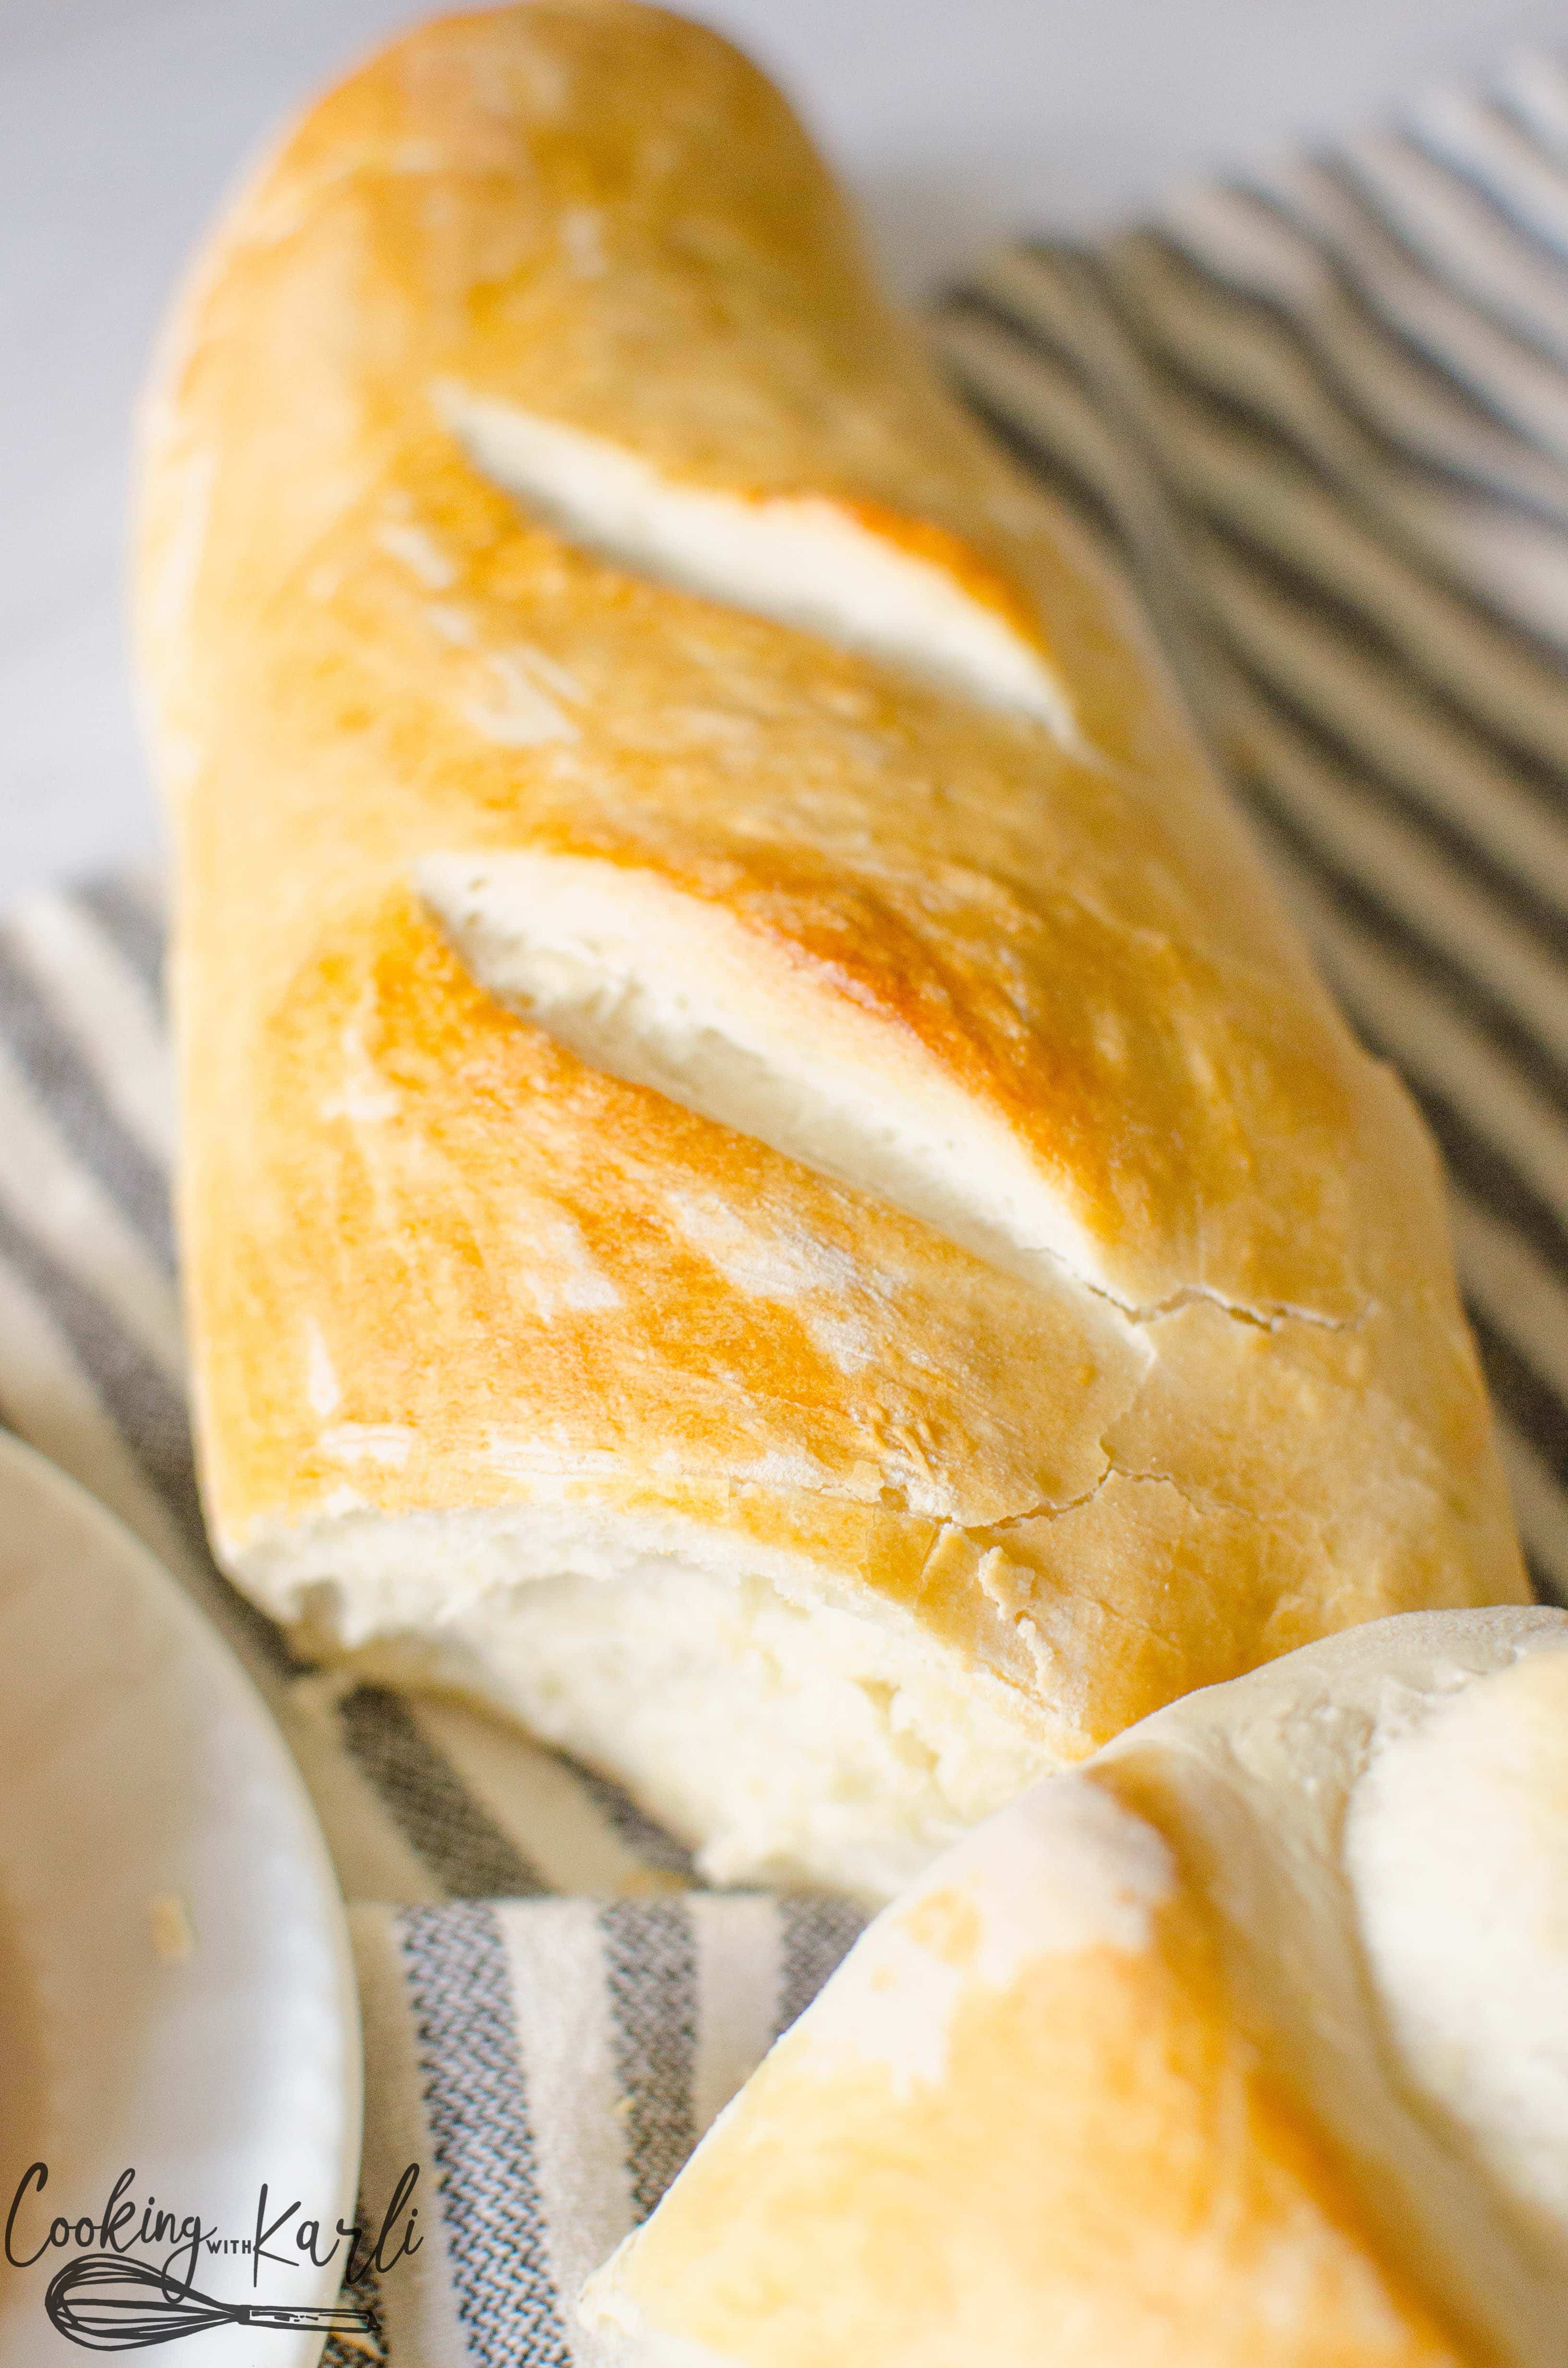
- You can put an egg white wash on now if you’d like. It doesn’t change the taste, it just makes the crust shiny when finished. Then take a knife and score the top of the dough.
- Set the oven to 425°. Place the loaves of bread on top of the oven to raise while the oven preheats.
- Once doubled, bake at 425° for 10 minutes and then lower the temp to 375° (without taking the bread out) and bake for an additional 20 minutes. There you have it! Super yummy & quick french bread!

What to do with this Easy French Bread Recipe
I am a purist so I just love the warm french bread with the hard crust slathered in butter but my family loves to eat it with honey or raspberry jam. I also will never say no to dunking a thick slice of French bread into some stew.
Easy Quick French Bread FAQs
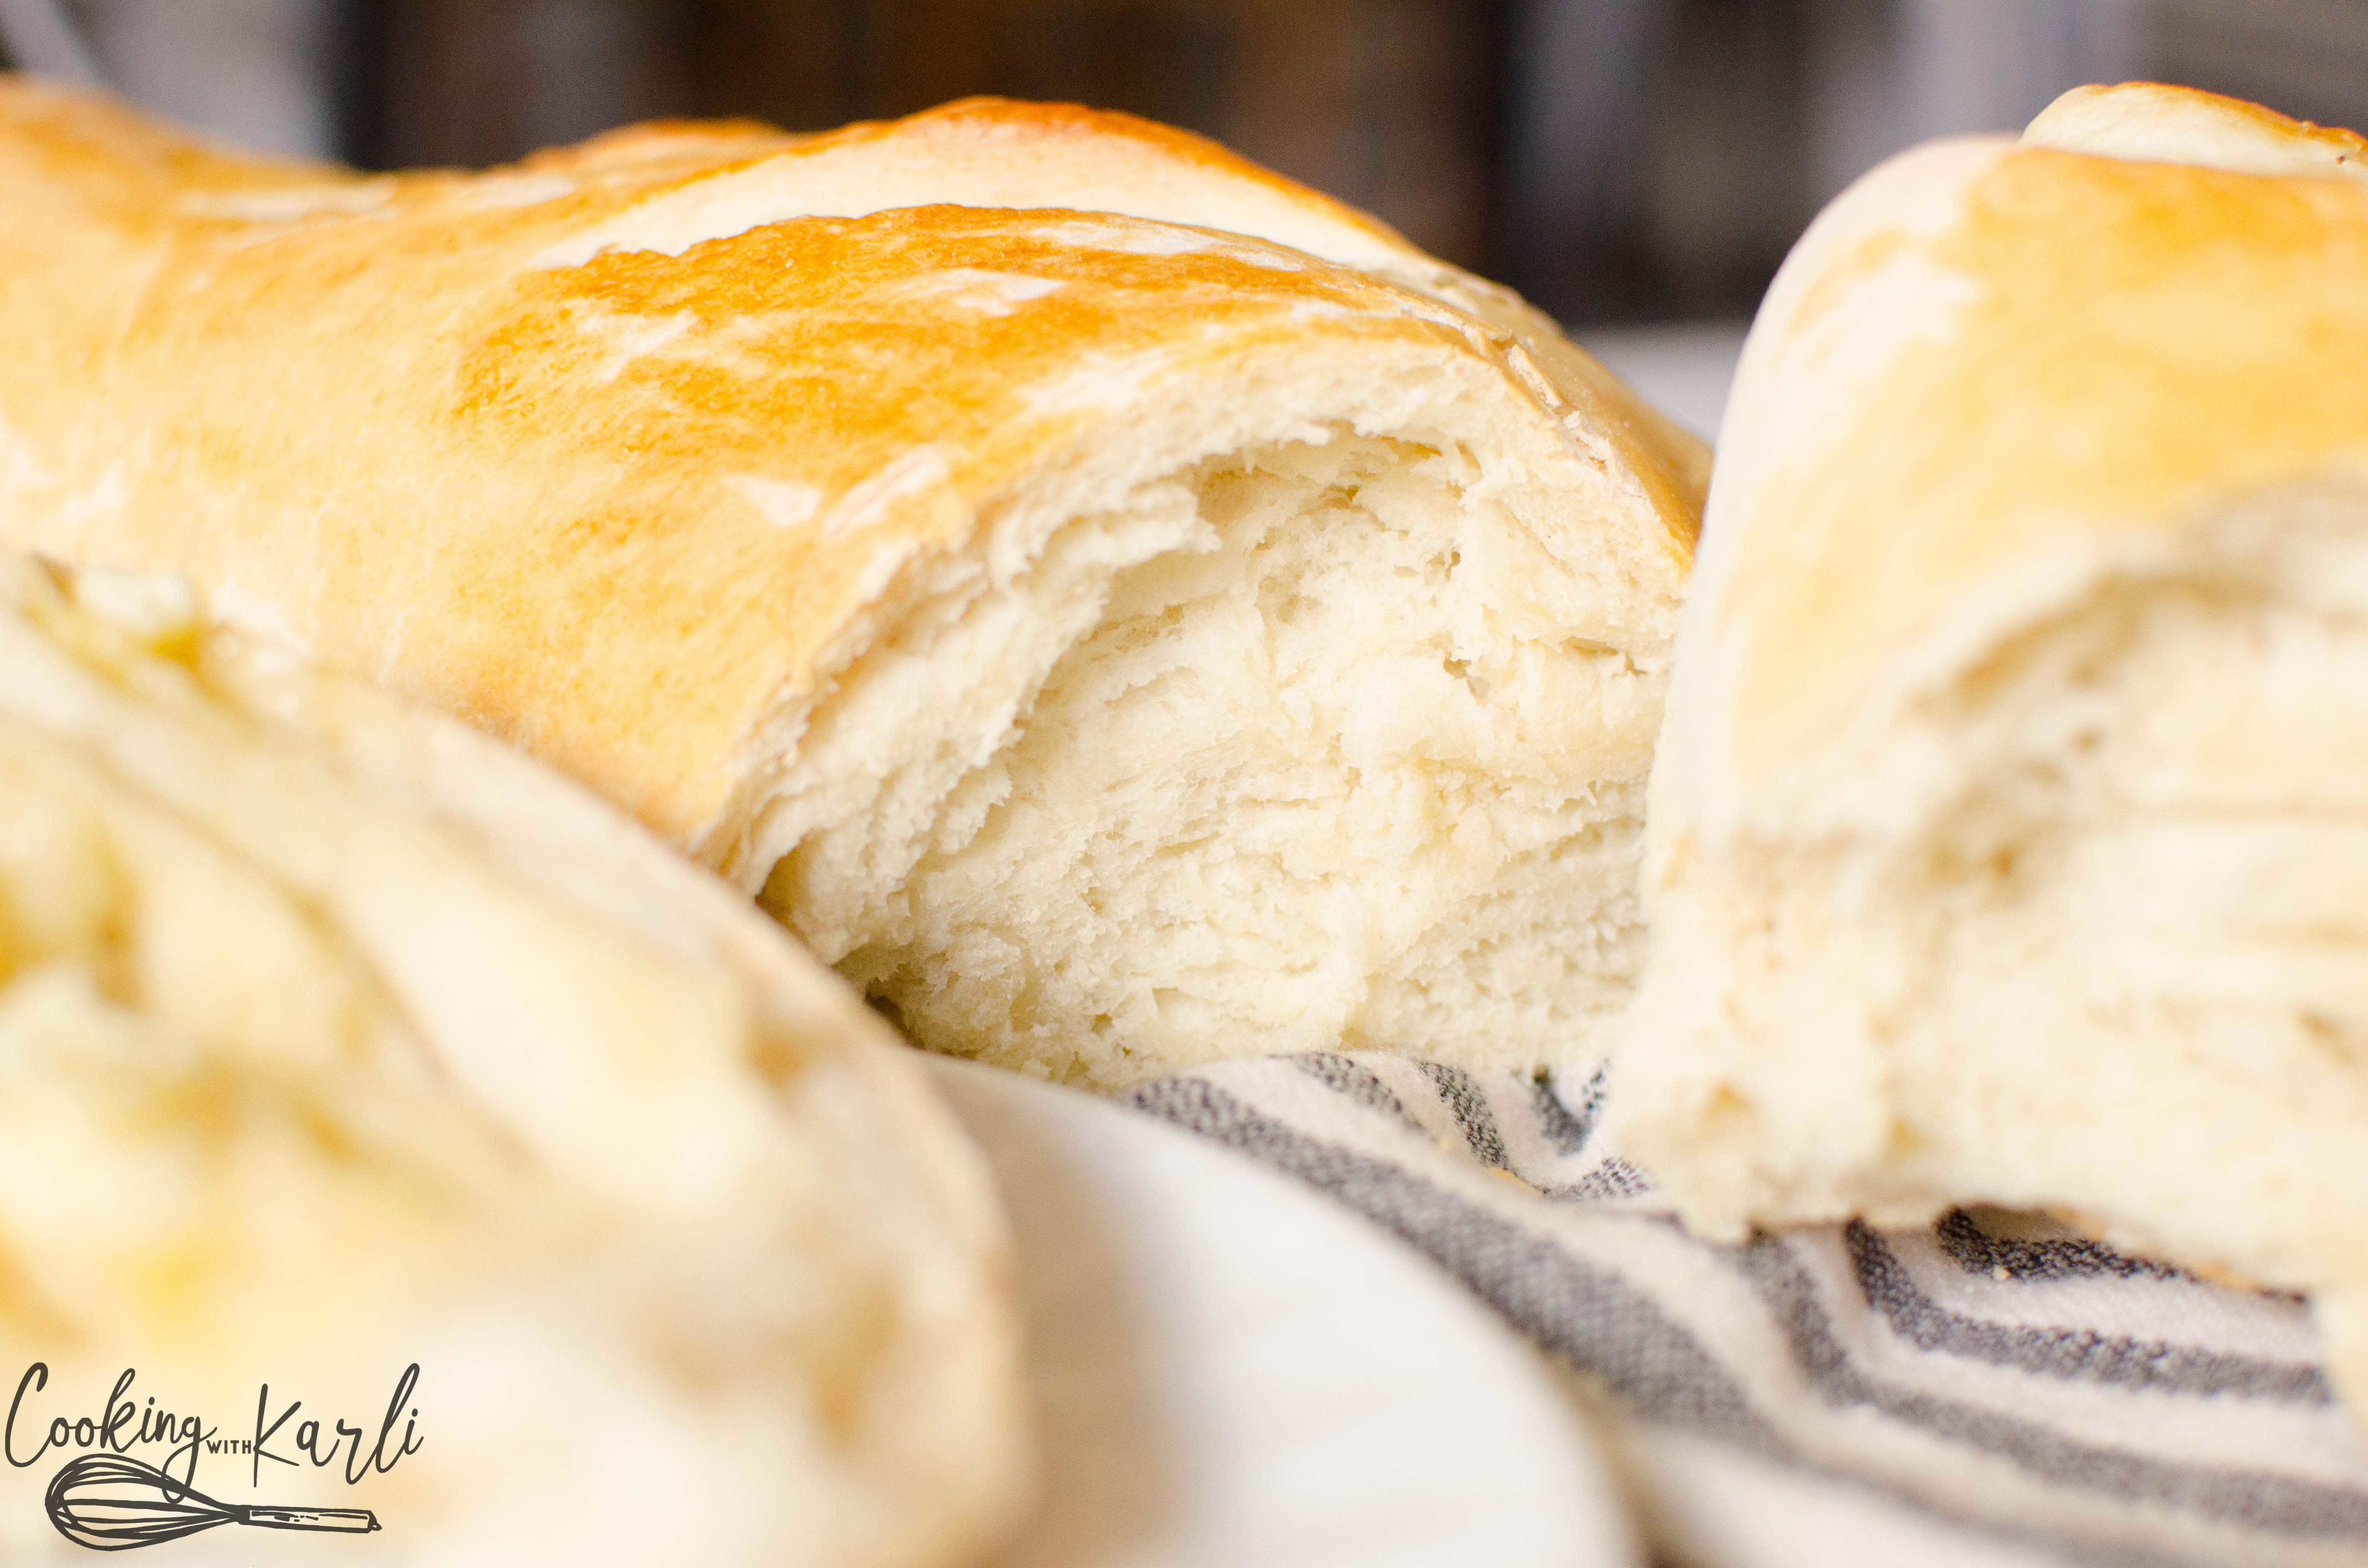
French bread is always a longer and narrow loaf of bread with a crusty exterior. The inside should be light and soft.
The combination of the yeast and flour with that thick, hard crust gives French bread it’s classic flavor profile.
It will take about 30 minutes total in the oven to completely bake your loaf of French bread. There is more time involved with making a loaf at home, though. You’ll need to consider how long it takes to prepare the dough and let it rise.
I recommend using unbleached all-purpose flour or bread flour! These two flours have a higher protein content, resulting in the textbook structure and chewiness of french bread without becoming too dense.
Store your french bread in a paper bag at room temperature for up to 2 days! Whatever you do, you do not want to put this bread in the fridge or a ziplock bag as it will rob your loaf of moisture and make the crust unpleasantly chewy.
More like this Easy French Bread Recipe


Fast French Bread Recipe
Ingredients
- 1 1/2 tbsp quick rise yeast
- 2 1/2 cup very warm water, divided
- 1 1/2 tbsp sugar, divided
- 2 tbsp oil
- 2 1/4 tsp salt
- 6 cups flour

Instructions
- Combine 1/2 cup of warm water, the yeast and 1/2 tsp sugar. Let the mixture sit for 5-10 minutes until nice and bubbly.
- Add the bubbly yeast and all other ingredients (2 cups of water, remaining sugar, oil, salt and flour) to the bowl of a stand mixer. Using the dough hook, combine the ingredients. Once ‘dough’ has formed, turn the mixer’s speed up a little and let the mixer knead for 5 minutes.
- The dough will stick to the sides of the bowl a little but you should be able to roll the dough into a small ball in your hands easily without it sticking.
- Pour 1 Tbsp of oil into the instant pot. Place the dough into the Instant Pot and push the yogurt button, adjust it to the normal setting. Roll the dough in oil so it will not stick.
- The dough will now rise for 40 minutes. Every 10 minutes you will want to come back and ‘knead’ the dough a few times. Cover with a lid while you are not ‘kneading’. So at 10 minutes, 20 minutes and 30 minutes you will ‘knead’ the dough. At 40 minutes you will dump the dough out onto a floured surface
- Divide the dough into the amount of loaves you’d like. Use a rolling pin and roll the dough into a large rectangle. Shape the dough by starting at the long rolling and pinching the dough until you have achieved the desired shape. Score the top of the dough with a knife. You may do an egg white wash at this point if desired.
- Set the oven to 425°. Let the dough rise until double while the oven is preheating.
- Bake at 425° for 10 minutes. Without taking the bread out, turn the oven down to 375° and bake for an additional 20 minutes.
- ENJOY!!
Video
Nutrition


The first time I made this I followed the directions word for word. I had 2 beautiful loaves!
The next time I made it and I split the dough after it raised. I made a loaf, a bread pan of monkey balls and a pizza! It all turned out wonderful! I think this is my go to quick dough recipe from now on. I’m going to play around some and add flavors and maybe cheeses to the dough. Best and easiest bread recipe I’ve had in a long time! Thank you!
Hi Karli, need help badly😭. I tried the first time, the dough is SO sticky…thought I did something wrong, so toss it and tried again with special caution, same thing! No clue what I did wrong 😑
I used King Arthur unbleachred all purpose flour, newly bought
Saf- instant yeast red label, it was bubbling well. (Should I not activate it?)
The rest are so standard.
I did your ciabatta without any issue. It was perfect!!
What was possibly went wrong?
Hi Janice- if it is really sticky, just add a little more flour until it is the right consistency. This bread is pretty forgiving if you go by the texture of the dough. It should stick to the sides of the bowl but shouldn’t stick to your fingers if you pull some off and roll it into a ball. 🙂 I hope that helps!
I’ve been so disappointed in so many other “French bread” recipes, I made only one of these, expecting similar results. I haven’t been so pleasantly surprised in a long, long time! My Instant Pot doesn’t have a yoghurt setting, & wasn’t sure what setting I could substitute so opted for the oven-proofing method.
Guaranteed, this will be the go-t0 recipe from now on! Thank you so much for sharing!
Yay! I am so glad this was such a pleasant surprise! Thanks for the comment, Sam!
The easiest most fool proof bread recipe that doesn’t take all day, will be making again, a double batch next time to freeze some!
I’m glad you’ll be making the recipe again! 🙂 Thanks, Shauna!
My instant pot does not have a yogurt setting. Is there another setting on it I could use?
Unfortunately, all of the other settings are too hot and will bake the bottom of your dough. Sorry about that!
I have whole wheat white flour on hand. Can that be used in place of all purpose flour?
Should work fine!
What type of oil did you use in the bread?
Canola
Hi Karli! I absolutely love your recipe! I was curious though if I didn’t have the time to bake it right away, can I refrigerate the dough until I’m ready? Any tips or things I should know?
Yes, you should be able to refrigerate the dough. Just make sure that it is covered well.
hoping you see this. I am alone now, so I don’t need 2 loaves. Love this recipe but wondered if I can freeze the dough later, and if so, at what point?
Love this. Wish you could come up with half this recipe. I tried small batch french bread, but didn’t rise like yours. But it’s just me now and I can’t seem to get a good 1 loaf recipe. Tried cutting yours in half but must be doing something wrong.