• Skip to primary navigation
  • Skip to main content
  • Skip to primary sidebar
  • Skip to footer
Cooking With Karli logo
  • Recipe Box
    • Instant Pot
    • Crockpot
    • Main Dish
    • Sides
    • Dessert
    • Kids cooking
  • Work With Me
  • Shop
  • Nav Social Menu

    • Facebook
    • Instagram
    • Pinterest
    • YouTube

Home || Recipes || Dessert || No-Churn Chocolate Frozen Yogurt

No-Churn Chocolate Frozen Yogurt

Jan 31, 2018 · Leave a Comment

Share
Pin
Share
Jump to Recipe

No-Churn Chocolate Frozen Yogurt is a great base for your imagination to run wild! No ice cream machine needed!

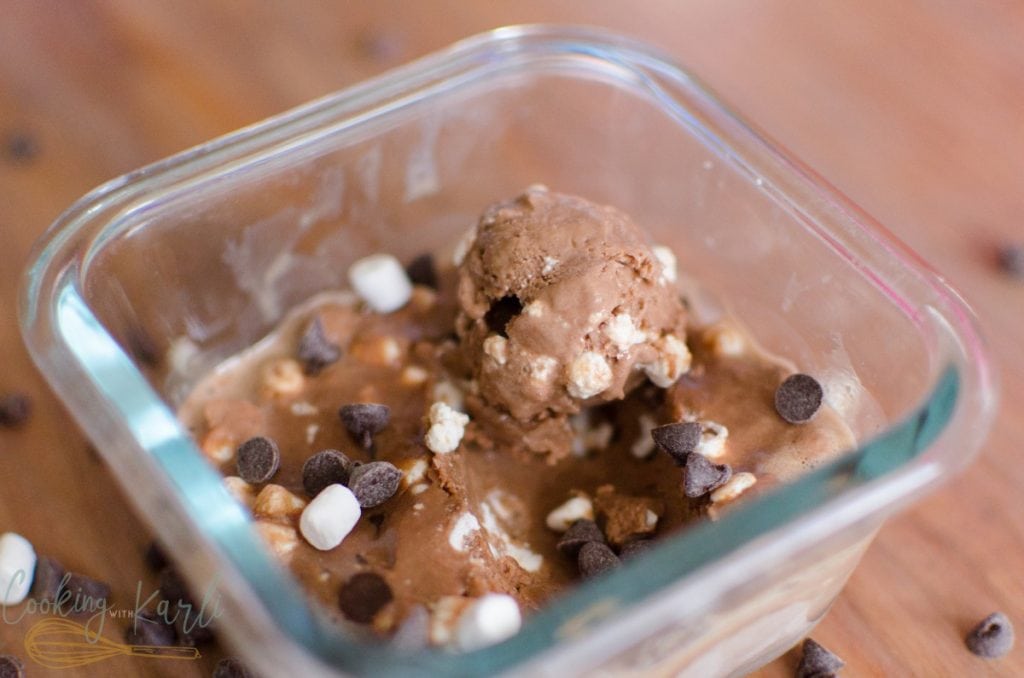
The past week or so I’ve been feeling so BLAH. I don’t know, maybe it’s all the overcast weather and my serious need for some sunshine?

Or maybe its because my baby thinks we should party 4 or 5 times per night? All I know is that I needed to get into a better mood, pronto.

A few days ago, the kids and I made another batch of gogurts and I decided to save out a little yogurt for me to experiment with.

Frozen yogurt did the trick, People. I’m happy to report that I have been a much more pleasant person after discovering this little yogurt trick.  

I will edit this post with more detailed pictures soon- this is just way too delicious to not share with the world right this instant!

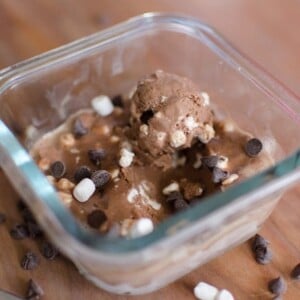
No Churn Frozen Yogurt

Frozen yogurt made from Instant Pot yogurt.
No ratings yet
Print Pin Rate
Course: Dessert
Prep Time: 2 minutes
Servings: 2 cups
Author: Karli Bitner

Ingredients

  • 2 cups homemade yogurt strained
  • 4 tsp vanilla extract
  • 3 tbsp cocoa
  • 4 tbsp sugar
  • toppings optional

Instructions

  • Combine all ingredients in a bowl. Taste to make sure you like the flavor, you can add more cocoa or sugar depending on the sweetness you prefer. Transfer to a freezer safe container
  • Put in freezer coming back to stir every hour until it is too hard. 
  • At this point you can either eat it (which happens more than not over here!) or you can put it all into your kitchen aid mixer and beat it until smooth, put back into the container and then freeze overnight. This will make the frozen yogurt extremely smooth in texture.)
  • When your ready to eat, let it sit out for about 15 minutes for maximum creaminess! 

Notes

-It is very important to use STRAINED yogurt. The whey will turn to ice when frozen, so if you don't used thick, strained yogurt you will result with icy frozen yogurt instead of creamy and smooth.
-Peanut butter is such a yummy add in! What other things have you added in? Comment below!
 
Tried this recipe?Mention @cookingwithkarli or tag #cookingwithkarli!


Share
Pin
Share
karli

ABOUT KARLI

This blog is a little glimpse into my kitchen, family & life. I hope you’ll giggle the days away with me and enjoy the craziness that goes on at my house. There isn’t ever a shortage of crazy. I can promise you that! Buckle up, keep your hand and legs inside at all times and enjoy the ride! Read more...

  • Email
  • Facebook
  • Instagram
  • Pinterest
  • YouTube

Reader Interactions

Leave a Reply

Your email address will not be published. Required fields are marked *

Recipe Rating


Primary Sidebar

About Karli

This blog is a little glimpse into my kitchen, family & life. I hope you’ll giggle the days away with me and enjoy the craziness that goes on at my house. If you are Cookie obsessed like I am, check out my Sister Site, Cookies for Days.

More about Karli

Footer

Disclosure and Privacy Policy | Work With Me | About Me | THEME: Seasoned Pro

Copyright © 2023 · Cooking with Karli