This post may contain affiliate links. Please read our disclosure policy.
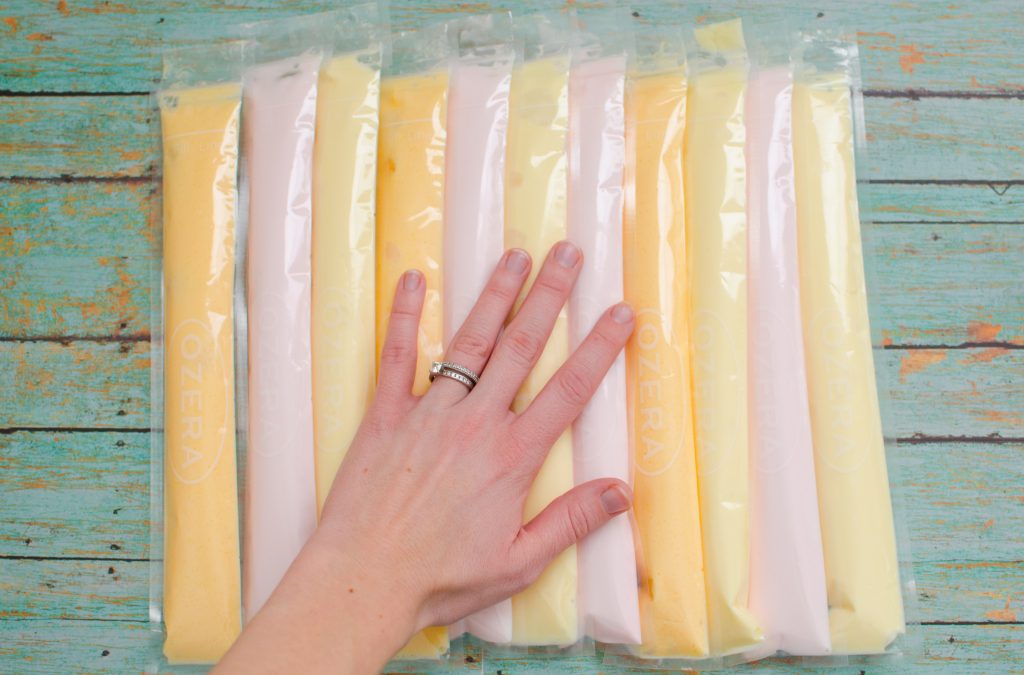
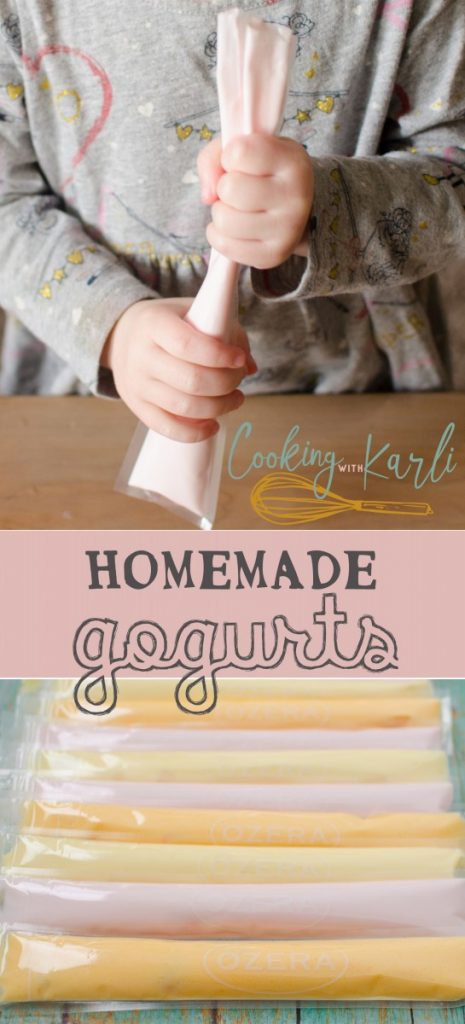
Homemade Gogurts are delicious and you can control the ingredients in them! Kids love these!
Homemade Gogurts. Basically yogurt-on-the-go, aka any mom’s dream. The one downfall is that I may have to cut off an arm or a leg just to keep up with the amount of yogurt my kiddos want to eat. Those things are not cheap by any means! At my local grocery store a package with 8 gogurts is $3.99! I’m pretty sure my kids would eat all 8 in one day if I let them too.
Enter Instant Pot: life changed. Making your own yogurt is such a game changer! It saves so much money, plus it tastes so much better! My kiddos weren’t sold quiet yet though, it didn’t taste like the overly sweet gogurts they were used to. On a whim one day I added some Jello powder to try and flavor it a little for them. Bingo. I’d found a keeper! Update: Sugar free drink mixes and other add ins are also delicious! Find out more below!
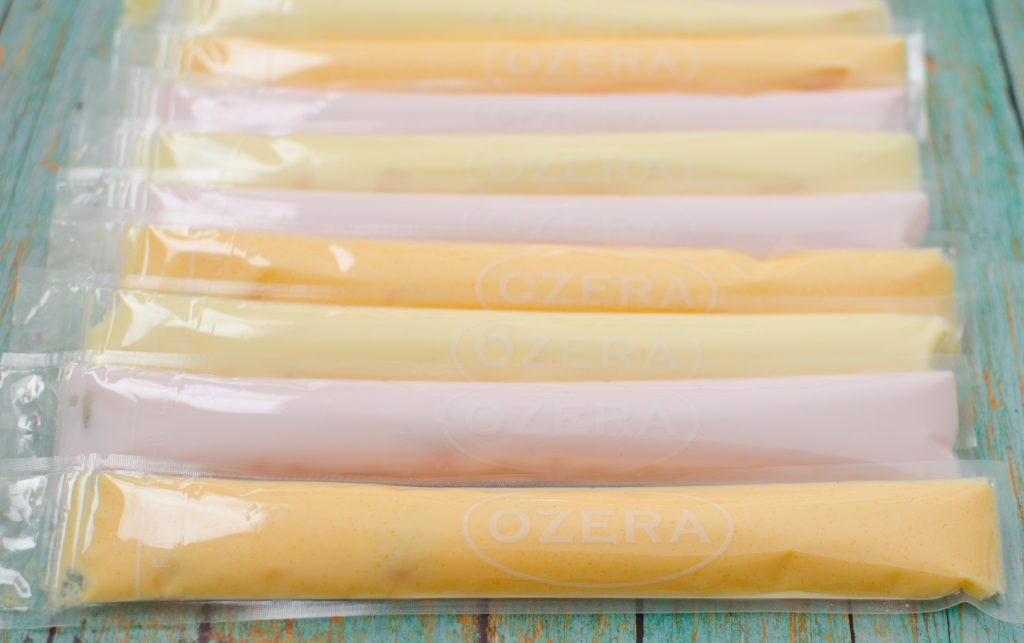
I immediately went and searched trusty amazon and quickly found these disposable plastic tubes! Done and done. (There are some reusable options on amazon too if you’re interested!) Before I get ahead of myself, lets talk about how I make the plain yogurt.
Cold Start Yogurt
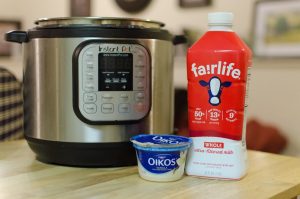
There are two methods you can use to make yogurt. The boil method and the cold start method. I wrote a more detailed post on the cold start method here. I like the cold start method for a few reasons. There are no thermometers needed, it is quick to throw together and it uses Fairlife milk.
Fairlife milk has half the sugar that regular milk has and it has twice the protein. It is also lactose free! I always use whole milk, mostly because my kids are the ones that eat the majority of it and they could stand to put a little meat on their bones! You can use skim, 1%, 2% or whole milk while using this method. Whew, now that we’ve got that out of the way, lets get to it!
You are going to dump the milk into your clean, dry Instant Pot liner reserving about a half of a cup. I like to whisk my starter (2 spoonfuls of yogurt that contains live/active cultures. Read the back! It will tell you!) into the reserved milk and then add that to the instant pot to make sure it blends with the milk well.
Turn your Instant Pot on, press the yogurt button and adjust it to ‘normal’. The display should read 8:00. You can adjust the time if you’d like, I always incubate for 8 hours though. The timer will start at zero and count up to the 8 hours. ALWAYS USE A GLASS LID, COVER or take the seal out of your Instant Pot lid while making yogurt. Unless, that is, you want taco flavored yogurt. 🙂
I always start my yogurt at about 8:45 pm because my husband gets up for the day at 4:45 am (I know, remember my earlier post about not being a morning person? I think I know where my son gets his morningness from!) Anyway, when my husband gets up he will toss the liner into the fridge and then by 8:00 am it is ready to flavor and eat!
Now lets talk about flavoring & sweetening. 
There are many ways you can flavor and sweeten your yogurt. For plain, vanilla yogurt I like to add some of this Torani’s Vanilla syrup. I honestly think this tastes just like Yoplait Vanilla Yogurt. Side note: Torani’s is amazing in so many things! Have you tried it in your hot cocoa? Or your soda pop? There is even a sugar free version too!
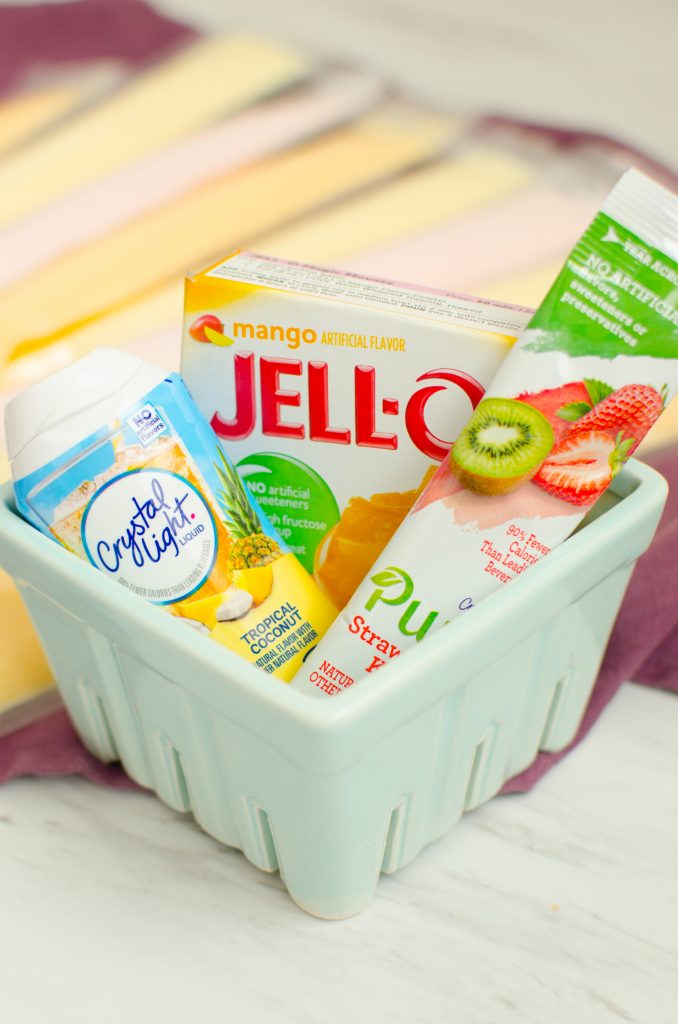
I have found a few things that really flavor the yogurts well. Drink mix packets, jello, and my new personal favorite, Crystal Light Liquid.
The amount you add is dependent on how flavored you’d like your yogurt. I always add a little, taste, add some more, taste again etc. until I’ve reached the desired flavor. I like to add a splash of Vanilla Torani’s syrup too. I think it really takes the taste to the next level.
The Crystal Light drink mix I used is all natural, no artificial flavors or colors if you’d like a more natural option. There are some awesome sugar free drink mixes that taste amazing too!
The Crystal Light Liquid might by my new favorite though. It is so powerful, you don’t need much which results in a much thicker outcome.
I used a pastry bag, and they filled really easily. The yogurt keeps well in your fridge for 2 weeks, but a batch is lucky to last a week at my house.
Jello flavor ratings:
- Raspberry- Great! I thought it tasted just like a raspberry shake. If you like the taste of real raspberries I would suggest mixing in some raspberry jam. That is seriously delicious.
- Lime-Wasn’t our favorite. It stayed quite tart, I would suggest sweetening this with something extra like honey
- Grape- This was a good one!
- Strawberry Banana- This one is a favorite. I’ll probably make some of this every week!
- Peach- This was good, but definitely tasted like artificial peach.
- Strawberry Watermelon sugar free drink mix- A++++ We really liked this one!
- Coconut Crystal Light Liquid- AMAZING. Must try.
- Mango- really good. The yogurt kept it’s tartness but it is beautifully flavored.








I was wondering if I could use soy yogurt instead of the Greek for the active bacteria. My son has an actual lactose allergy we carry an epi pin for. He misses having gogurt in his lunches.
Can I add milk to simulate store bought yogurt smoothies? My children prefer smoothie yogurt over thicker tube yogurt. Thank you!
How can I make yogurt in my instapot that does not have a yogurt button?
Hello. Have you tried using dairy free yogurt as a starter?
I personally haven’t, I’m sorry I’m not more help this time!
You could definitely add some milk to thin it out a bit! I hope your kids enjoy!!
I haven’t ever done it but a quick search looks like you can do it!! Check this out! 🙂 https://www.glueandglitter.com/soy-yogurt-in-the-instant-pot/
This is a great resource for making yogurt without the button! https://ifoodreal.com/instant-pot-yogurt/