This post may contain affiliate links. Please read our disclosure policy.
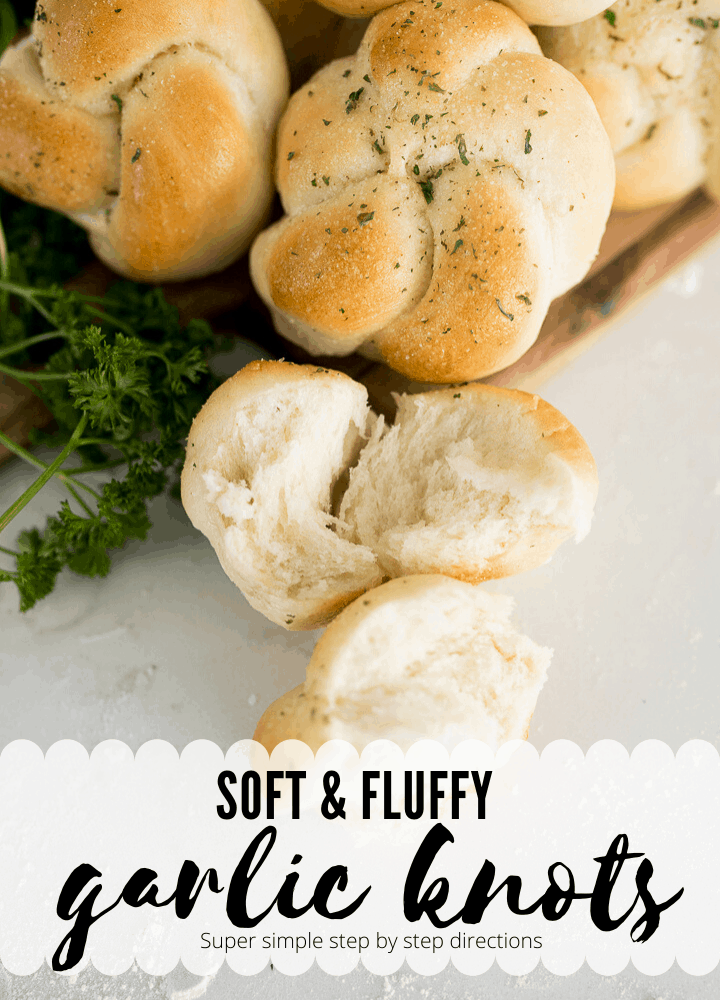
Garlic Knots are made with a simple, from scratch dough with a one hour rise time. These are perfect for Sunday Dinner, a casual weeknight meal or a fancy holiday feast!
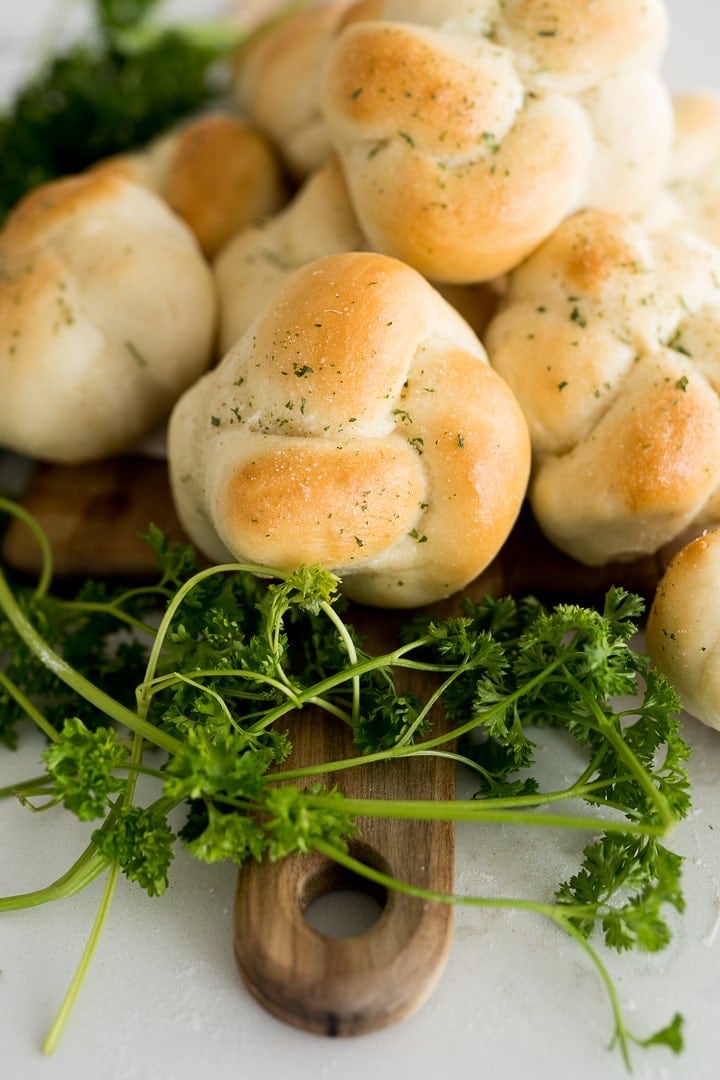
Garlic Knots Recipe
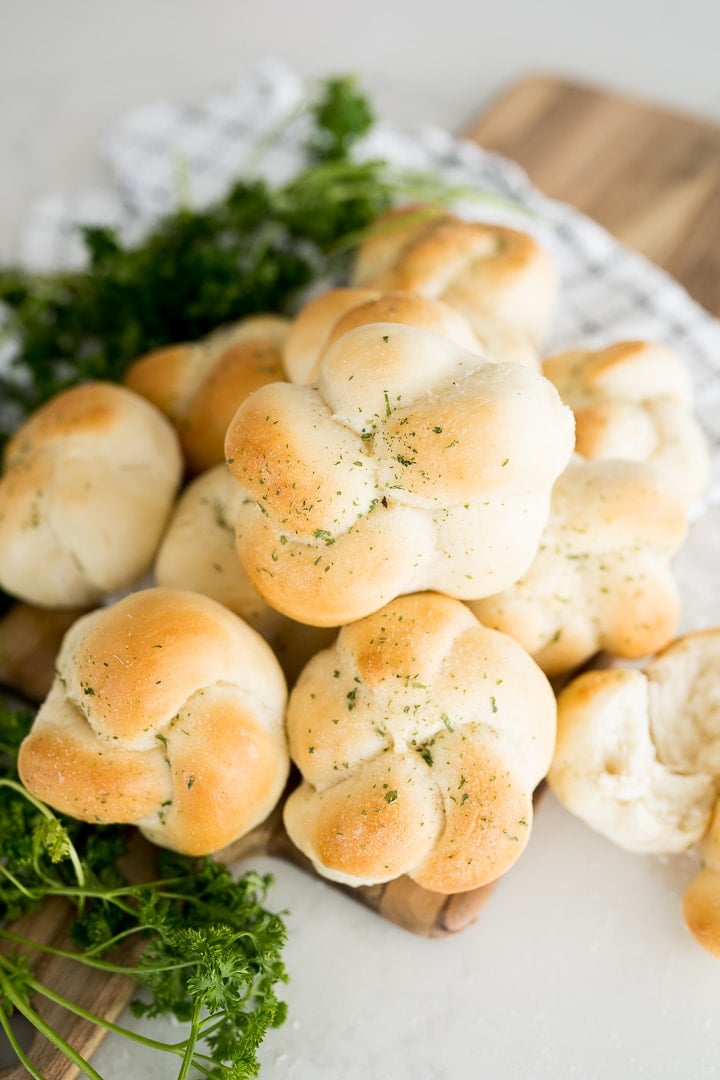
Garlic knots make a great side dish or appetizer that everyone can agree on. With soft buttery bread rolls covered in garlic and parsley, you can see them going great with Italian themed dinners like pasta or pizza. Just make sure that you make enough for everyone because they’re going to go quickly as everyone reaches for 2 or more each.
Make these garlic knots even more favorable by sprinkling on a little bit of grated parmesan cheese (the stuff from the sprinkling can). This can give you a great garlic parmesan bread roll that’s perfect for any occasion. Of course, these rolls are perfect as-is, but you can’t go wrong with a garlic cheese combo, right?
If you’ve never made yeast breads before or you don’t have a lot of experience working with them then you are going to love how simple this recipe is. It’s a great way to get your feet wet and try something new while not investing too much time or physical effort. Seriously, these garlic knots are perfect for so many reasons, but you’ll just have to try them for yourself to see!
What’s In Garlic Knots?
- Warm water: if you have an instant read thermometer, we are looking for a temperature somewhere around 110°.
- Dry Active Yeast: This recipe calls for a packet of yeast, if you buy your yeast in bulk (like me) 1 packet is equal to 2 1/4 tsp.
- Sugar: Sugar is needed in this recipe to feed your yeast, so your rolls will rise. You don’t need a whole lot, but definitely do not skip it.
- Melted Butter: Generally bread and roll recipes call for oil, we are replacing that with melted butter. The extra fat content in butter gives us a fluffier end result. You can substitute for oil if you would like, though.
- Salt: We will need salt divided! We will be using it at two points during this recipe.
- Flour: No need for special flour for this recipe! This calls for just all purpose flour.
- Garlic Powder: Double check you are using garlic powder, not garlic salt.
- Parsley: I usually use dried because that is what I always have on hand, but if you prefer the tase of freshly minced parsley & happen to have some, be my guest!
How to Make Garlic Knots
Making garlic knots really shouldn’t be anything that intimidates you. The dough comes together easily, and honestly is the best dough in the world to work with. The texture and elasticity are unmatched!
I would definitely recommend using a stand mixer of some sort while making this recipe if you can, if not, feel free to skip the gym for a few days. 😉 You can stir everything with a wooden spoon and then knead by hand.
You can find step by step directions on how to make the dough in the recipe card below. Here, I’d like to talk more about shaping those knots!!
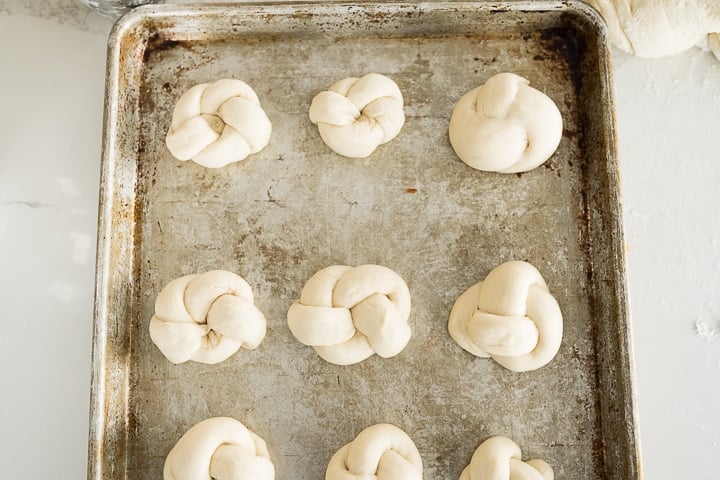
How to tie dough into a knot
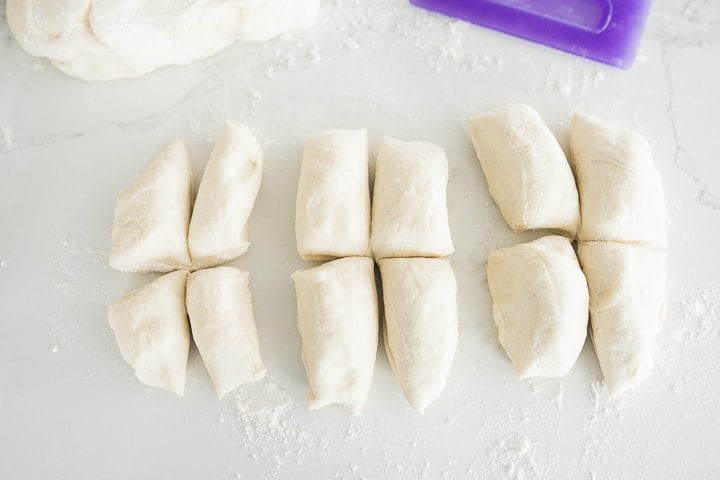
First it is important to divide your dough into even portions to make consistent rolls.
Once you have your dough pieces cut equally, one at a time, roll into a nice long rope.
Create a ‘U’ shape and then cross the top, like pictured below.
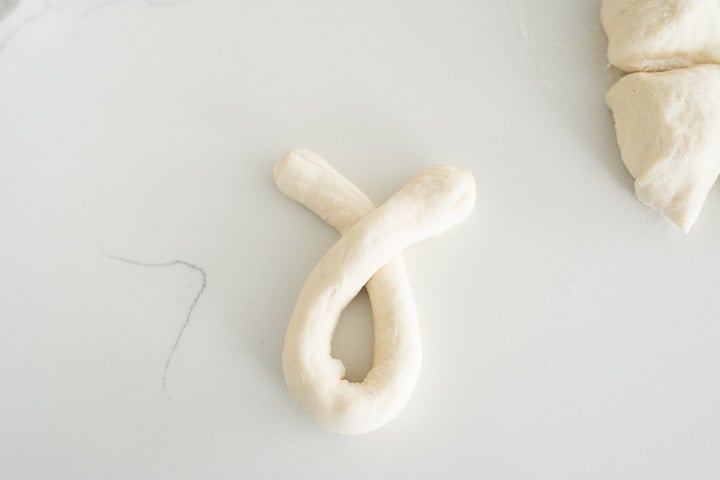
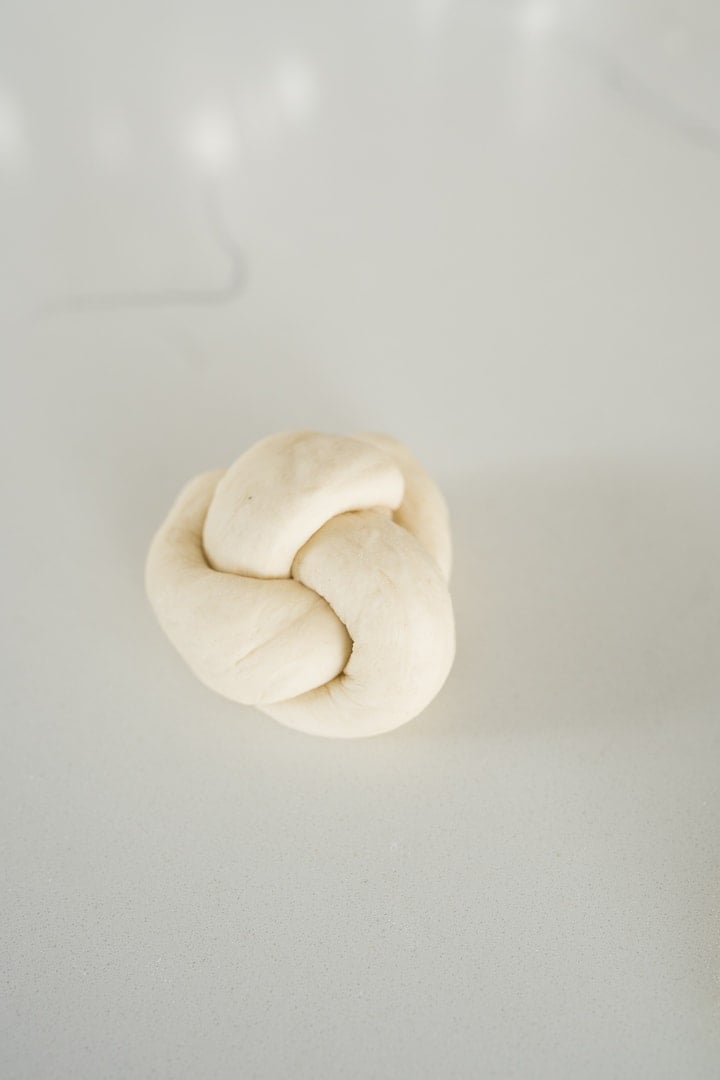
The piece of dough that is on top will then fold back and under coming through the center hole, tying a knot. Then take the ends and tuck them into the center, where the ends naturally want to go, like shown in the photo below.
Repeat with the remaining dough.
Again, this dough should be extremely easy to work with. If it is too sticky, knead a little bit more flour into it.
We will let these bad boys rest while our oven preheats. We will bake them and then hit them with a little melted butter, salt, garlic powder and parmesan!
How long do garlic knots last?
Because theses are homemade and do not have extra additives in them to make the dough stay fluffy for longer like most store bought items do, these are best eaten fresh out of the oven or within the first few hours.
If you are wanting to keep some for later, I suggest freezing the rolls as soon as they have completely cooled down. when you re ready to eat them, reheat them by placing in a 425° oven for 8-10 minutes.
If you loved what you saw here, get more of it on Facebook, Instagram & Pinterest! I’d love to connect! Sign up for my weekly newsletter below to never miss a new recipe again!
[et_bloom_inline optin_id=optin_2]
Love all the bread?? Me, too. Here are a few of my favs!
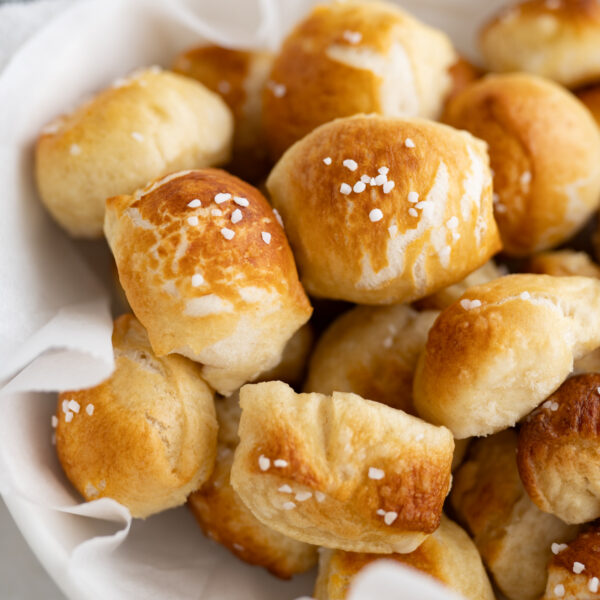
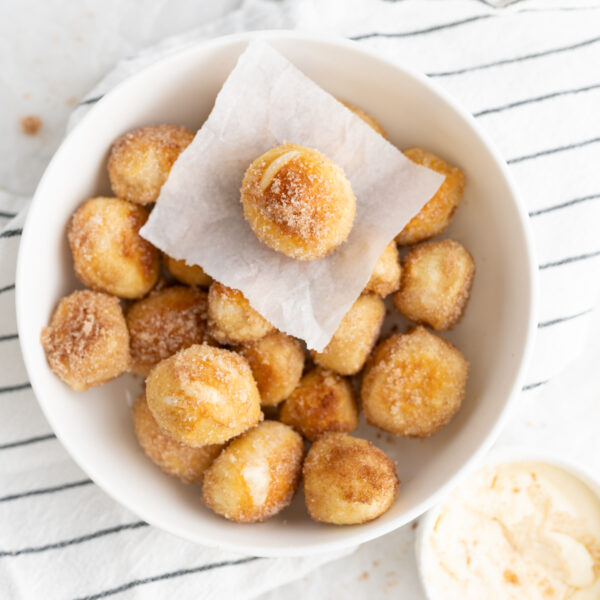
- Pretzel bites
- No Knead Pizza Dough
- Olive Garden Breadsticks
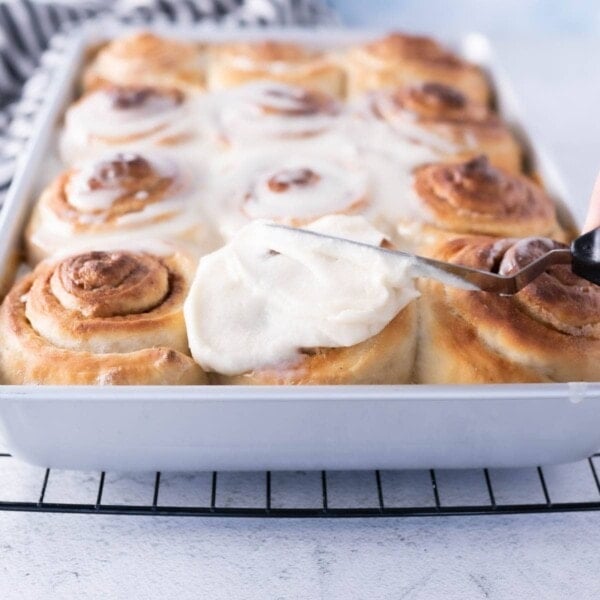
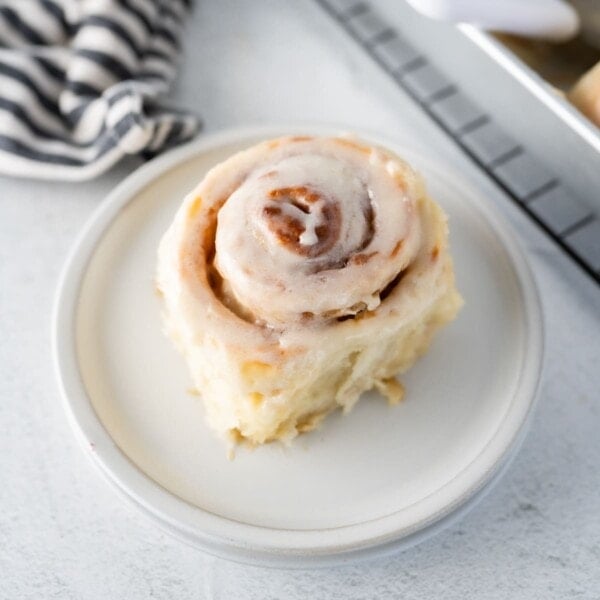
- Cinnamon Rolls
- Focaccia Bread Recipe
- Honey Wheat bread
- Asiago Cheese Bagels
- Dinner Rolls


Garlic Knots
Ingredients
Dough
- 1 cup warm water
- 1 pkg dry active yeast
- 1 tbsp sugar
- 1 tbsp melted butter
- 1/2 tsp salt
- 2 1/2 cups flour
Garlic Topping
- 1/4 cups butter, melted
- 1/4 tsp salt
- 1/4 tsp garlic powder
- 1/4 tsp parsley

Instructions
- Add the warm water, yeast and sugar to the bowl of a stand mixer. Let sit for 5 minutes or until bubbly. If the yeast isn't bubbly, it isn't active and the pretzels will not work. Repeat this step with new yeast until it is bubbly.
- Add the melted butter, salt and flour to the stand mixer. Turn on LOW and allow the stand mixer to knead the dough for 10 minutes.
- The dough should be very soft, but shouldn't stick to the sides of the bowl at all.
- Allow the dough to rise until double. (1 hour on the counter) If using the Instant Pot, spray the liner with non stick spray and then let the dough rise in the Instant Pot on the Yogurt NORMAL setting for 15 minutes.
- After the dough has doubled, punch down the dough and divide into 12 equal sized pieces. (Cut dough into thirds, and then quarter each third)
- Shape each knot by rolling each portion of dough into a long rope, tie a knot and then tuck the ends into the center. Arrange on a greased pan. Repeat with remaining dough.
- Allow the dough to rise while the oven preheats to 400°
- Bake at 400° for 8-10 minutes.
- Combine the salt, garlic powder and parsley. Set asid.e
- Immediately after the rolls come out of the oven, brush with melted butter and then sprinkle with the garlic mixture.
- Best eaten within the hour. If you'd like to store for a longer period of time, I suggest freezing the pretzels as soon as they are cool. Reheat the pretzels in the oven at 425° for 8-10 minutes.


These turned out amazing! Have you tried doubling the recipe?
I’m so glad they turned out so well Kimberly. I have not tried doubling the recipe yet. If you do try it, let me know how it works out. Thank you for the comment.
Made these for the first time last night and they are SO good! Super easy and a game changer for future dinners! Thank you for the recipe!
I am so glad you enjoyed the recipe!!