This post may contain affiliate links. Please read our disclosure policy.
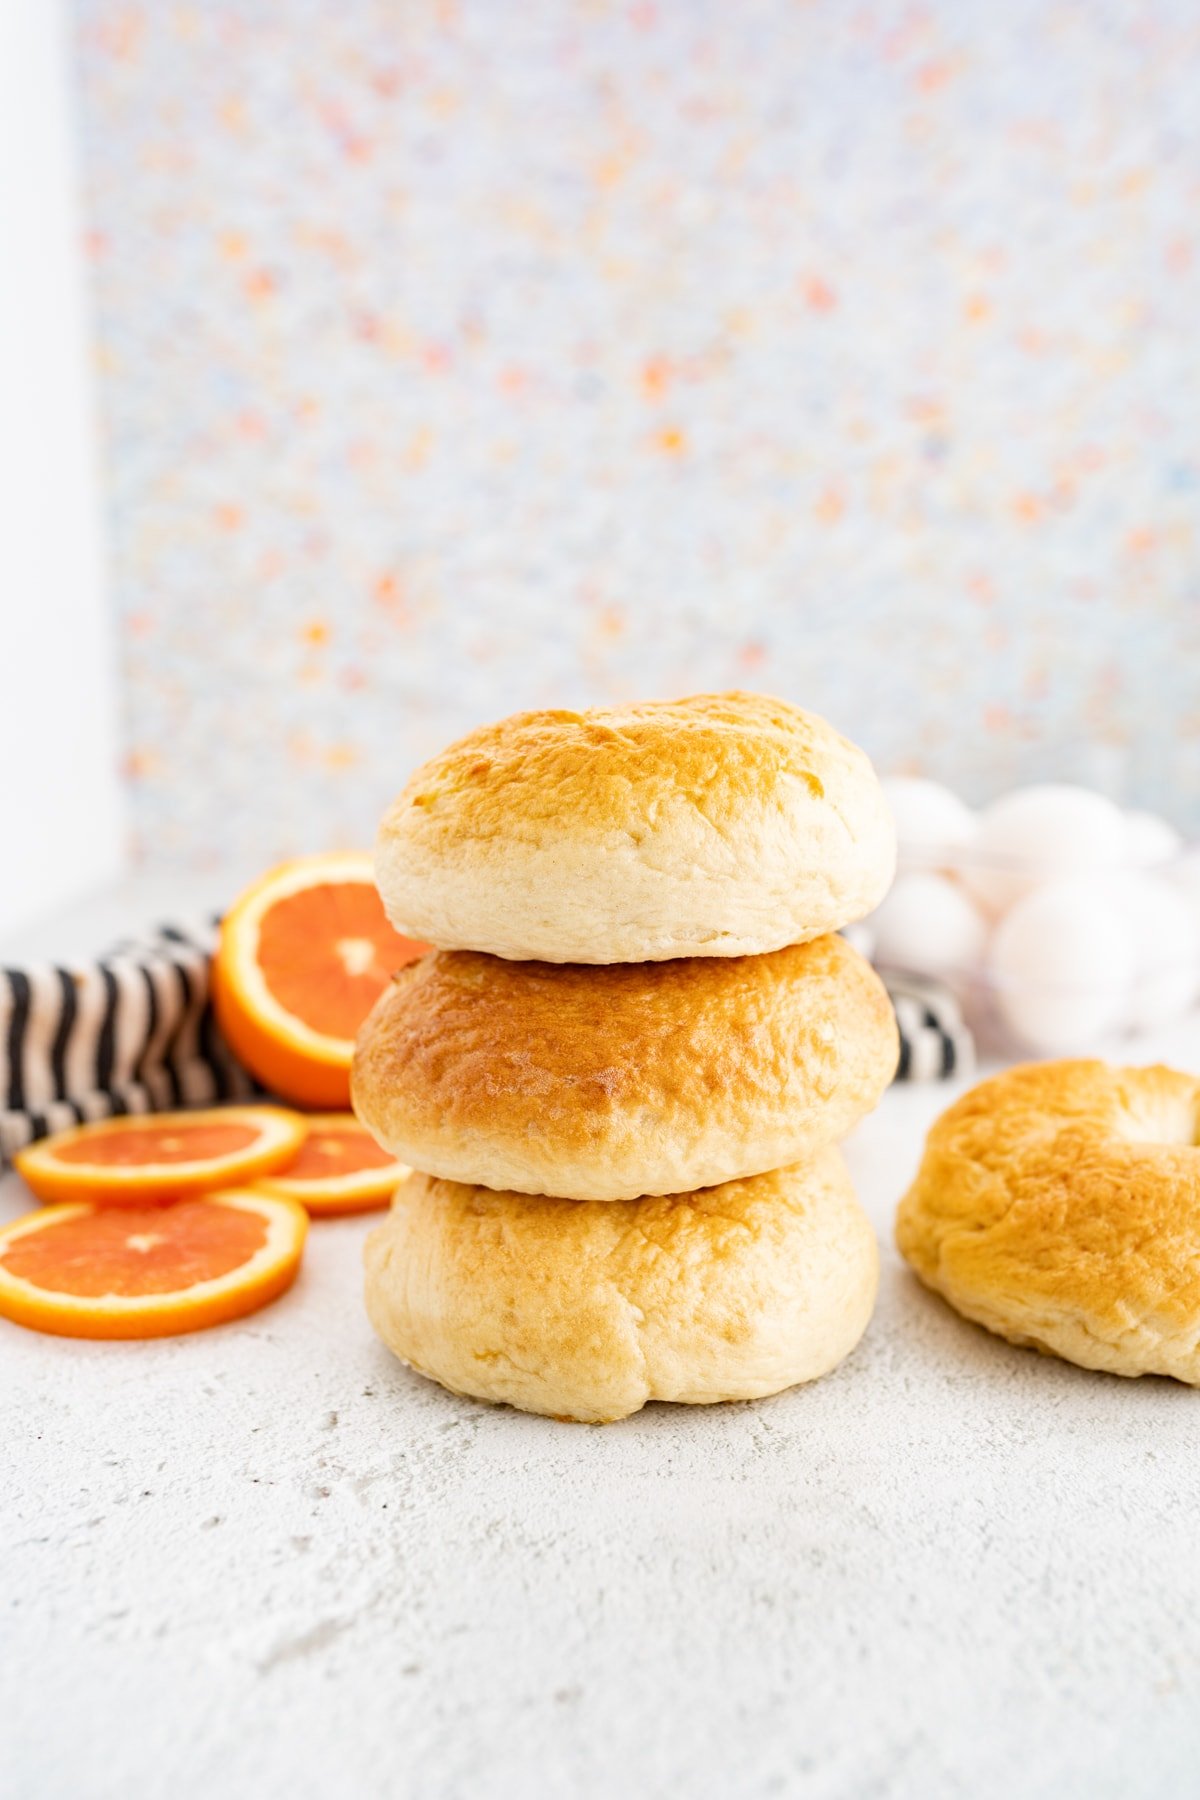
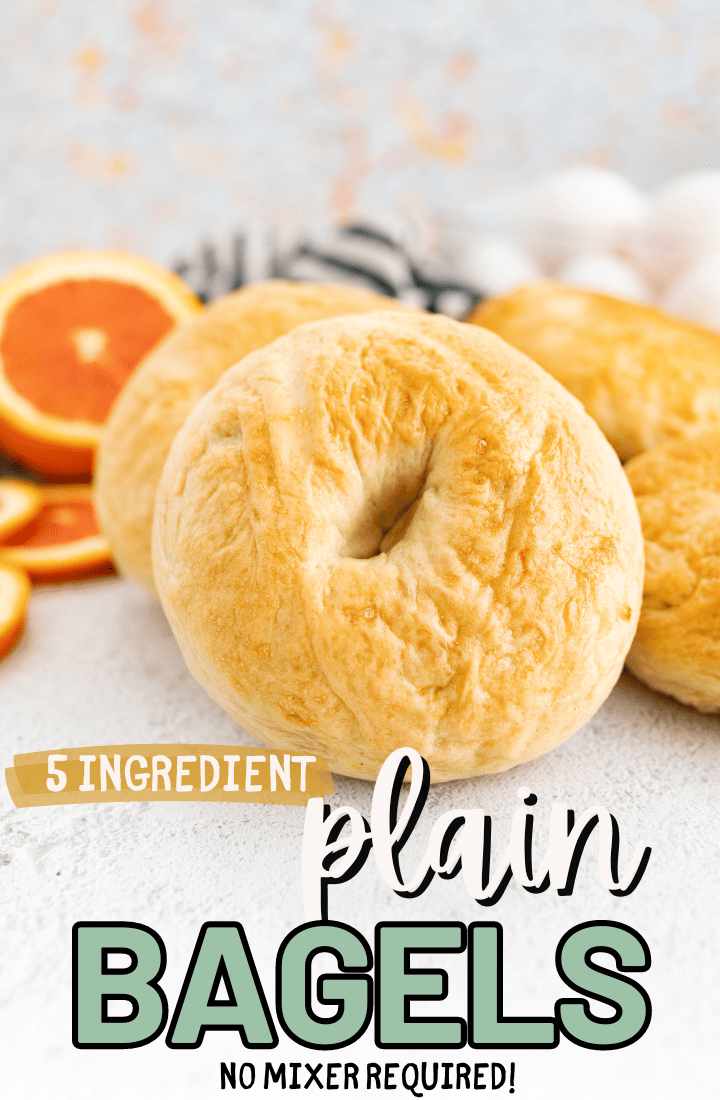
If you’re looking to make a chewy, tender, delicious homemade bagel, you’re in the right place! This is the best bagel recipe to start with!
Homemade Bagels
I love homemade bagels. So much so that every week this year I am developing and publishing a new bagel recipe on my blog! This plain bagel recipe, while basic, is extremely delicious and the perfect place to start (or expand) your bagel making journey. I walk you through every step with pro tips along the way to ensure you make the absolute best homemade bagels every single time. So if you want to become a bagel-making pro, stick around – we’ve got a lot of yumminess ahead.
What you’ll love about this Homemade Bagel Recipe!
- It’s surprisingly quick
- It doesn’t require a mixer (but it has instructions for a mixer if you want to use one!)
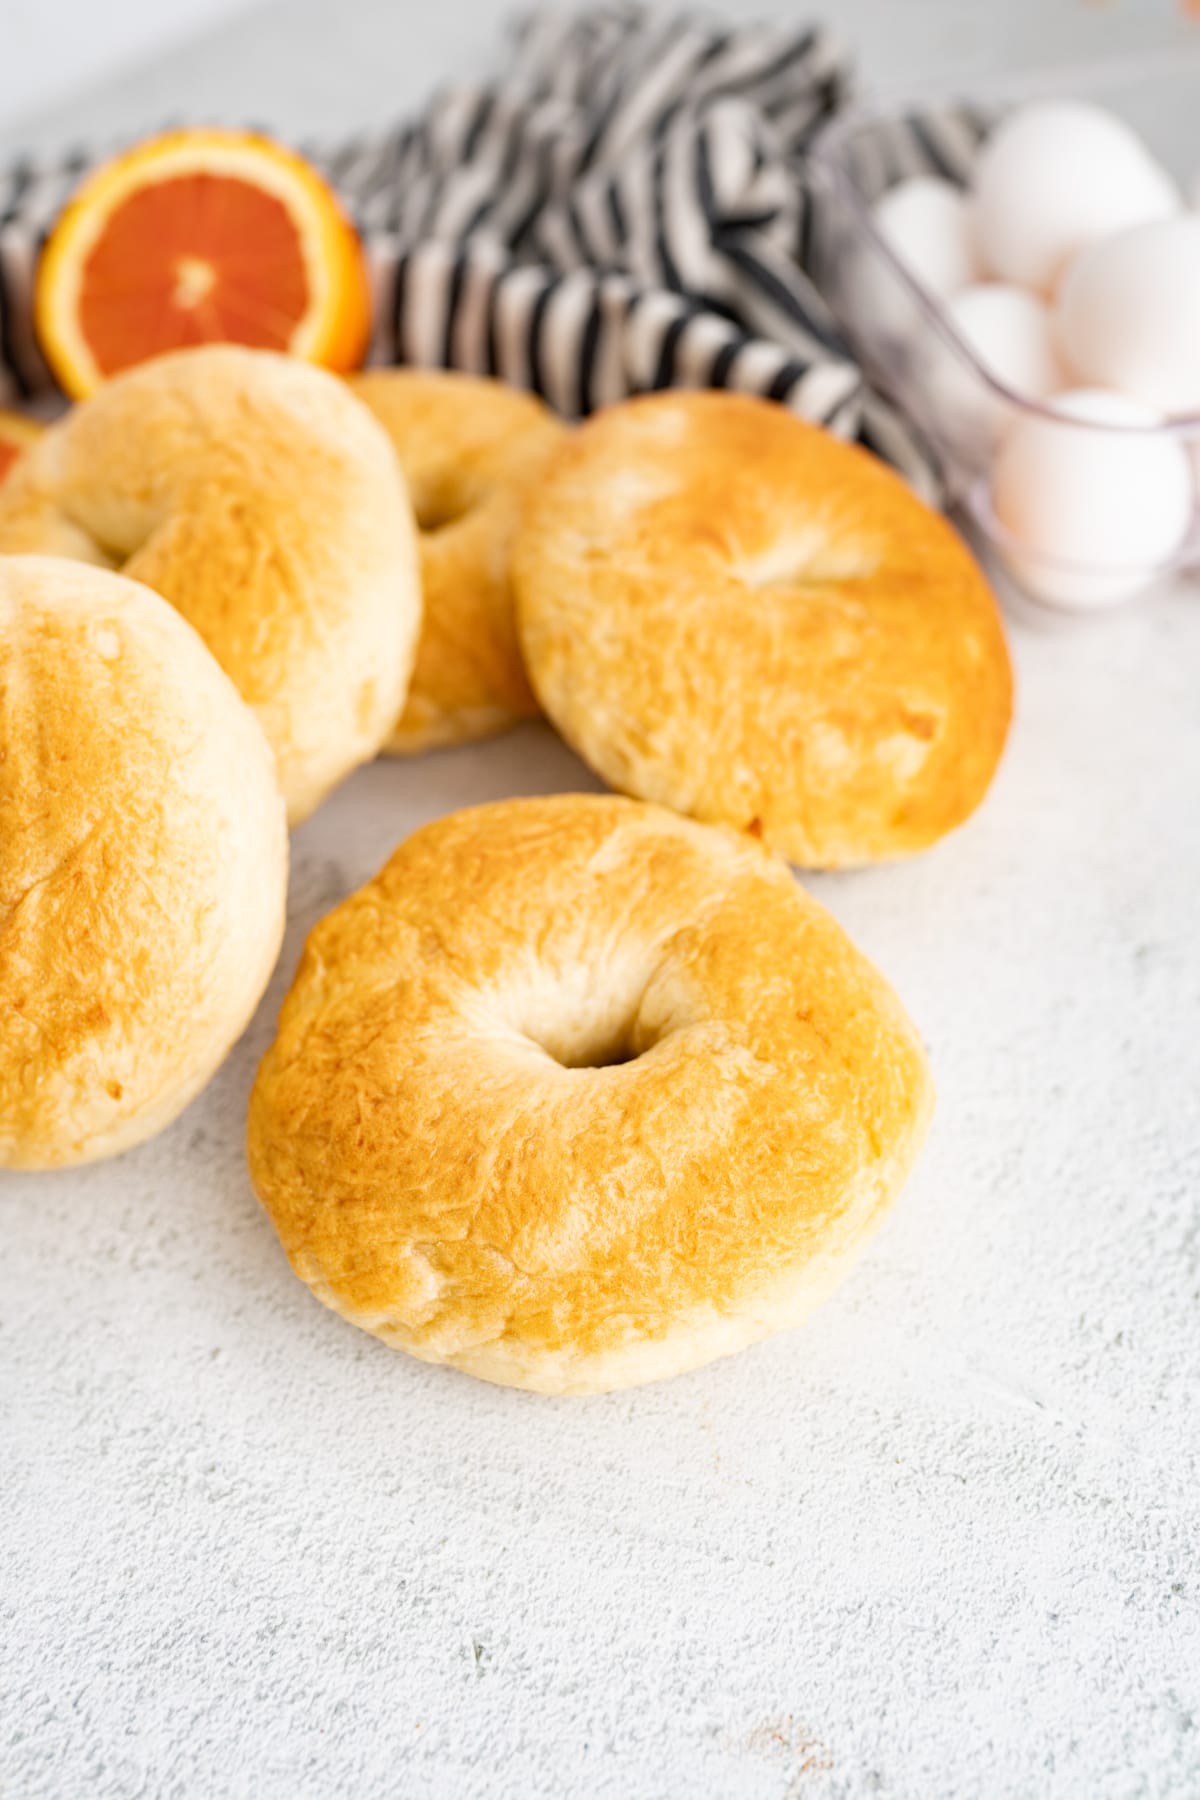
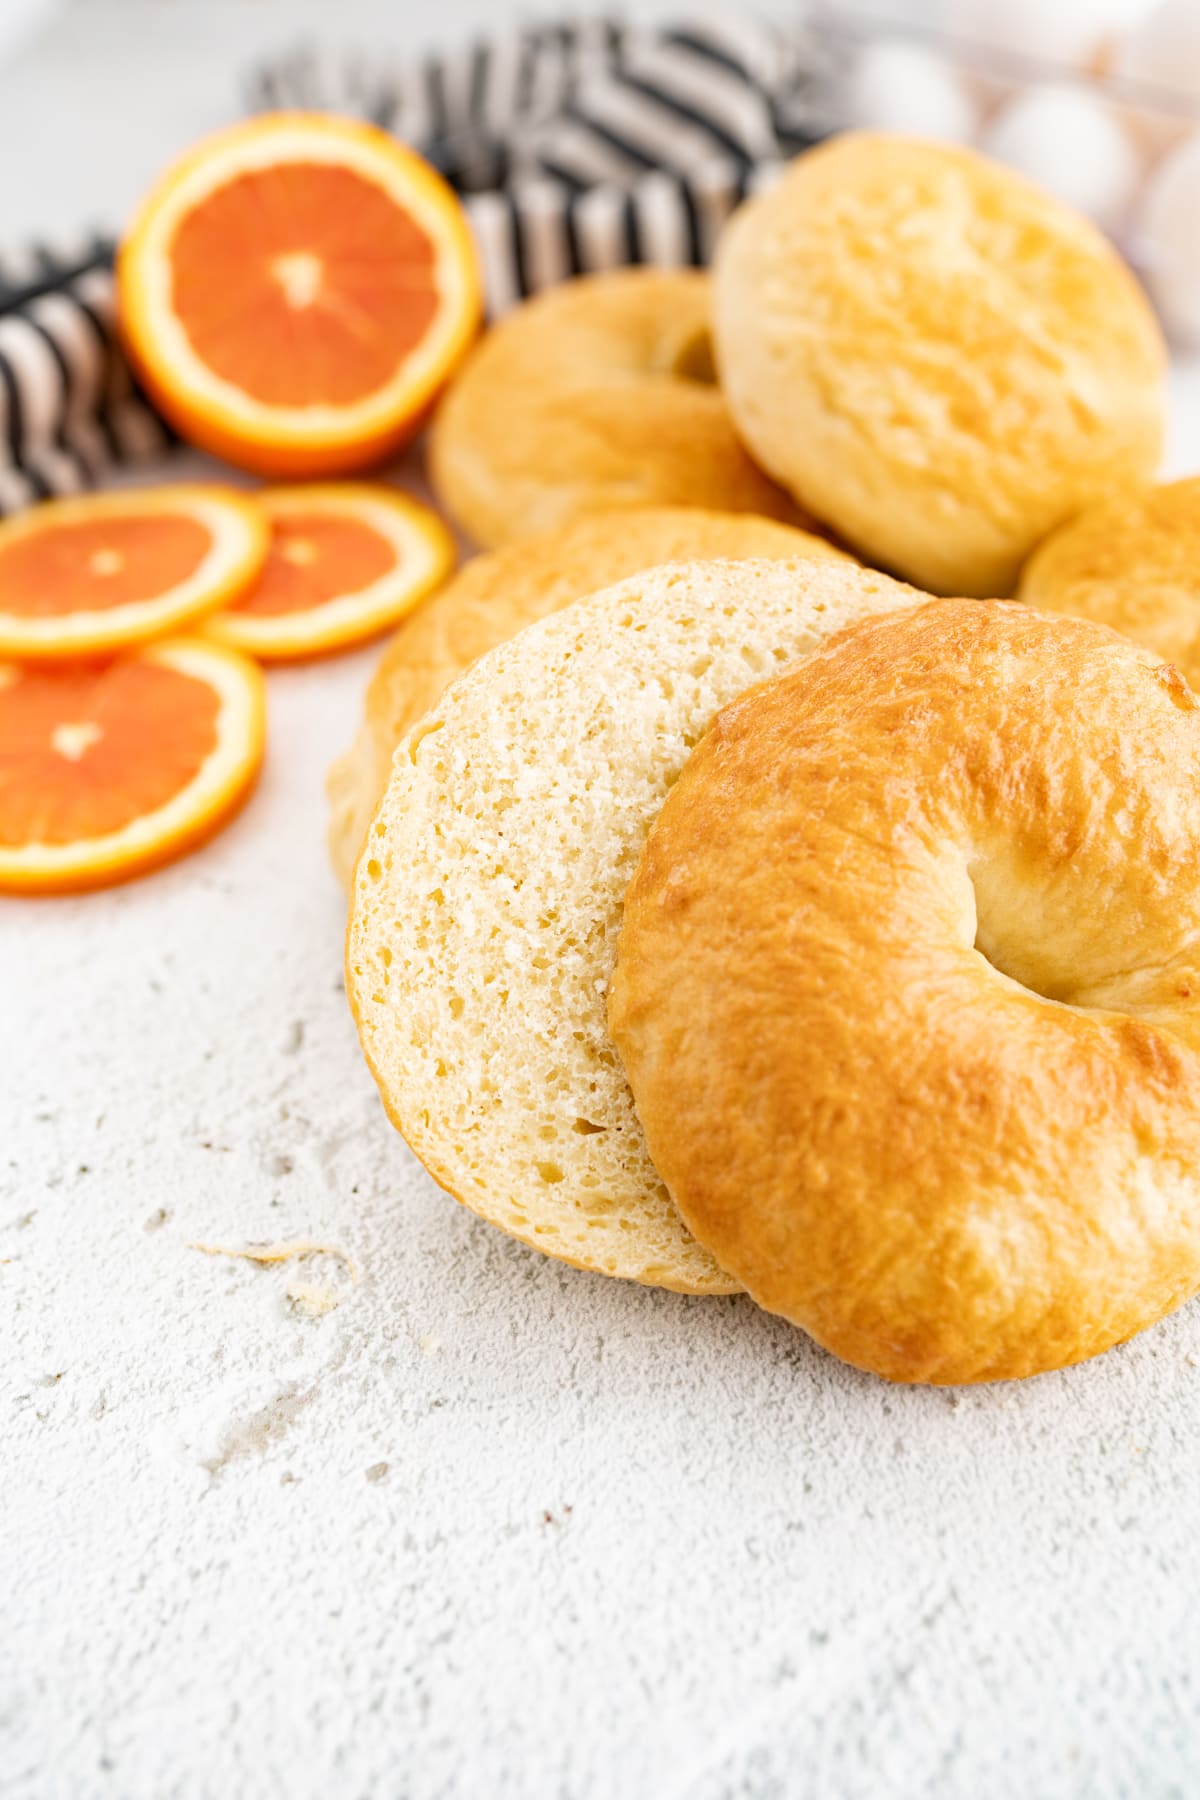
- The homemade bagels have a chewy exterior and light, lovely bagel interior texture
- There are only 6 ingredients & they’re all super accessible common kitchen items.
- It’s the easiest homemade bagel recipe you’ll find on the internet
Homemade Bagel Ingredients
- Warm water (105°F -113°F)
- Dry active yeast
- Brown sugar, packed + 1/4 cup to add to the boiling water – If you would rather, you can use honey to flavor the boiling water (note: you’ll still add the brown sugar to the dough as the recipe calls for).
- Bread flour – I know it sounds finicky, but the bread flour really makes a HUGE difference in how your bagels turn out.
- Salt
- Egg wash: 1 egg white + 1 tbsp water, whisked together
How to make Bagels at Home
- In a small bowl, mix warm water, dry active yeast, and brown sugar. Stir and set aside to allow the mixture to become bubbly and foamy.
- In a large bowl or the bowl of a stand mixer, combine 4 1/2 cups of bread flour and salt.
- Once bubbly and foamy, add the yeast mixture to the flour mixture.
- If using a stand mixer, attach the dough hook and knead for 10 minutes, adding up to an additional 3 tablespoons of flour as needed to keep the dough soft yet workable.
- If kneading by hand, mix the wet and dry ingredients until a rough dough forms. Turn out the dough onto a clean surface and knead by hand for about 10 minutes, using a push, turn, and fold technique. Add an extra 2-3 tablespoons of bread flour as necessary.
- After kneading, let the dough rest for 5 minutes.
- Use a sharp knife or bench scraper to divide the dough into 8 equal pieces.
Shaping your Bagels
- Shape each piece into a tight ball. Then, press your thumb into the center of each ball, gently stretching and rotating the dough around your thumb to form a bagel shape. Place on a parchment or silicone-lined baking sheet.
- Cover the bagels with plastic wrap and let them rise for 30 minutes.
- Preheat the oven to 425°F (220°C) after the bagels have risen.
- Boil about 4 inches of water in a large pot. Once boiling, add 1/4 cup of brown sugar (or honey if you prefer) to the water and boil until dissolved.
- Carefully place the bagels in the water, working in batches. Boil each bagel for 1 minute on each side.
- Use a slotted spoon or spider strainer to remove the bagels from the water and place them back on the baking sheet.
- While boiling the next batch of bagels, brush the first batch with an egg wash mixture.
- After boiling all the bagels and brushing with the egg wash, place them in the preheated 425°F (220°C) oven. Bake for 15-17 minutes, or until they turn golden brown.
- Once baked, remove the bagels from the oven and let them cool on the baking sheet for 10 minutes. This allows them to set and makes them easier to cut.
- For storage, place the cooled bagels in a zip-top bag and keep them at room temperature. They will stay fresh for up to 3 days.
Homemade Bagel Recipe Variations & Substitutions
This bagel recipe is for my most basic plain bagel – but that doesn’t mean it isn’t wonderful! Incredibly versatile, you can add in different flavors or toppings as your heart desires. Or you can stick around to see the different variants I publish each week in my 52 new bagel recipes in 2024 series.
Best Bagel Recipe Tips
There are a couple of things that make baking homemade bagels much easier! First, I recommend grabbing an extra large cookie sheet + silicone mat so you can bake all of your bagels at once. Necessary? No. But highly convenient. Second, this spider strainer is a must for boiling your bagels. A slotted spoon will get the job done, but this spider will allow the water to drip off of the bagels so much easier & quicker.
What to put on a Bagel
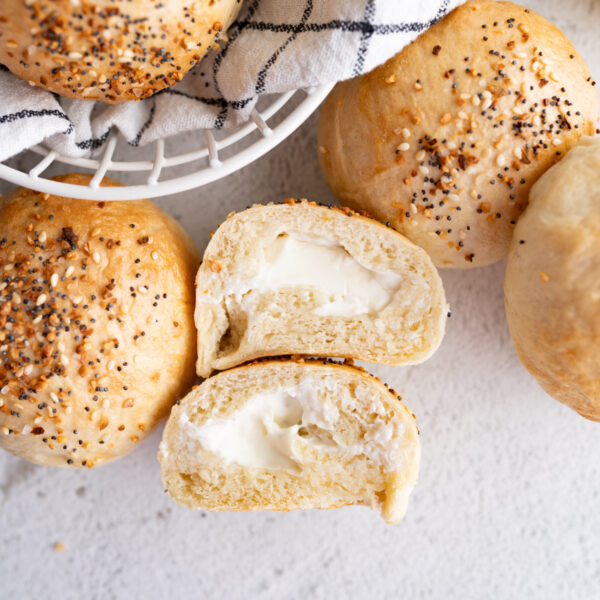
- Cream cheese (duh)
- Deli meat + cheese + sandwich toppings
- Cottage cheese + tomato & avocado
- Fried egg
- Avocado & sriracha
- Anything you can dream of putting on a bagel!
Homemade Bagels Recipe FAQs
In my opinion, ABSOLUTELY YES. First, making bagels is actually not that hard! Second, my husband eats a bagel for breakfast nearly every day and he has declared that my homemade bagels are the best he’s ever had. INCLUDING the NY bagels we ate for practically every meal in the city a few months ago.
This recipe is super easy & once you try this bagels recipe, you’ll never go back.
This recipe calls for bread flour instead of all-purpose flour. Bread flour has a higher protein content which gives these bagels more structure and chew than all-purpose flour would.
Boiling bagels before baking is what gives the exterior the textbook chewy exterior texture we crave on bagels.
Nope! While it has similar base ingredients, bagel dough contains less water and is therefore a little stiffer.
You may have kneaded your dough a little bit too much or didn’t allow it to rise long enough! Kneading develops the gluten in your bagels & the longer you knead the more tight the structure will become. If you over-knead it will become dense.
More Bagels to Try
- Asiago Bagel Recipe
- Everything Bagels
- Rainbow Bagels


Homemade Bagel Recipe
Ingredients
- 2 cups warm water (105°F -113°F)
- 1 1/2 tbsp dry active yeast
- 1 tbsp brown sugar, packed + 1/4 cup to add to the boiling water
- 4 1/2 – 4 3/4 cups bread flour
- 2 tsp salt
- egg wash: 1 egg white + 1 tbsp water, whisked together

Instructions
- In a small bowl, mix warm water, dry active yeast, and brown sugar. Stir and set aside to allow the mixture to become bubbly and foamy.
- In a large bowl or the bowl of a stand mixer, combine 4 1/2 cups of bread flour and salt.
- Add the yeast mixture to the flour mixture.
- If using a stand mixer, attach the dough hook and knead for 10 minutes, adding up to an additional 3 tablespoons of flour as needed to keep the dough soft yet workable.
- If kneading by hand, mix the wet and dry ingredients until a rough dough forms. Turn out the dough onto a clean surface and knead by hand for about 10 minutes, using a push, turn, and fold technique. Add an extra 2-3 tablespoons of bread flour as necessary.
- After kneading, let the dough rest for 5 minutes.
- Use a sharp knife or bench scraper to divide the dough into 8 equal pieces.
- Shape each piece into a tight ball. Then, press your thumb into the center of each ball, gently stretching and rotating the dough around your thumb to form a bagel shape. Place on a parchment or silicone-lined baking sheet.
- Cover the bagels with plastic wrap and let them rise for 30 minutes.
- Preheat the oven to 425°F (220°C) after the bagels have risen.
- Boil about 4 inches of water in a large pot. Once boiling, add 1/4 cup of brown sugar to the water and boil until dissolved. Carefully place the bagels in the water, working in batches. Boil each bagel for 1 minute on each side.
- Use a slotted spoon or spider strainer to remove the bagels from the water and place them back on the baking sheet.
- While boiling the next batch of bagels, brush the first batch with an egg wash mixture.
- After boiling all the bagels and brushing with the egg wash, place them in the preheated 425°F (220°C) oven. Bake for 15-17 minutes, or until they turn golden brown.
- Once baked, remove the bagels from the oven and let them cool on the baking sheet for 10 minutes. This allows them to set and makes them easier to cut.
- For storage, place the cooled bagels in a zip-top bag and keep them at room temperature. They will stay fresh for up to 3 days.


How can I do this if I don’t have the yogurt button? I have the LUX IP.
To proof dough in the Instant Pot you’ll need an Instant Pot with a yogurt button. If you don’t have the yogurt button, there is still hope for a quick rise!
Turn your oven on to warm (about 200°) for about 5 minutes, TURN THE OVEN OFF and then place the dough in a greased bowl inside the warm oven instead of in the Instant Pot then proceed with the remaining instructions.
What if I do t have a glass lid?
You can just use the regular lid, leave the vent open. 🙂
Hi! I’ve got 2 quick questions… Your Asiago bagel requires a different amount of yeast than this one Asiago – 1/2 tsp, this one 2 tsp. Why is it a different amount? Also, if I wanted to add poppy seeds, should I follow the instructions on the asiago but instead of cheese add poppy or sesame?
Thank you! 🙂
Hi Maria- Thank you for this comment! I transferred recipes over a while ago and apparently the 1/ went missing! It is all fixed now. You will want to use 1/2 tsp. Follow the instructions for the asiago and add poppy seeds or sesame seeds instead. 🙂
I don’t have a stand mixer, can I mix the dough by hand?
Hey Sandi, thank you for the comment. While it is possible to mix the dough by hand, it is difficult to do and you will get a great upper body workout!
Hi..I was wondering.,could you put in cinnamon and raisins as well if that’s the type of bagel you wanted?
Sure!
My vocabulary and adjectives may be lacking in their commentary of this recipe; hence, WOW will have to suffice!
Amazing
love bagel recipes
These bagels are easy and delicious. They do stay quite fresh for a couple days out. I tried a freezer test where I vacuum sealed a couple and froze them. After they thawed, 20 seconds in the microwave and they were hot and just as delicious as when just baked.
Thank you Karliiiii!!
So easy and so stinking good!!