This post may contain affiliate links. Please read our disclosure policy.
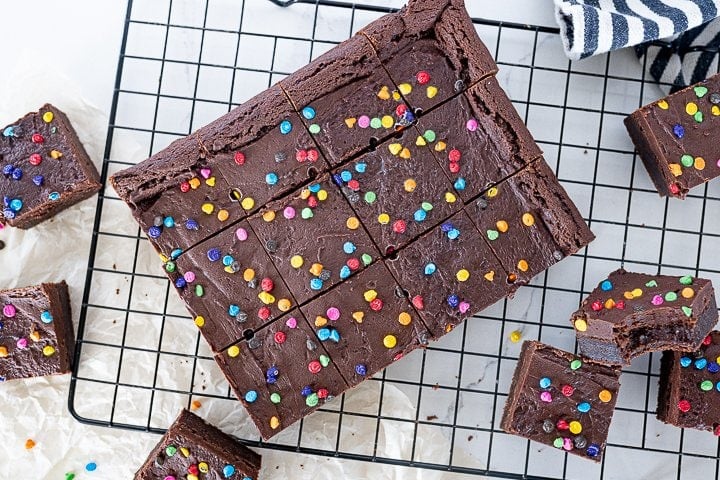
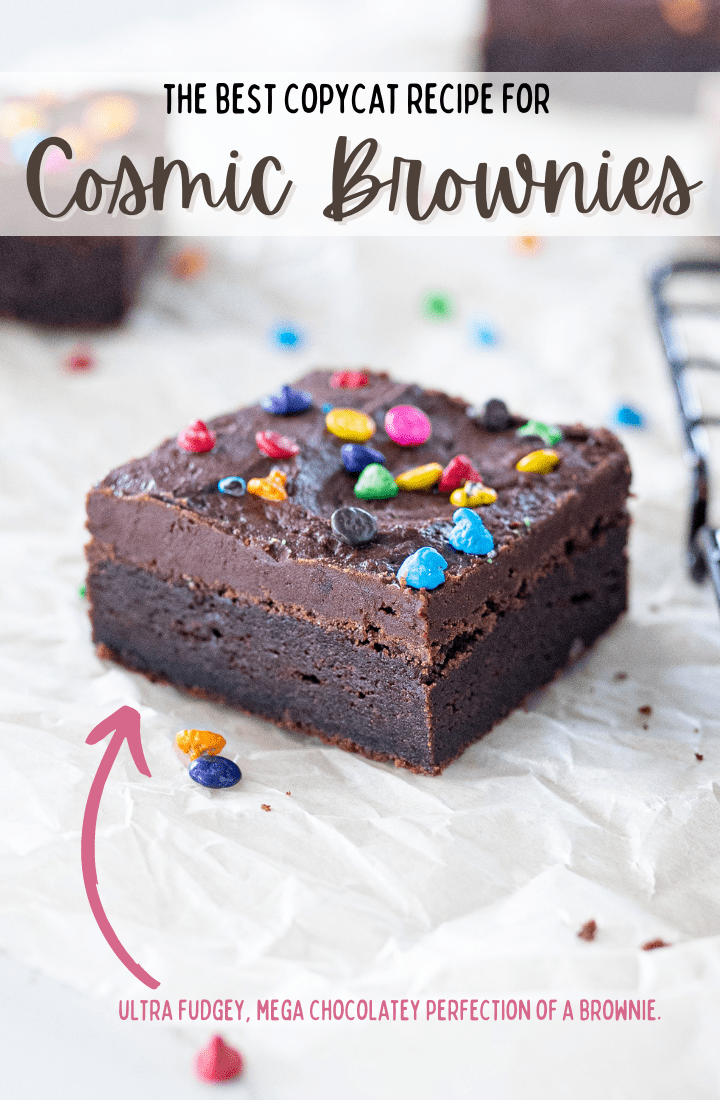
Thick, fudgy brownies topped with a decadent frosting and tiny chocolate candies, the love I feel for this treat is of cosmic proportions. In short, these copycat Cosmic Brownies are out of this world!

Homemade Cosmic Brownies
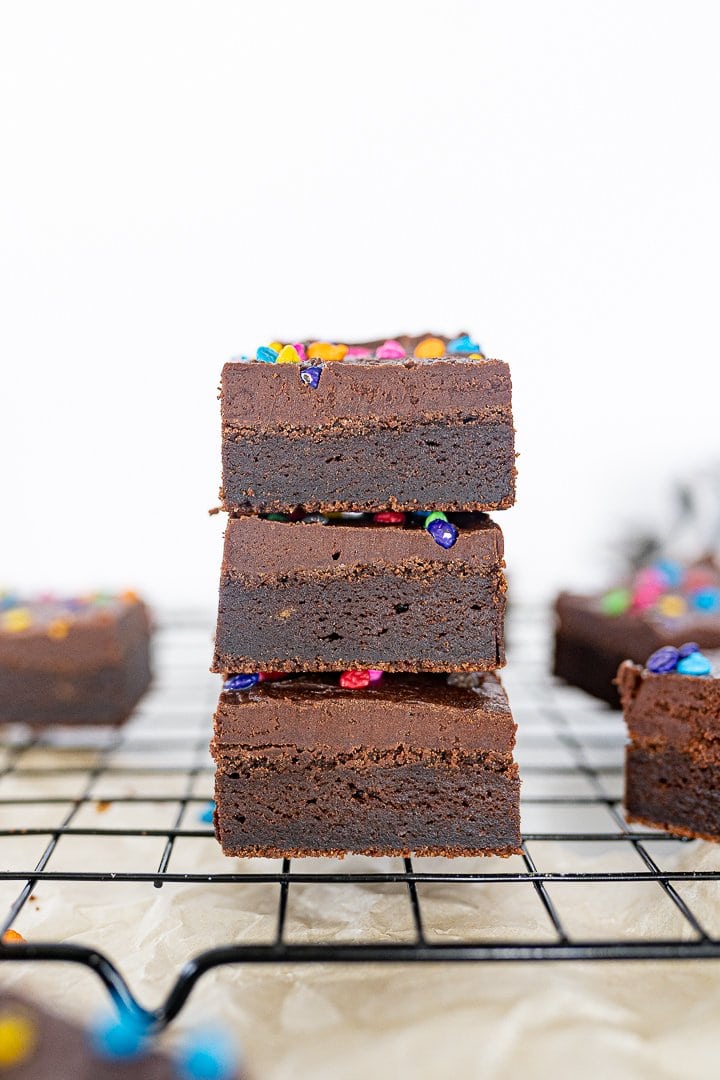
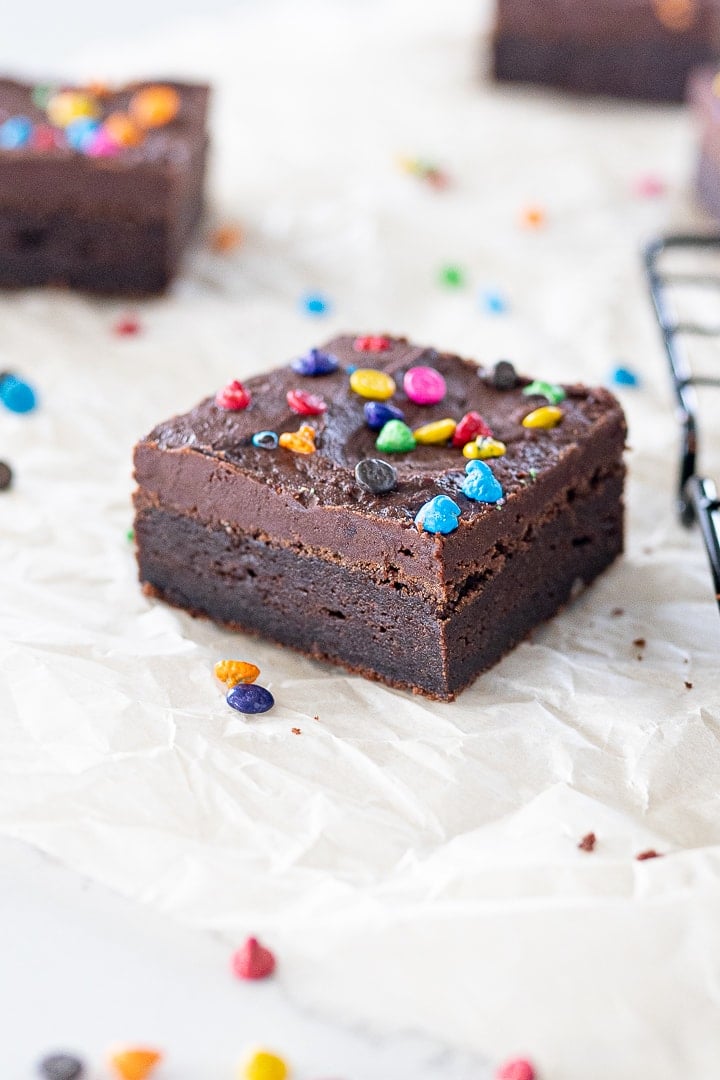
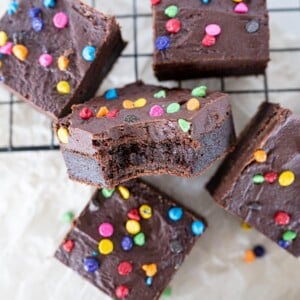
This is a copycat recipe for Little Debbie’s Cosmic Brownie! A chocoholic dream, the base brownie is fudgy to the extreme (in the best way possible) and topped with a thick, smooth chocolate frosting. Then they are glittered (of course) with the signature tiny, colorful chocolate candies. Appearance wise? This is almost an exact replica of the brand. But when it comes to taste? These homemade Cosmic Brownies blow the originals into space! The copycat brownies are so dang good and not even remotely waxy (which cannot be said about the originals). Plus, you can choose how big to cut the squares rather than be controlled by the plastic wrapper. That’s what we call a win-win.
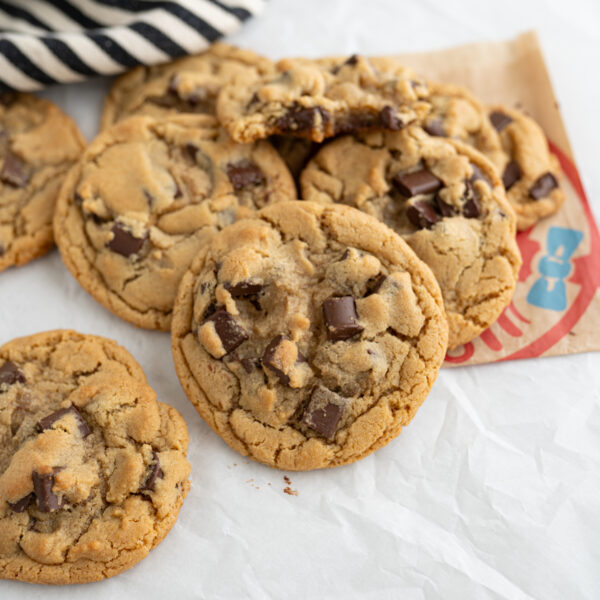
And hey! If you prefer cookies to brownies, you can still get a taste for this chocolatey perfection with my Cosmic Brownie Cookies.
Copycat Cosmic Brownies Ingredients
Brownie Ingredients:
- Salted Butter, partially melted – Unsalted butter will also work! Just add a pinch of salt to the batter.
- Granulated Sugar
- Brown Sugar – The combination of sugar in these brownies gives a super rich flavor and helps keep the brownies moist.
- Eggs
- Corn Syrup – This is the key ingredient for brownies that are SUPER fudgy.
- Vanilla
- Flour – Just regular all-purpose flour in these brownies!
- Dutch Processed Cocoa Powder – The Dutch processed will give you a deeper chocolate flavor, but if you don’t have any on hand you can also use regular cocoa.
- Cornstarch – This guy is what helps the brownies achieve a soft texture.
- Salt
- Baking Soda
Cosmic Brownie Frosting Ingredients:
- Salted Butter – Again, you can sub unsalted butter if needed.
- Cream Cheese – Don’t worry, this won’t make the frosting taste like cream cheese! It just gives the frosting depth of flavor and makes it super rich. Promise.
- Dutch Processed Cocoa Powder – This will give the frosting a nice rich flavor, but again, regular cocoa is great, too!
- Powdered Sugar
- Vanilla Extract
- Milk, to thin
- Candy Coated Chocolate Chips – These can be a little bit hard to find in stores, but I was able to find some at my local Walmart! You can always buy them online or just substitute mini M&M’s if you would like.
How to Make Cosmic Brownies
- Start by preheating the oven to 350° F and lining a 9×13 pan with parchment paper.
- In a stand mixer, cream together the slightly melted butter and both types of sugars. Beat the butter and sugar on high for a full 5 minutes. Don’t skimp on this step. You will want the mixture to be super light and very fluffy.
- Add the eggs, corn syrup and vanilla and mix on high, again for 5 full minutes.
- Add in the flour, cocoa, salt, cornstarch and baking soda and mix until just combined. Be careful not to overmix the batter once you have added the flour. Overmixing will activate the gluten and you will end up with a drier & cakier texture than you want in a brownie.
- Fold the mixture a few times by hand just to be sure that everything is mixed together and spread the batter into your 9×13 pan.
- Bake at 350° F for 25-30 minutes. Be careful not to over bake them or they won’t be as fudgy as you want. You will know they are done when they rise and the edges begin to crack. Double check by testing the center of the brownies – when a toothpick comes out with a few moist crumbs on it, it’s perfect! You do not want it to come out clean, because that means they are over baked!
- Allow your brownies to cool slightly while making the frosting.
How to Make Cosmic Brownie Fudge Frosting
- While the brownies are cooling, make the frosting by creaming together the butter and cream cheese until smooth.
- Scrape the sides of the bowl and add the cocoa powder and a tsp or 2 of milk to help the mixture come together. Mix on the lowest setting to avoid adding too much air to the frosting.
- Add the vanilla and mix again until combined. At this point, the frosting should be thick, smooth and dark in color.
- Once done, scoop the frosting onto the mostly cool brownies. The residual heat from the brownies will melt the frosting slightly and make it easier to spread.
- Return the brownies to the warm (but off) oven for 3-5 minutes. This will melt the frosting onto the brownies slightly and give you that super smooth top.
- Remove the frosted brownies from the oven and immediately sprinkle with the candy coated chocolate chips.
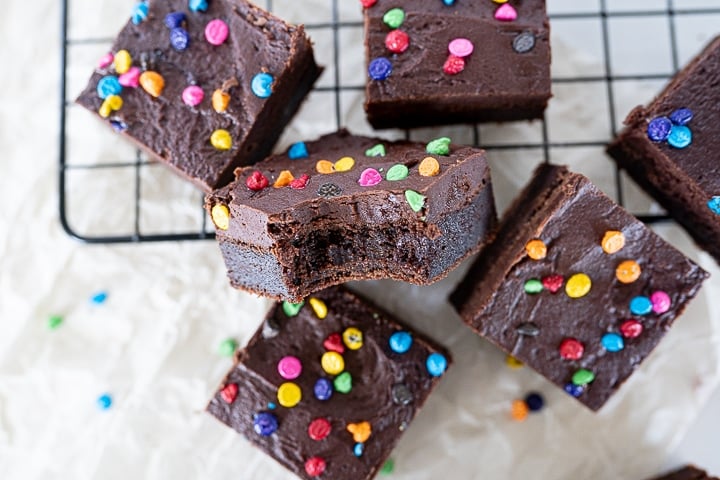
- Allow the brownies to cool in the pan completely before cutting. For cleaner cuts, freeze for about 30 minutes prior to cutting.
- Store in an airtight container. These will keep in the fridge for 1 week! Enjoy!
Cosmic Brownie Recipe Tips
Immediately after taking the brownies out of the oven, drop the pan on your countertop a few times to get all the excess air out. This will deflate the brownies significantly, and will give you that extra fudgy texture.
How to cut brownies perfectly
First, FREEZE your brownies for about 30 minutes before you try to cut them. Next, I like to get a big chef’s knife and just cut down, lift the knife and make another cut. Do not drag your knife through the brownies!
Copycat Cosmic Brownies Recipe FAQs
Why is it called a cosmic brownie?
Surprisingly enough, they were named Cosmic Brownies because they were inspired by cosmic bowling back in the day – you know the kind, with the neon colors and funky music? I think Cosmic Brownies fit perfectly there.
Do I have to use Dutch Processed Cocoa?
No, you don’t have to. I like the deeper color and flavor the dutch processed brings but they will absolutely be delicious with regular unsweetened cocoa powder.
Can I half this cosmic brownie recipe?
Yes! You’ll want to bake the brownies in a 9X9 pan. When halving the recipe, you’ll need 3 1/2 eggs. The best way to get that half an egg is to crack an egg into a small bowl, whisk it with a fork until well combined and then measure out 1/8 of a cup.
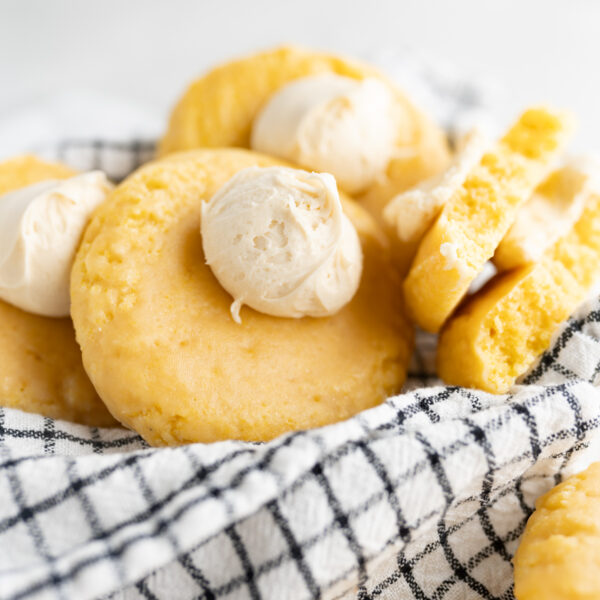
More like this Cosmic Brownies Recipe

Cosmic Brownies Recipe
Ingredients
Brownies
- 1 1/2 cups salted butter, partially melted
- 1 3/4 cups brown sugar
- 3/4 cup granulated sugar
- 5 eggs
- 2 tbsp corn syrup
- 1 tbsp vanilla extract
- 3 cups all purpose flour
- 1 1/4 cup dutch processed cocoa powder
- 1 tbsp cornstarch
- 1 tsp salt
- 1 tsp baking soda
Fudge Frosting and Toppings
- 1/2 cup salted butter, softened
- 3 oz cream cheese, room temperature
- 3/4 cup dutch processed cocoa powder
- 3 cups powdered sugar
- 2 1/2 tsp vanilla extract
- milk, as needed to thin
- candy coated chocolate chips

Instructions
Brownies
- Preheat the oven to 350°. Prepare a 9×13 baking pan with parchment paper.
- In the bowl of a stand mixer or in a large bowl with an electric hand mixer, cream together the partially melted butter, brown sugar and granulated sugar for a full 5 minutes at the highest speed. The mixture will be extremely light in color and very fluffy.
- Add the eggs, corn syrup and vanilla. Mix again at the highest speed for an additional 5 minutes.
- Add the flour, cocoa powder, cornstarch, salt and soda to the bowl. Mix until everything is just combined. Fold the mixture by hand a few times to make sure that everything is mixed together.
- Transfer the brownie batter to the prepared 9×13 pan. Spread the mixture until it is smooth and even.
- Bake at 350° for 25-30 minutes. The brownies will rise significantly, the edges will begin to crackle and you should be able to test the center of the brownies with a toothpick and a few moist crumbs should come up on the toothpick when they are ready to come out of the oven.
- Immediately upon taking the brownies out of the oven, drop the pan onto a cutting board or your stovetop multiple times to let the excess air out of the center of the brownies. This will cause the brownies to deflate and give us that extra fudgey texture.
Fudge Frosting
- While the brownies start to cool, make the frosting.
- Make the frosting by first creaming together the butter and cream cheese until smooth.
- Scrape the sides of the bowl and add in the cocoa powder. Add a tsp or two of milk to help bring the mixture together.
- Mix on the lowest setting, so we avoid adding extra air to the frosting.
- Next, add in the powdered sugar, again, adding a little bit of milk, as needed, to bring the mixture together while mixing on the lowest setting.
- Add in the vanilla and mix until combined. The frosting should be thick, creamy and dark in color.
- Scoop dollops of the frosting onto the top of the brownies. The heat from the brownies will slightly melt the frosting making it easier to spread.
- Spread the frosting onto the brownies to cover the center of the brownies.
- Return the brownies to the warm (but off) oven for 3-5 minutes to melt the frosting onto the brownies (this will help get that silky smooth appearance on top of the frosting)
- Immediately sprinkle the candy coated chocolate chips on top of the frosting.
- Allow the brownies to cool completely in the pan before cutting.
- Note: I actually like to freeze my brownies for about 30 minutes before cutting to make it easier to get the brownies out of the pan and easier to get clean cuts. Store at room temp or in the fridge in an air tight container.


Hey Karli, I made these yesterday and they were really thick, chocolatey and delicious! Think the frosting was a bit rich but could’ve just been the brand of cocoa powder I used. Question, is the bake time and temperature right? I ended up having to bake around 45 minutes at 350 because they were still raw in the center at 30. They still came out extremely moist and fudgy but didn’t know why the cook time was so dramatically different. Thanks!
Hi Zach- that is really weird about the bake time! Mine were definitely done at the 30 minute mark. It may be a difference in altitude/climate + humidity. I do live in a super dry state. Maybe that is why, I am glad that you enjoyed them!
Mine are currently in the oven and it has been 32 minutes and the toothpick is wet when I take it out. I live in NM.
These were so chocolatey and delicious!
I made these today and they are so good and rich! Thank you for this recipe. It hit the spot for my pregnancy craving.
These were so good! Reminds me of my childhood 🙂
Can these be frozen? TIA!
I made these today and they are absolutely delicious – fudgy and dense just how I love my brownies to be. My only “grievance” (if you can even call it that) is that they are SO tall! Even after dropping onto the cutting board about 10 times, they did deflate a little, but only in the center. They are still really tall, especially around the edges. I almost feel like I could have gotten TWO 9×13 pans out of this much batter, and they would have still been a respectable size. I ended up cutting each piece into a skinnier width to make up for the height, because otherwise I think each one would have been too much since they are so rich. I will definitely make this recipe again though, and the frosting, in particular, is spectacular!