This post may contain affiliate links. Please read our disclosure policy.
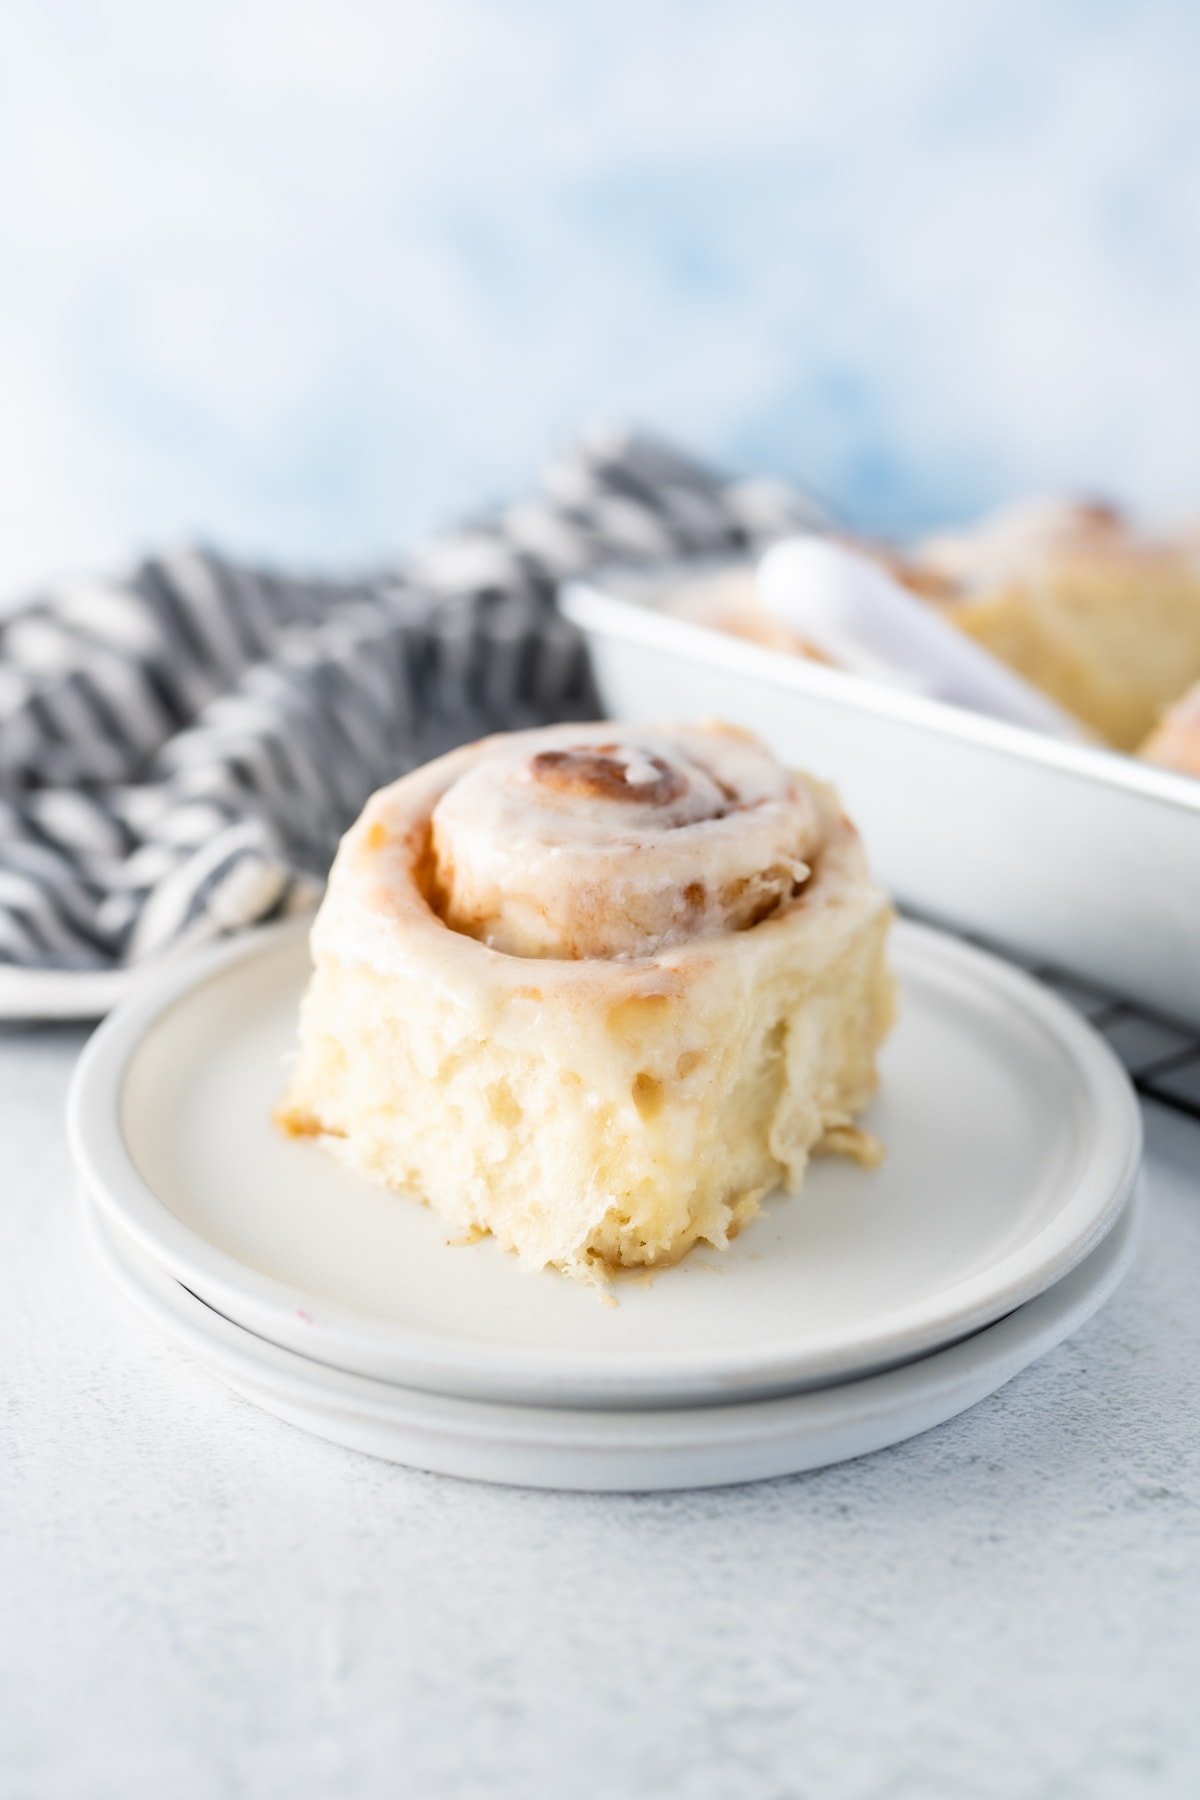
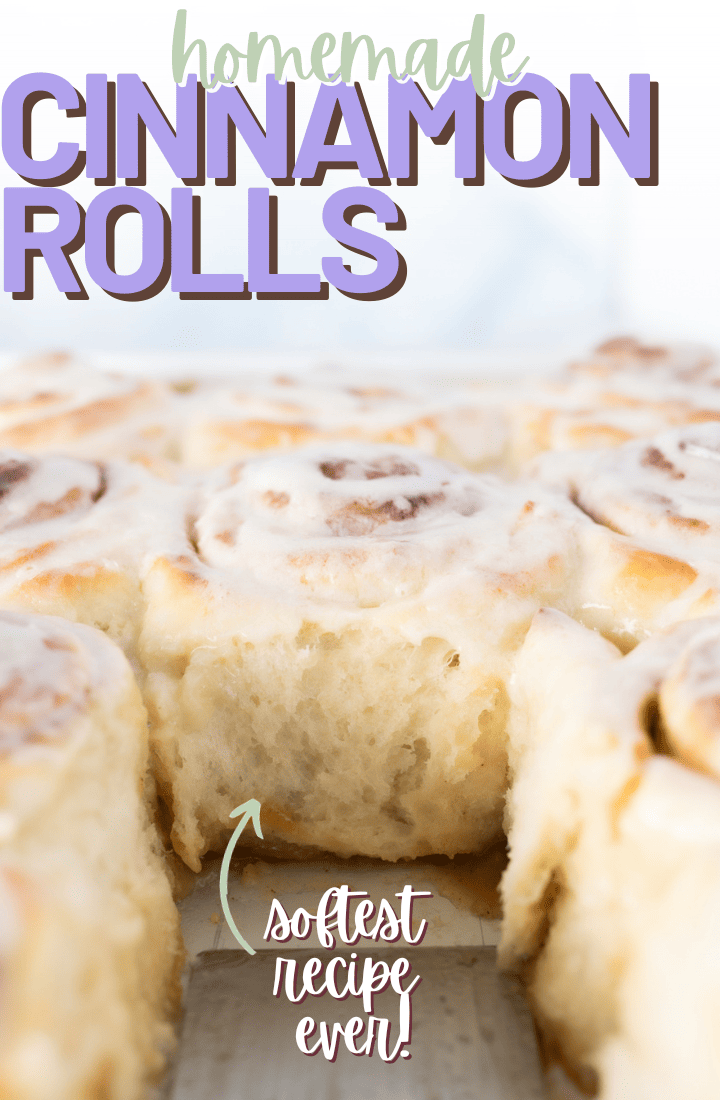
These are the BEST fluffy cinnamon rolls – perfectly filled, slightly gooey and NEVER doughy. But don’t just take my word for it, trust the 3.9 MILLION people (and counting) who have made and loved them.
What Makes This the Best Cinnamon Roll Recipe?
I have been the designated cinnamon roll baker in my family for decades. And in those years, I’ve worked out all of the potential problems a cinnamon roll can run into and figured out a way around them.
This homemade cinnamon roll recipe includes my ultimate troubleshooting guide that will help you confidently bake the best cinnamon rolls you have ever had in your life! Light, fluffy, perfectly filled, and evenly baked – these cinnamon rolls from scratch will absolutely change the way you think about dessert for breakfast.
My Cinnamon Roll Troubleshooting Guide
How to Prep Cinnamon Rolls in Advance
Here are step-by-step instructions for making cinnamon rolls in advance so you can have your sleep and eat well, too.
Here’s what you need to know if you’re making your cinnamon rolls up to 24 hours in advance:
1. Mix and assemble your cinnamon rolls like normal. Once you have rolled out the individual rolls, place them in your baking dish, cover and place in the fridge overnight.
2. Pull the pan out of the fridge 30-40 minutes before you’re ready to bake, allowing them to come up to room temperature while the oven preheats.
3. Bake like normal. Frost & enjoy!
If you’re making them more than 1 day in advance, follow these steps:
1. Mix and assemble your cinnamon rolls like normal. Once you have rolled out the individual rolls, place them on a cookie sheet and cover. Place the entire cookie sheet in the freezer.
2. The night before you’re ready to bake, pull the rolls out of the freezer.
3. Place your still-frozen rolls in your desired baking dish, cover, and leave out at room temperature all night long.
4. When you wake in the morning, preheat your oven and bake as normal!
How to Cook the Center of Your Cinnamon Rolls (without burning the tops!).
While we LOVE a slightly gooey center, you never want the middles to be doughy. Here’s the secret to getting fluffy cinnamon rolls without burning the tops: when your rolls look golden brown, test the temperature in the center of the roll. If it is 200°F, the rolls are ready! If the centers aren’t quite at 200°F yet, cover the tops with tin foil and pop them back in the oven for a few more minutes.
Homemade Cinnamon Roll Ingredients
I typically have all of these ingredients on-hand, and it’s likely you do, too!
Dough
- Milk – You can use whatever type of milk you’d like, I typically use 2% because that is what I have on hand.
- Salted butter, cold – Yes! Keep the butter cold. And while you technically can use unsalted butter, I always use salted!
- Dry, active yeast – I keep this yeast in my freezer and just pull it out when I’m ready to bake!
- Warm water – For optimal yeast growth, you want your water to be between 105° F- 113° F. If your water is too hot or too cold, your yeast (and your cinnamon rolls!) will not rise properly.
- Granulated sugar, divided
- Salt
- Eggs
- Flour – I use regular all-purpose flour here!
Filling
- Salted butter, melted – Again, salted butter! You could use unsalted and add a pinch of salt to the mixture, if needed.
- Brown sugar, packed – I like to use light brown sugar but dark would work as well!
- Cinnamon
Icing
- Salted butter, room temperature
- Powdered sugar
- Vanilla – I like to use clear vanilla because it will make your frosting bright white instead of being kind of murky.
- Heavy cream – You can substitute regular milk here, if desired. You will just need significantly less.
How to Make Cinnamon Rolls
- Microwave the milk until it’s nearly boiling, which typically takes about 1-2 minutes.
- Place a cold stick of butter into the hot milk, allowing it to melt. Stir the mixture and let it cool until it reaches an almost room temperature.
- In a separate bowl, combine warm water, yeast, and 1/2 tsp of sugar. Allow the yeast to activate while the milk is cooling. Look for a bubbly appearance, indicating that the yeast is alive.
- Pour the now room temperature milk and the activated yeast mixture into the bowl of a stand mixer.
- Add 3 cups of flour and briefly mix the ingredients together.
- Incorporate the remaining 1/4 cup sugar, salt, and eggs. Mix until the ingredients are well combined.
- Add an additional 3 cups of flour and mix slowly until combined. Gradually introduce the last cup of flour; the resulting dough will be quite tacky.
- Cover the bowl with plastic wrap and allow the dough to rise for 1 hour or until it has doubled in size.
- Turn the risen dough out onto a floured surface and gently roll it into a large rectangle, approximately 12 inches by 24 inches.
- Brush the dough with melted butter, then sprinkle brown sugar and cinnamon on top. Ensure there’s an inch strip at the top left bare; this will be used to seal the roll and prevent unwinding during baking.
- Use a rolling pin to press the filling into the dough.
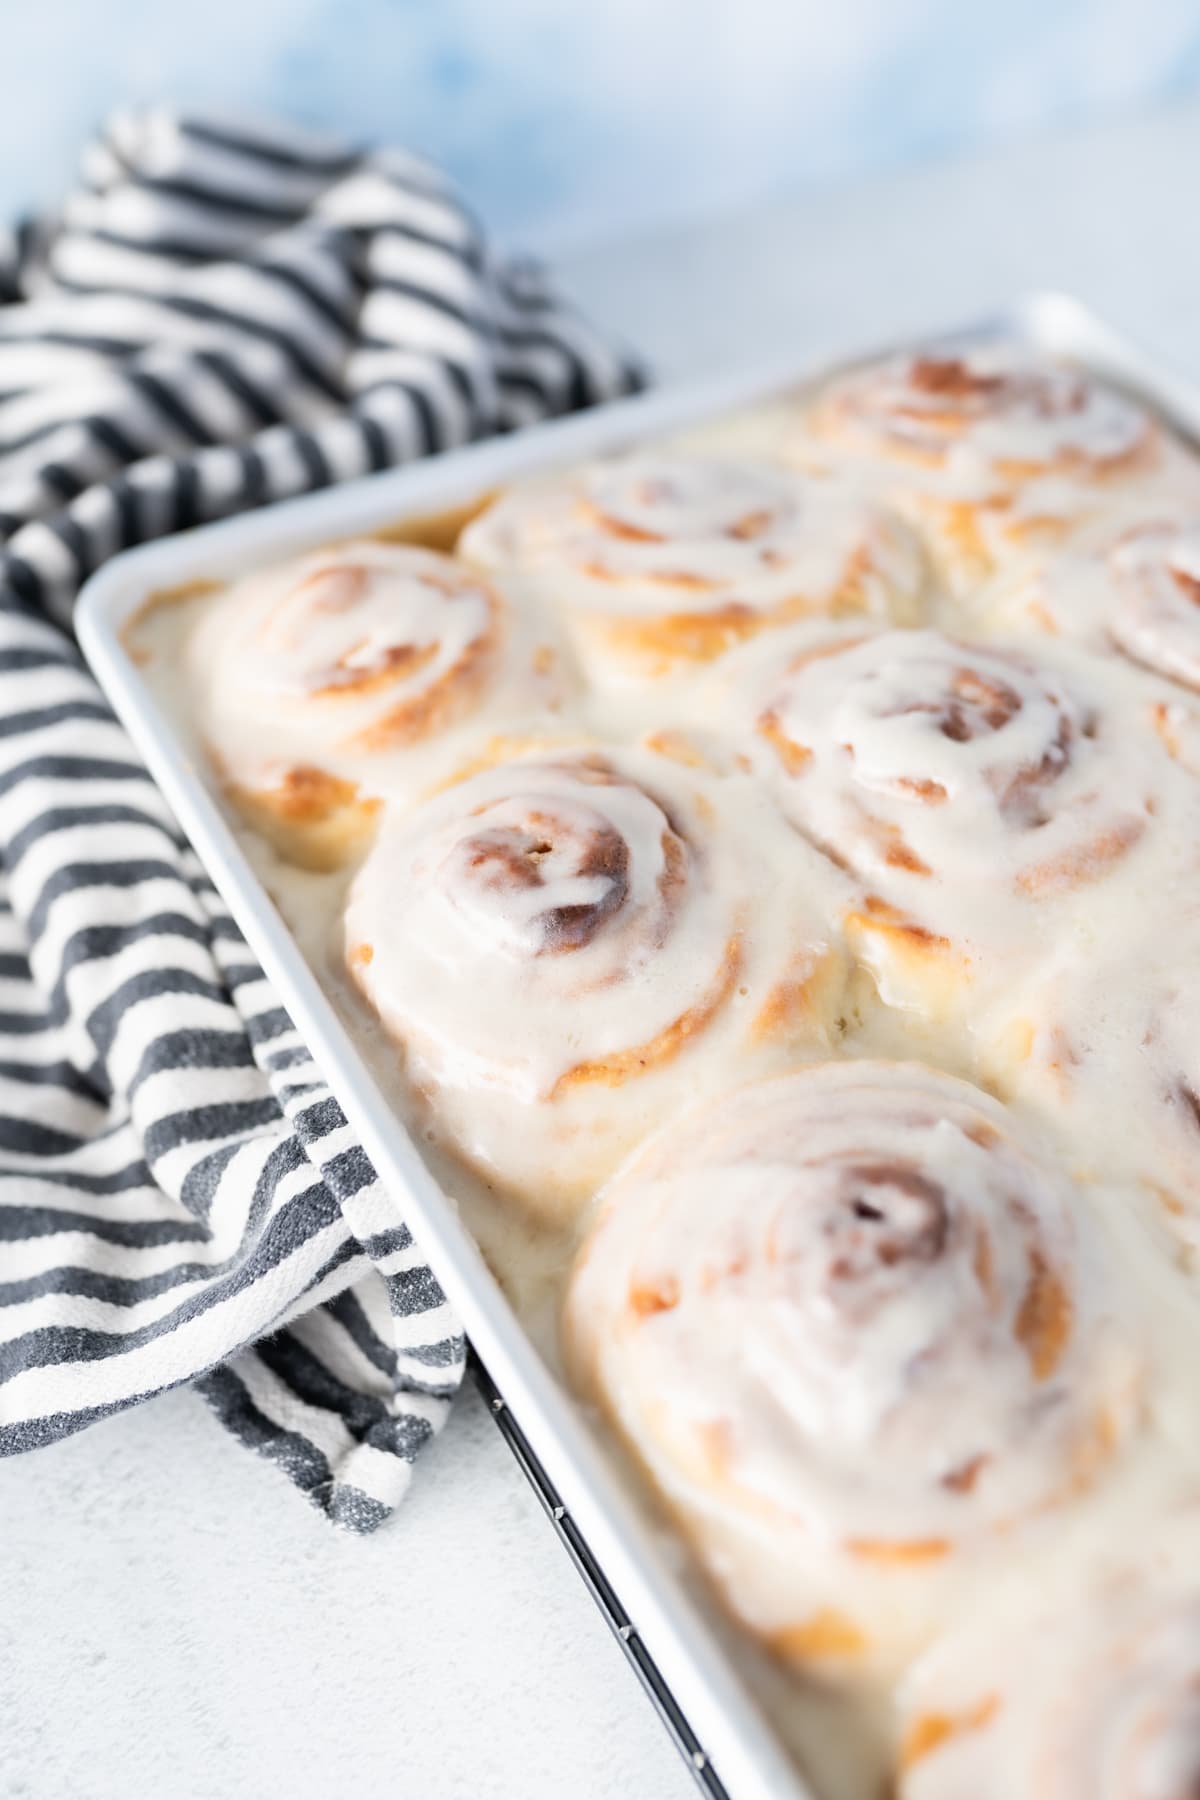
- Use a pizza cutter to cut the dough into strips. For large rolls, cut into 12 two-inch strips and arrange in a greased 9×13 pan. For thinner rolls, cut into 24 one-inch strips and arrange in a greased cookie sheet (half sheet, 18”x13”).
- After shaping the cinnamon rolls, cover the pan with plastic wrap and allow them to rise for an additional 30 minutes.
- Preheat the oven to 375°F (190°C) during the last stages of the rolls’ second rise.
- Bake the cinnamon rolls at 375°F for 15-20 minutes or until they are golden brown and the internal temperature of the rolls reach 200°F. If the rolls are golden on top and still underbaked inside, place a piece of tin foil over the rolls to prevent further browning.
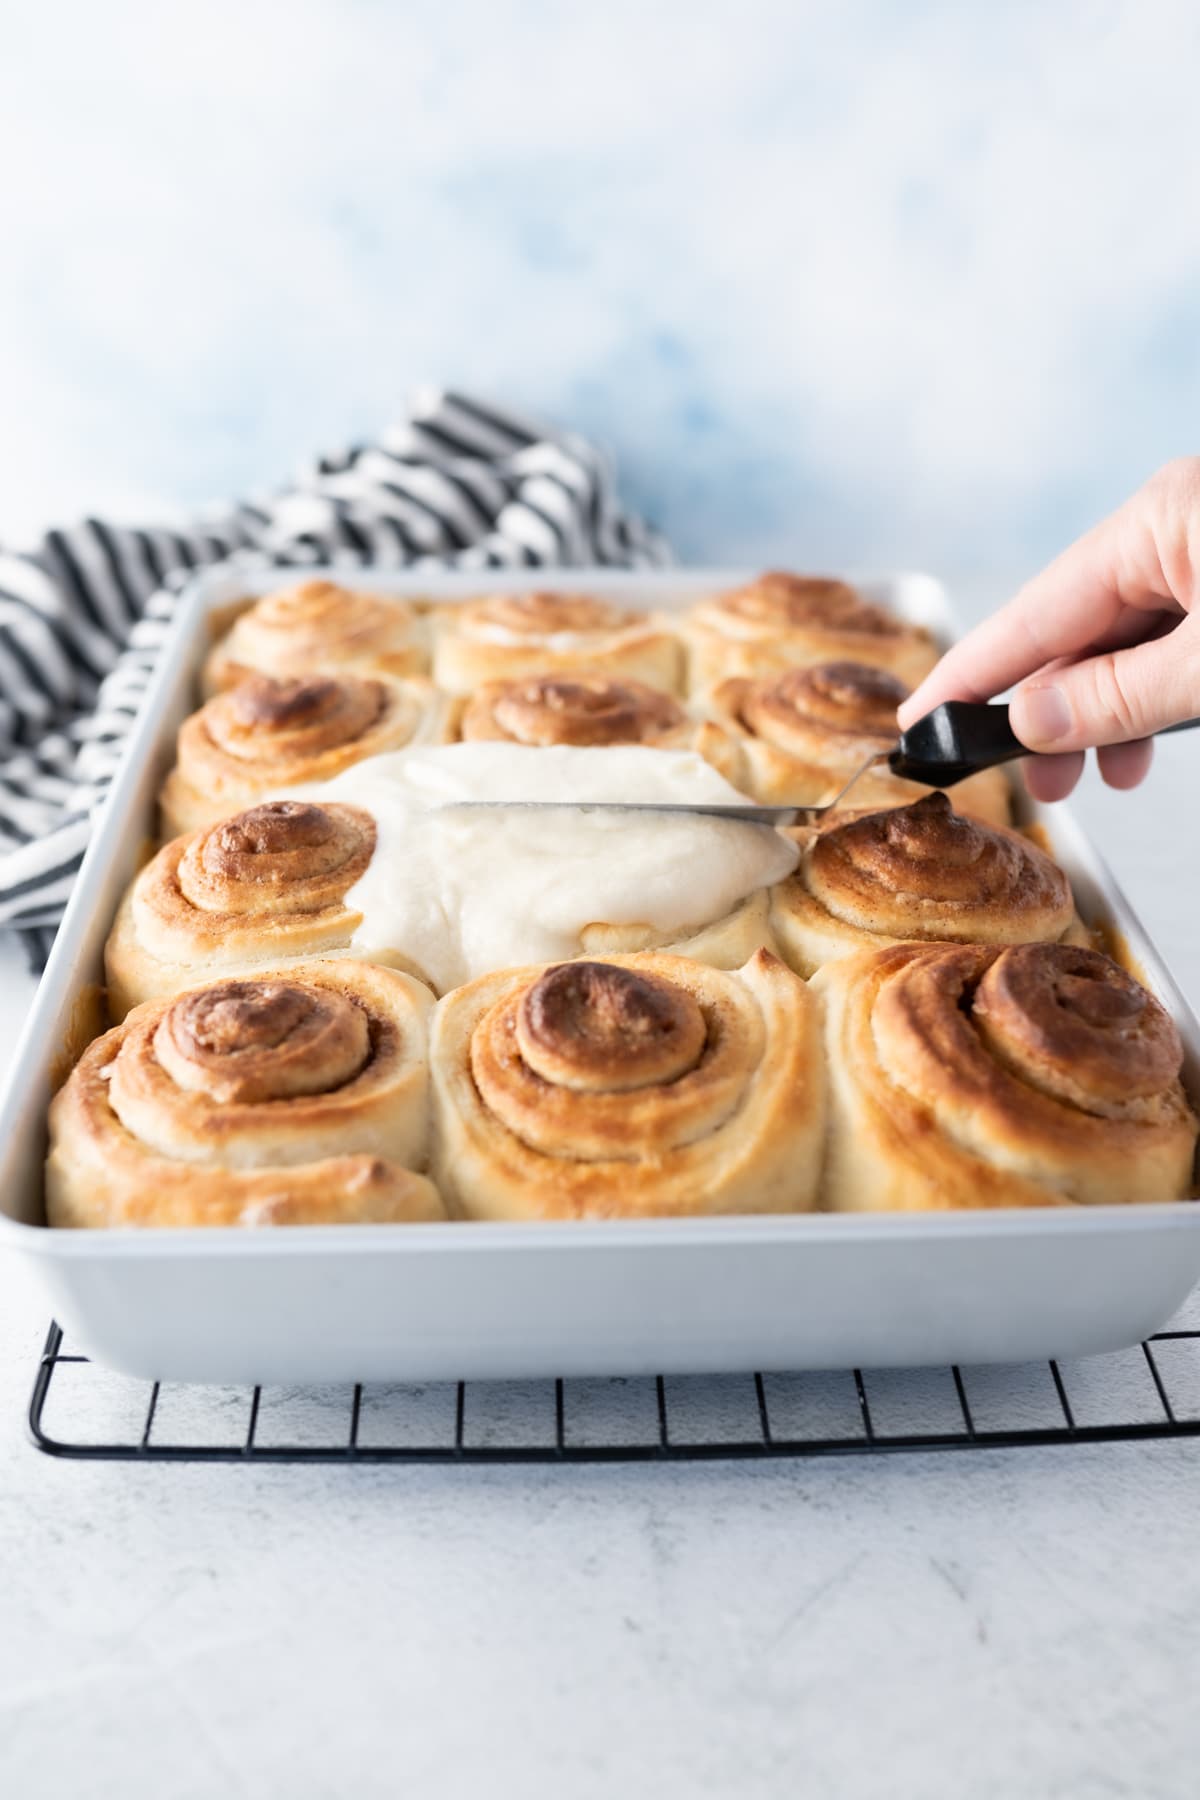
- For the Vanilla Buttercream Icing, start by creaming the butter until it’s smooth.
- Alternate the addition of the remaining frosting ingredients, incorporating one cup of powdered sugar at a time and then adding liquid (vanilla and heavy cream) until all ingredients are used. Add the liquid gradually until you reach your desired consistency.
- Mix the icing on low speed until it becomes smooth and creamy.
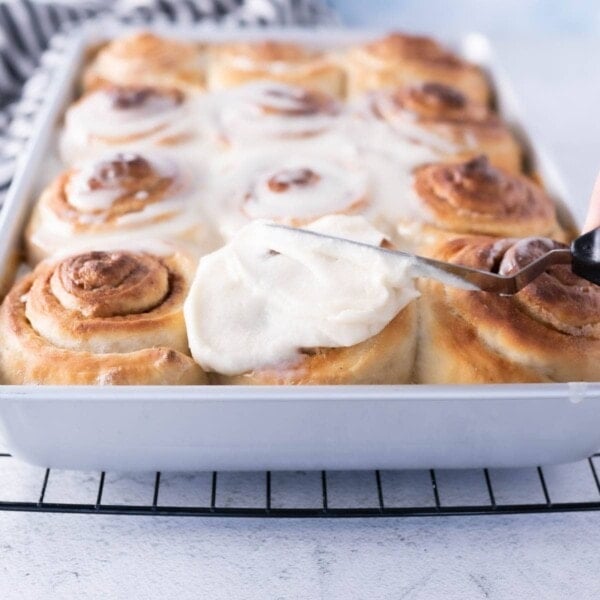
- Frost the still warm cinnamon rolls and enjoy!
How long to bake Cinnamon Rolls from Scratch
You’ll bake these scratch-made cinnamon rolls for 25-30 minutes or until they are golden brown and the internal temperature of the rolls reach 200°.
What is the Best Icing for Cinnamon Rolls?
I LOVE topping these cinnamon rolls with vanilla buttercream icing (outlined in this recipe). But if you’d like to further enhance these, you could try making my brown butter frosting (yum)!
Storing Homemade Cinnamon Rolls
Store your frosted cinnamon rolls in an airtight container for up to 3 days in the refrigerator. Note: the longer they are in the fridge, the more they will lose moisture and dry out!
Can you freeze Cinnamon Rolls?
Yes! You can. I recommend placing your completed cinnamon rolls on a sheet pan and freezing for about an hour until they are hard. Then, place your rolls in a freezer bag and freeze for up to 3 months.
Homemade Cinnamon Rolls Recipe FAQs
Why are my cinnamon rolls not light and fluffy?
Your cinnamon rolls may have a dense texture if you overmixed / overshaped the dough or you did not let them rise long enough.
Why do my cinnamon rolls taste doughy?
Make sure your cinnamon rolls have an internal temperature of 200°. If the rolls are golden on top and still underbaked inside, place a piece of tin foil over the rolls to prevent further browning. This will make sure your cinnamon rolls are completely cooked and not doughy inside!
More Recipes to Love:

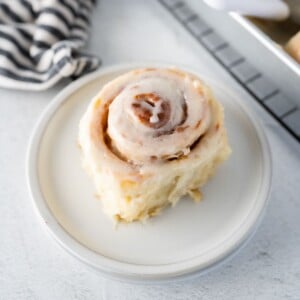
BEST Homemade Cinnamon Rolls
Ingredients
Dough
- 2 cups (472g) milk
- 1/2 cup (111g) salted butter, cold
- 2 tbsp dry, active yeast
- 1/2 cup (118g) warm water
- 1/4 cup (58g) + 1/2 tsp granulated sugar, divided
- 1 tbsp salt
- 3 eggs
- 6-7 cups (912g – 1064g) all-purpose flour
Filling
- 4 tbsp salted butter, melted
- 1 1/2 cups (369g) brown sugar, packed
- 4 tsp cinnamon
Vanilla Buttercream Icing
- 1/2 cup (111g) salted butter, room temperature
- 3 cups (321g) powdered sugar
- 2 tsp vanilla, I like to use clear vanilla
- 1/4-1/2 cup (60mL – 120mL) heavy cream

Instructions
- Microwave the milk until it's nearly boiling, which typically takes about 1-2 minutes.
- Place a cold stick of butter into the hot milk, allowing it to melt. Stir the mixture and let it cool until it reaches an almost room temperature.
- In a separate bowl, combine warm water, yeast, and 1/2 tsp of sugar. Allow the yeast to activate while the milk is cooling. Look for a bubbly appearance, indicating that the yeast is alive.
- Pour the now room temperature milk and the activated yeast mixture into the bowl of a stand mixer.
- Add 3 cups of flour and briefly mix the ingredients together. Incorporate the remaining 1/4 cup sugar, salt, and eggs. Mix until the ingredients are well combined.
- Add an additional 3 cups of flour and mix slowly until combined. Gradually introduce the last cup of flour; the resulting dough will be quite tacky.
- Cover the bowl with plastic wrap and allow the dough to rise for 1 hour or until it has doubled in size.
- Turn the risen dough out onto a floured surface and gently roll it into a large rectangle, approximately 12 inches by 24 inches.
- Brush the dough with melted butter, then sprinkle brown sugar and cinnamon on top. Ensure there's an inch strip at the top left bare; this will be used to seal the roll and prevent unwinding during baking.
- Use a rolling pin to press the filling into the dough.
- Use a pizza cutter to cut the dough into strips. For large rolls, cut into 12 two inch strips and arrange in a greased 9×13 pan. For thinner rolls, cut into 24 one inch strips and arrange in a greased cookie sheet (half sheet, 18”x13”).
- After shaping the cinnamon rolls, cover the pan with plastic wrap and allow them to rise for an additional 30 minutes.
- Preheat the oven to 375°F (190°C) during the last stages of the rolls' second rise.
- Bake the cinnamon rolls at 375°F (190°C) for 15-20 minutes or until they are golden brown and the internal temperature of the rolls reach 200°F (93°C). If the rolls are golden on top and still underbaked inside, place a piece of tin foil over the rolls to prevent further browning.
Vanilla Buttercream Icing
- For the Vanilla Buttercream Icing, start by creaming the butter until it's smooth.
- Alternate the addition of the remaining frosting ingredients, incorporating one cup of powdered sugar at a time and then adding liquid until all ingredients are used. Add the liquid gradually until you reach your desired consistency.
- Mix the icing on low speed until it becomes smooth and creamy.
- Frost the still warm cinnamon rolls and enjoy!


Do you have to use a glass lid? Thank you
Hi Krystal! No, you just need to cover it. You can use any lid, or even a large dinner plate! If you decide to use the instant pot’s regular lid, make sure it is set to venting and be sure to take the seal out so it won’t flavor your bread like the last thing you ate for dinner. ?
Can any of this be done the day before so I can make them for breakfast? Even though the time is a lot less using the IP it is still more than I’d like to do in the AM. Thank you!
Hi Sydney! You’d be okay if you made them the night before, any longer and they tend to not be as soft and fluffy. One thing you could do is get the cinnamon rolls all ready the day before, but put the rolled up and sliced rolls in the fridge (covered) over night. Then in the morning you’d just need to pull them out and let them sit at room temperature for about an hour and then bake. You could spread up that process by sticking them in a warm oven to help them come to room temp faster. Hope that all makes sense and helps out!!
Thank you! Looking forward to trying this and having them on Mother’s Day.
Hope you enjoy them!!
What kind of flour did you use- all purpose, bread flour, etc??
Hi Julia! I always use all-purpose flour. I don’t like having to keep two separate flours on hand (no room in the apartment! Haha) and I figure most people don’t have it on hand either. ?
Do you think you could freeze these before baking them ? Like put them in the freezer instead of the refrigerator as you described in response to previous comment ?
Oh, I would imagine you could!! I haven’t ever tried, but definitely will try to freeze half the batch next time I make them and test it out. What an awesome idea! ?
I would love to try these! However, I dont have an yogurt button on my instant pot. Do you know what setting I can use? Or can I not use the instant pot?
Hi Jaimie! I describe how to quick proof in the oven if you don’t have an Instant Pot with the yogurt button in this post. Comment again if you have any other questions! https://cookingwithkarli.com/homemade-dinner-rolls/
The last 15 minute rise do you put it in the oven while it pre-heats or does it just rise on the counter while the oven preheats?
Hi Meredith! Just leave it on the counter while the oven preheats. I like to put it on the stovetop because the heat from the oven helps rise the dough a little extra. ?
Can I use instant yeast ? If so, how much?
Hi Brenda- just use the same amount, it will just rise a bit faster. Keep an eye on it! 🙂
Absolutely fluffy & delicious! Halved the recipe & still came out with 12 1 1/2″ rolls. So so good! Followed the recipe perfectly & it was super easy!
Liz, I am so happy to hear you loved the recipe. 🙂 Thanks for the comment and stars. 🙂
Hi,
Trying my 2nd attempt. My dough is too sticky to roll when pouring it from the pot. Yours look so firm when rolling it. Did you knead before rolling?
Thanks
Hi Lay, no I don’t knead, but I do flour my counter and then flour the top of the dough and fold it a few times to make the dough easier to work with. If you still find it too sticky, it may have to do with your climate or altitude. Next time add a little bit more flour when you are initially kneading. 🙂