This post may contain affiliate links. Please read our disclosure policy.
Instant Pot Yogurt could not be easier using the Cold Start Method! Ultra-Pasteurized milk, a starter and your Instant Pot is all you need to make delicious, creamy homemade yogurt.
Instant Pot Yogurt (Cold Start)
Instant Pot Yogurt could not be easier using the Cold Start Method! Ultra-Pasteurized milk, a starter and your Instant Pot is all you need to make delicious, creamy homemade yogurt.
What is Cold Start Instant Pot Yogurt?
There are two methods that one can use when making yogurt. The boil method and the Cold Start Method. We will be talking all things Cold Start today.
The Cold Start method was given it’s name by Freida over at Freida Loves Bread. It is called the Cold Start method because it uses ultra-pasteurized milk so you don’t have to boil the milk like you would a regular gallon of milk.
What is cold start vs warm start yogurt?
The main difference between cold start and warm start yogurt is the method used to prepare the milk before adding the starter culture. Cold start yogurt skips the heating step by using ultra pasteurized milk and is made by directly mixing the milk and culture (fresh yogurt with live cultures), while warm start yogurt requires the milk to be heated and cooled before adding the culture.
Instant Pot Yogurt Cold Start ingredients
- 1/2 gal ultra-pasteurized milk like Fairlife
- 2 tbsp new, unopened yogurt with active cultures
- 16 oz Vanilla Natural Bliss Coffee Creamer, optional
How to make Cold Start Instant Pot Yogurt
First you will need ultra-pasteurized milk. The most common brand of ultra-pasteurized milk is Fairlife. Whenever I make yogurt, I use Fairlife Whole milk. Skim, 1% or 2% would work well too.
Next, you’ll need a yogurt ‘starter’. When I was new to the Instant Pot, this really confused me. ‘I need yogurt, to make yogurt?’, I thought. Yes, you do.
The yogurt needs to be NEW, unopened yogurt that has ‘live’ or ‘active’ cultures in it. It will be written on the back label. Two tablespoons will be whisked into the milk, those active cultures are what will change your milk into yogurt.
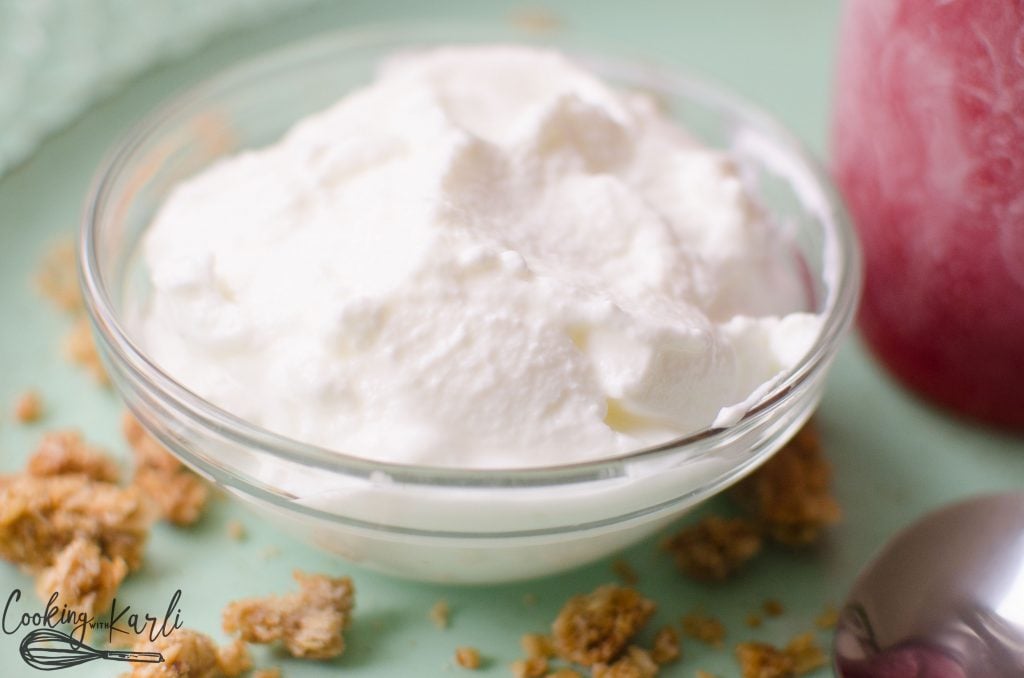
The milk and yogurt starter are incubated in the Instant Pot on the Yogurt NORMAL setting for 8 hours. The yogurt will be thick by the time the 8 hours are up.
Put the Yogurt directly into the fridge without stirring for 3-4 hours. I have this nifty silicone lid that fits onto the inner pot that I always put on and then stick the entire inner pot into my refrigerator.
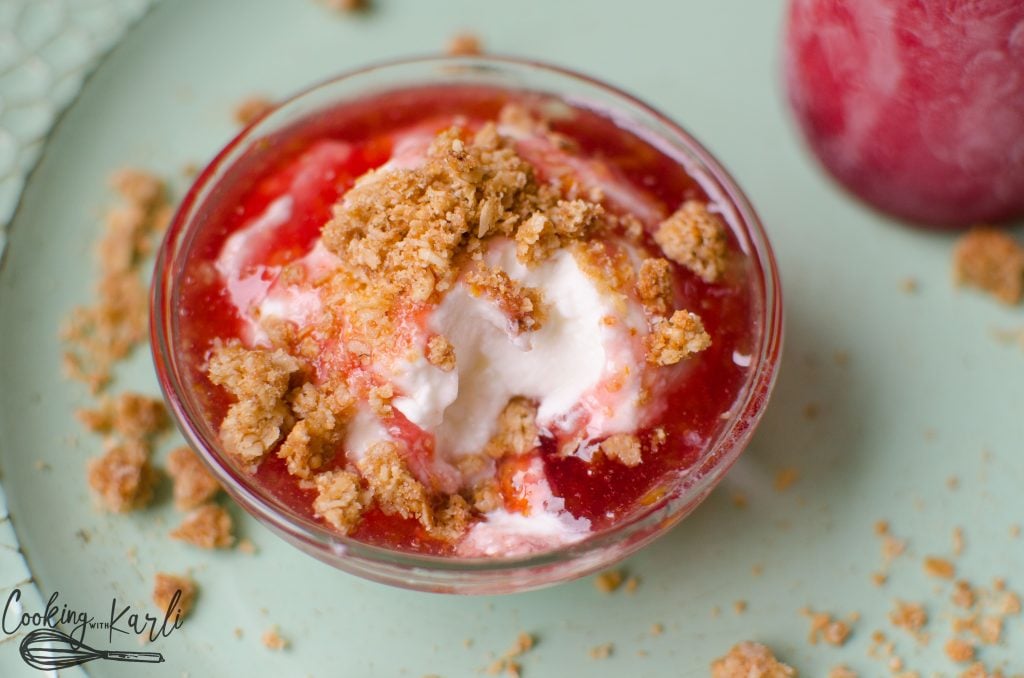
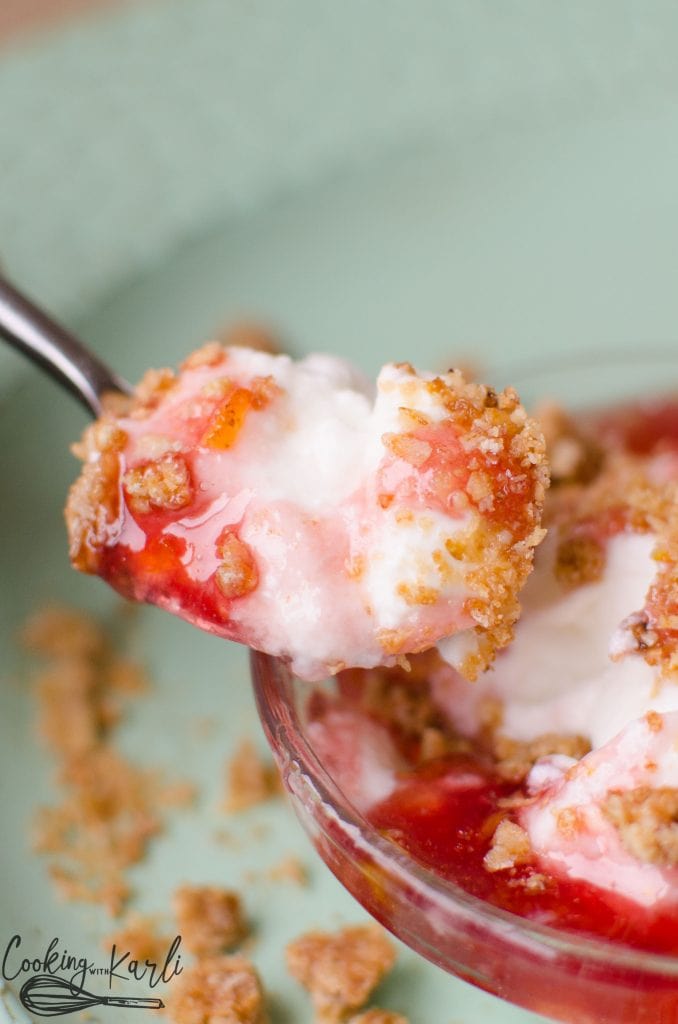
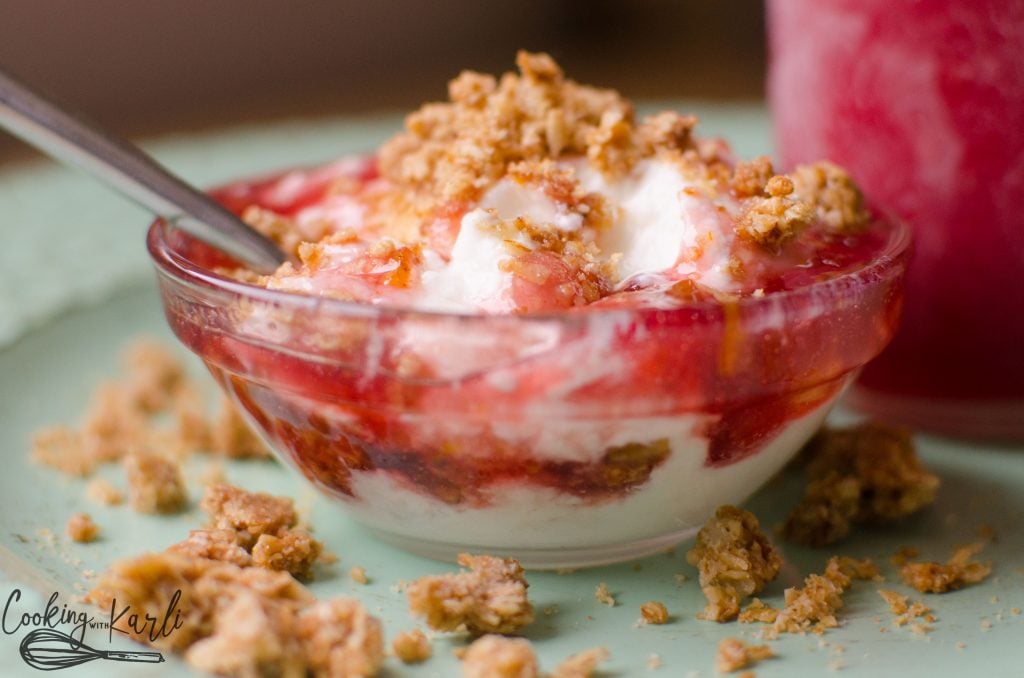
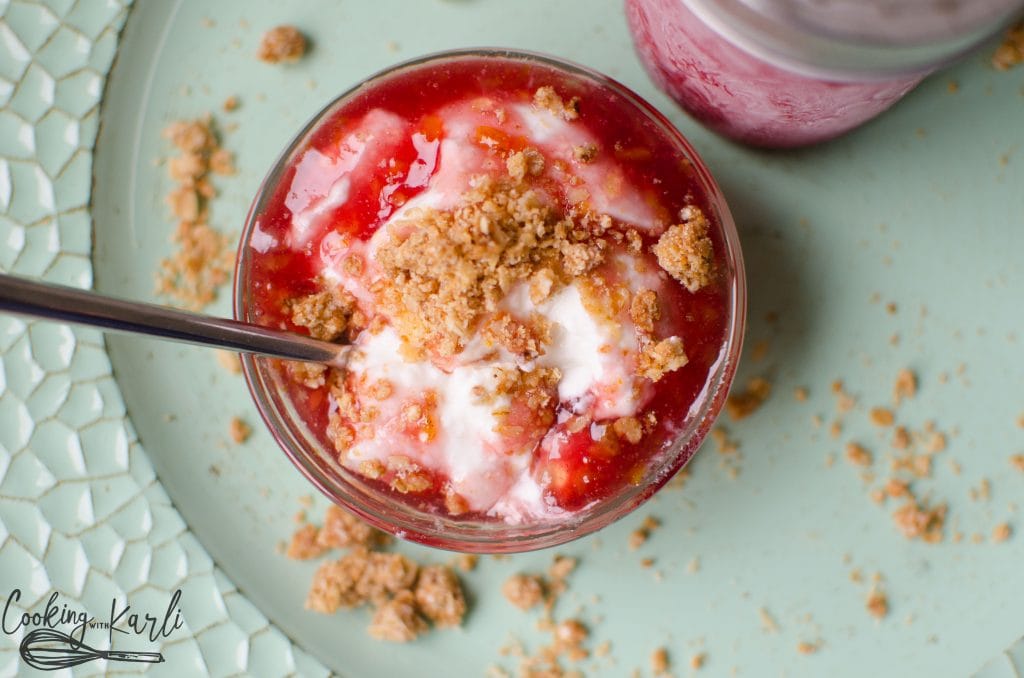
Once the yogurt has been refrigerated, it is ready to flavor and eat!
If you’d like the yogurt thicker, you can strain the whey out of the yogurt. You know the liquid that is sitting on top of store bought yogurt? That is whey. You can take the liquid out by straining it.
A lot of people like to use coffee filters inside of a mesh strainer. Strain as long as you need to get your desired thickness. You can always mix back in some whey if it ends up too thick.
How to sweeten and flavor Instant Pot Yogurt
When the yogurt is plain, it will taste tangy and like sour cream almost. It will not be sweet at all. In fact, you can substitute this plain yogurt for sour cream in recipes!
There are many ways to sweeten and flavor the yogurt. Honey, jam and adding a touch of vanilla are very popular options. My Instant Pot Strawberry Jam is delicious with yogurt!
My personal favorite way to sweeten and add a vanilla flavor to my yogurt is by adding a splash of Torani’s Vanilla Syrup. I personally think that it tastes just like Yoplait Vanilla Yogurt. They have all different flavors and even have a Sugar Free Syrup!
My kid’s favorite way of flavoring the yogurt is by adding some Jello powder or drink mix powder. This really flavors the yogurt and is very comparable to the kid’s flavored yogurts that can be bought at the store. I even make my own Go-Gurts now! I wrote all about it in this post.
Get creative with flavoring your yogurt! I have even made frozen yogurt with mine!
How to use Instant Pot Yogurt
There are many different ways you can use Instant Pot yogurt. Here are a few ideas for you:
- Top with granola and fresh fruit for breakfast.
- Add into your favorite smoothie
- use in dips or spreads such as ranch
- Use in salad dressing
- use as a substitute for sour cream or buttermilk
- Use it to make frozen yogurt or popsicles
How to store Instant Pot Yogurt
- First, transfer the yogurt to a clean, airtight container with a lid. You can use glass jars or plastic containers that are airtight.
- Next, label the container with the date that the yogurt was made.
- Store the yogurt in the refrigerator immediately after making it. Make sure the fridge temperature is set to around 40°F (4°C) to ensure that the yogurt stays fresh.
- Yogurt can be stored in the fridge for up to 2 weeks, but its quality may start to degrade after about a week. Always check the yogurt for any signs of spoilage before consuming it, such as mold, off odors or sour taste.
Instant Pot Yogurt FAQs
You can certainly try, but chances are you will end up with warm chocolate milk in the morning instead of yogurt. There is just too much sugar in chocolate milk. All the sugar kills the active cultures, which are required to make yogurt.
My kids are mainly the ones that eat the yogurt and they could use a little meat on their bones. 🙂
Fair life has be ultra-pasutrized, which basically means it has been boiled already which is why the cold start method works. Fairlife milk also has 50% more protein, 50% less sugar, 30% more calcium than regular milk. Fair life milk also has added the Lactase enzyme which makes this milk LACTOSE FREE!
The liquid that strains off of yogurt.
You bet!! Freeze 1 tbsp globs on parchment paper. Once frozen, gather the frozen yogurt and place them in a freezer safe container or bag. When you want to make yogurt next, pull two tbsp portions out and let them sit at room temperature for 30 minutes or so.
I certainly think so! It is a cost effective way to get a large quantity of thick greek yogurt at home plus it is so easy to do! I love that you can customize it to your individual taste and you can control the ingredients that go into the yogurt.
The yogurt function on an Instant Pot is designed to maintain a consistent temperature range of around 110°F-115°F (43°C-46°C) during the yogurt-making process.
this is dependent upon the fat content in the milk you are using, but you can expect to get around 32-48 oz of yogurt from 1 gallon of milk.
Most commonly, it is because your yogurt culture was not active or viable. Make sure you use fresh yogurt or yogurt that was fresh when it was frozen to make your yogurt.
PIN ME!!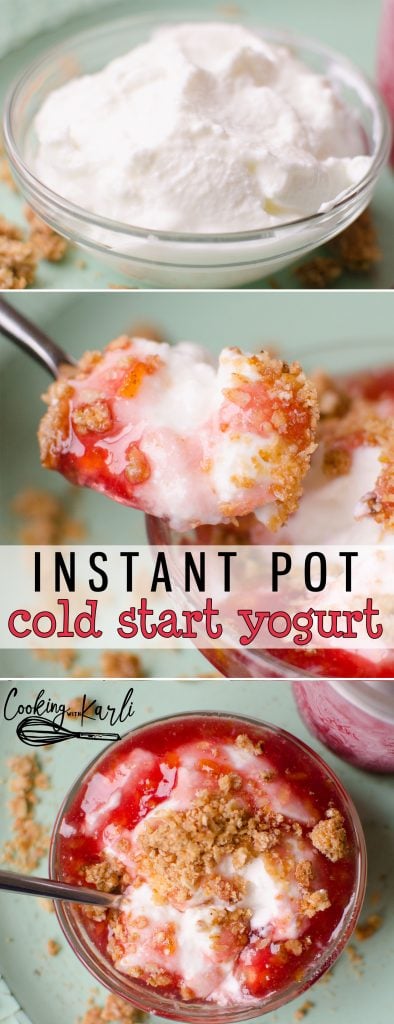
More Breakfast Recipes to Enjoy:
If you loved what you saw here, get more of it on Facebook, Instagram & Pinterest! I’d love to connect! Sign up for my weekly newsletter below to never miss a new recipe again!


Instant Pot Yogurt (Cold Start)
Ingredients
- 1/2 gal ultra-pasteurized milk, like Fairlife
- 2 tbsp new, unopened yogurt with active cultures
- 16 oz Vanilla Natural Bliss Coffee Creamer, optional

Instructions
- Pour 1 cup of the milk into a small bowl. Pour remaining milk into the Instant Pot Liner.
- Whisk 2 tbsp of yogurt into the 1 cup of milk thoroughly.
- Pour the milk and yogurt mixture into the Instant Pot.
- Add in the coffee creamer if desired, stir well.
- Cover the Instant Pot with a glass lid (or take the seal out of your regular lid!).
- Press the Yogurt button and hit adjust until the ‘NORMAL’ light is on. The display should read 8:00 hours. Incubate for 8 hours.
- After the yogurt has incubated for the full 8 hours, transfer the yogurt and the inner liner to the fridge. Refrigerate for 4 hours.
- If you’d like to strain your yogurt, now is the time to do so. You can strain by placing the yogurt in a coffee filter that is inside of a mesh strainer. Set over a bowl in the fridge for as long as it takes to get to the consistency you are looking for


Can a probiotic pill be used instead of the yogurt for the starter?
It really depends on how many live cultures are in the probiotic pill vs how many are in the yogurt starter. To be safe, I’d suggest just using the yogurt starter.
I love this recipe, but have a question. I followed the instructions and used the suggested ingredients. It came out looking and smelling great. But when I scooped into a filter lined sieve to strain it got lumpy. Anyone know why? Thanks in advance!
That is normal when straining the whey off of the yogurt. You should be able to stir the lumps out easily.
I normally make my yogurt just like this recipe but I am wanting to use sweetened condensed milk instead of the coffee creamer. Would I use 1 can per container of milk? I want to double my recipe so I just need to know how much sweetened condensed milk I would use. Thank you
Hi Lindsay- For each half gallon of milk, you’ll want to use 1 can of sweetened condensed milk.
Tastes great with the vanilla natural bliss coffee creamer, but I would like to use a cheaper, easier to find brand. Would any ultra pasteurized creamer work? Are there any other brands you would recommend?
I haven’t tested it with any other brands. I would assume any ultra pasteurized creamer would work. Let me know how it goes!
When adding the vanilla syrup, do you add it before you serve it? Or can you add to the whole batch?
Either way! The more you stir it the looser it will become so if you like it thick, I would add it for each serving right before you eat it.
Can you use your own yogurt as your next starter?
Yes, you can! Just take some of your fresh yogurt and place it in the freezer until you need it for your next batch.
I have an instant pot but it does not have a yogurt setting. Your recipe says to have the instant pot set on “normal” for eight hours. Is there anyway I can make yogurt with my instant pot by setting it manually?
Hey Marrie, thank you for your question. Unfortunately there isn’t a substitute for the yogurt button. Both the Instant Pot Duo and Ultra have the yogurt setting. I wish there was a way, I’m sorry.
So I see a lot about doubling the recipe, has anyone tried to cut it in half? I live alone and don’t think I need 52 oz of yogurt. Also, if you cut the recipe in half would that change the cooking time?
I tried to look through previously asked question so I don’t ask the same question twice 😉
Hi Sarah, you can cut this in half! No need to change the incubation time.
I love this recipe. I do not use the creamer , and 7hrs 15min seems to be my sweet spot. There is very little and by that I mean , less than a tbsp of whey on top so I don’t have to strain, and it’s very tart like greek. I normally mix a cup of homemade berry compote into the entire batch and it thickens back up, but my question is , can I mix in a scoop of protein powder at the same time I mix in my starter to make a protein yogurt?
That is a great question, Heather! Honestly, I haven’t tested this so I am not sure whether or not it will work. Make a smaller batch next time and give it a whirl and see if it works! Let me know if you experiment!
Is the Vanilla Natural Bliss Coffee Creamer the only flavor you’ve tried? Does using coffee creamer affect texture? I found that vanilla extract added afterwards makes it too thin for me and really doesn’t impact taste unless I add more…..thinning it even more. I’m curious to try your version with the coffee creamer.
The coffee creamer doesn’t effect the texture or thickness! The vanilla natural bliss is the only one I’ve tried.
I add half a can of sweetened condensed milk and it helps with texture! Fantastic recipe!! Yum 😋