This post may contain affiliate links. Please read our disclosure policy.
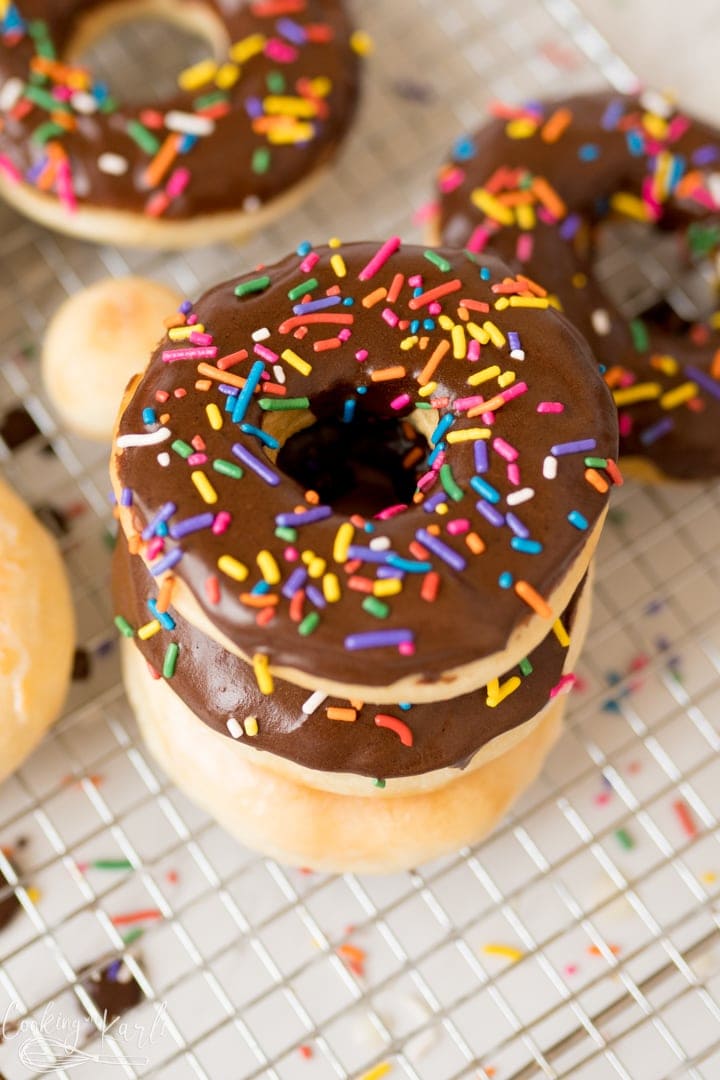
Homemade Donuts are a quick and easy treat the whole family will love. This is a yeast based donut recipe that is completely beginner friendly. This Homemade Donut Recipe yields a classic fluffy inside and crisp outside.
DIY Donuts
Homemade Donuts were a classic dessert at my house when I was growing up. Sunday afternoons are meant for treats like homemade donuts, am I right?? (HINT: the answer is yes. 😉)
Making Homemade Donuts is one of our family’s favorite activities. Sometimes I totally cheat and use canned biscuits, but these from scratch Homemade Donuts are so. much. better. They are a smidge more time consuming, but totally worth it when I happen to have the extra time in my day.
My kids love helping, the rolling, cutting, frosting, sprinkling.. 😉 all completely kid friendly tasks!
Homemade Donut Recipe Ingredients
- Milk – Milk adds fat to the dough making it softer.
- Dry active yeast
- Butter – Melted butter also adds fat to the dough, making it pillowy soft.
- Granulated Sugar – The sugar acts as a tenderizer and interferes with the gluten in the flour, leading to a tender crumb and soft texture. That’s why you’ll find more sugar in this dough than a typical bread dough.
- Salt
- All purpose flour – I specifically developed this recipe to utilize all purpose flour because I know that is what most home chefs have on hand. You’re welcome.
- Oil – I like to use an oil with a high smoke point and a neutral flavor profile like peanut oil. Vegetable and canola oil will also work well, but do not try to use olive oil here!
How to make Homemade Glazed Donuts from scratch
Let’s talk about the donut dough. This is a yeast dough, but it is extremely simple! Totally beginner friendly. I’ll take you through it all, step by step.
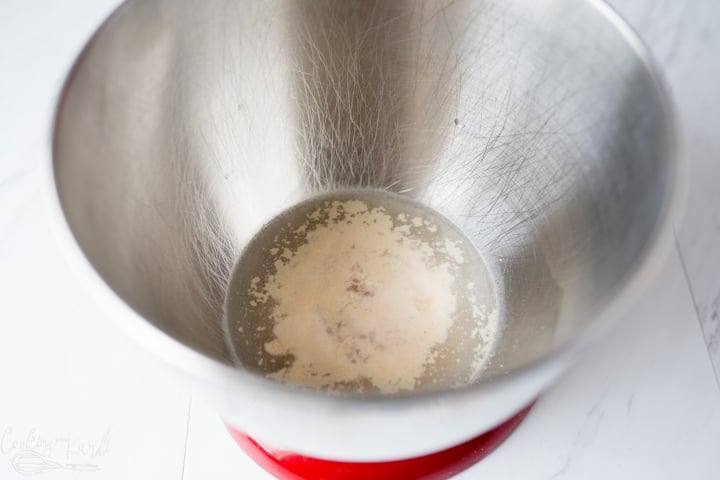
- Proof the yeast. This means we are going to mix the yeast with some warm water and sugar and wait 5-10 minutes until it is frothy and bubbly. This tells us that the yeast is alive and kicking! If after 10 minutes it hasn’t bubbled up at all, through that batch out and try again. It is important to make sure your yeast is alive and bubbly or else the dough won’t rise at all. The picture below shows the yeast proofed correctly.
2. Once the yeast is proofed, melted butter, milk, sugar flour and salt will be added to the bowl. Use the dough hook on your stand mixer and let the mixer do the work for 10 minutes. Set a timer, walk away and let it do the work! The dough should be soft, but not so soft it sticks to the sides of the bowl.
If you don’t have a stand mixer, you can knead the dough by hand. You will get quite the work out, but it is definitely possible! Knead until the dough is elastic and smooth.
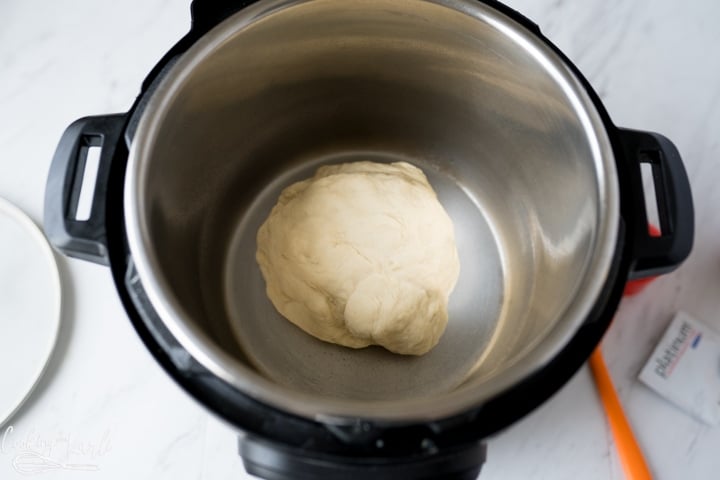
4. Let the dough rise until double. I like to use my Instant Pot to rise the dough quickly. If using the Instant Pot, turn the Instant Pot onto the Normal YOGURT setting and allow the dough to rise for 15-30 minutes.
If you do not have an Instant Pot or don’t have the yogurt button, allow the dough to rise on the counter top until double is size. Approx. 1 hour.
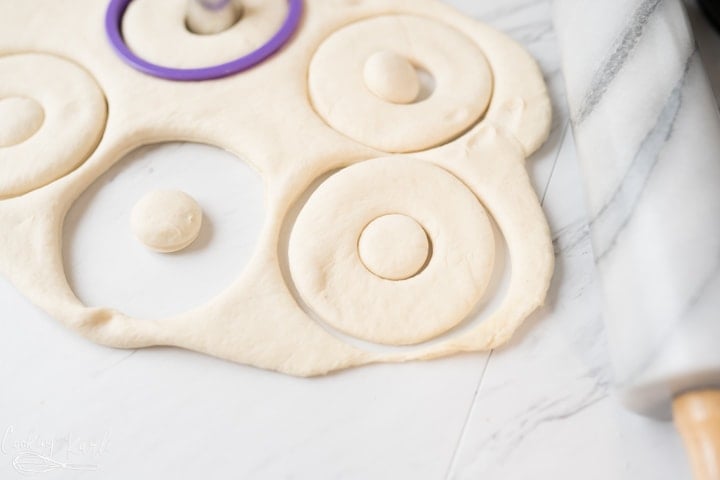
5. Roll the dough out until it is about 1/2 inch thick. Now it is time to cut out those donuts! I used a round cookie cutter and a piping tip to cut out the centers. Get creative and use what you have in your pantry! A soda pop lid works great, too!
You can also get creative with the shape of your donuts- I love using heart cookie cutters for Valentines Day!

6. Cut out the donuts and then allow the donuts to rest and rise for about 15 minutes before heating your oil over medium high heat until it reaches 370°.
7. Once the oil is hot, carefully drop each donut into the oil. Fry on each side for 30 seconds to 1 minute or until golden brown. Once the donut has been fried on each side, take the donut out and place on a paper towel covered plate. Repeat with the remaining donuts and donut holes.
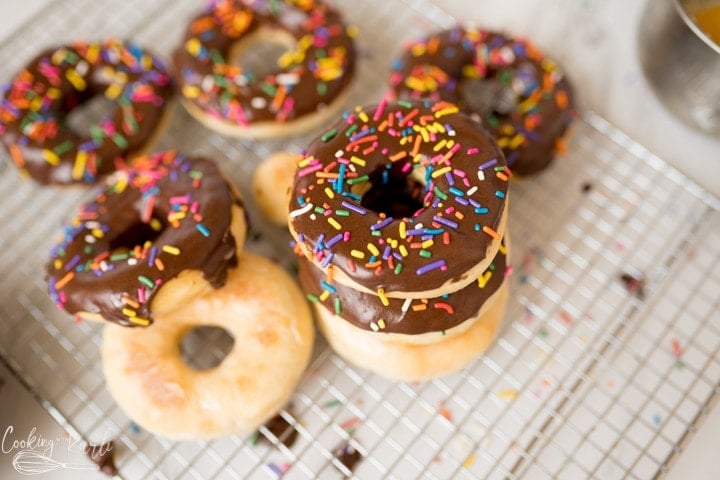
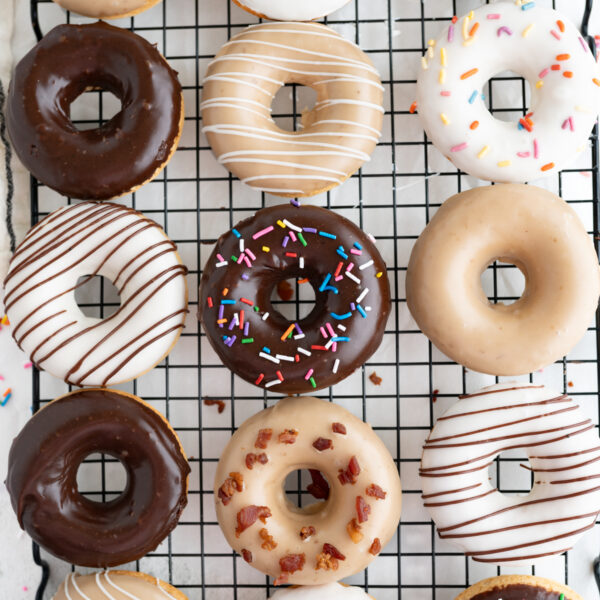
Homemade Doughnut Recipe: Topping the Donuts
There are so many options and different ways to top your homemade donuts. Plain glazed, chocolate iced, vanilla frosting.. So many options!! I’ll include quick recipes for them all below.
Homemade Donut Recipe Donut Glaze
- 1/4 cup butter room temperature
- 1 1/2 cup powdered sugar
- 1 tsp vanilla
- 1 1/2 tbsp milk
- Mix all ingredients together in a stand mixer or with handheld beaters until smooth.
- Immediately glaze the donuts after frying by putting the donut into the bowl of glaze and flipping it around a few times.
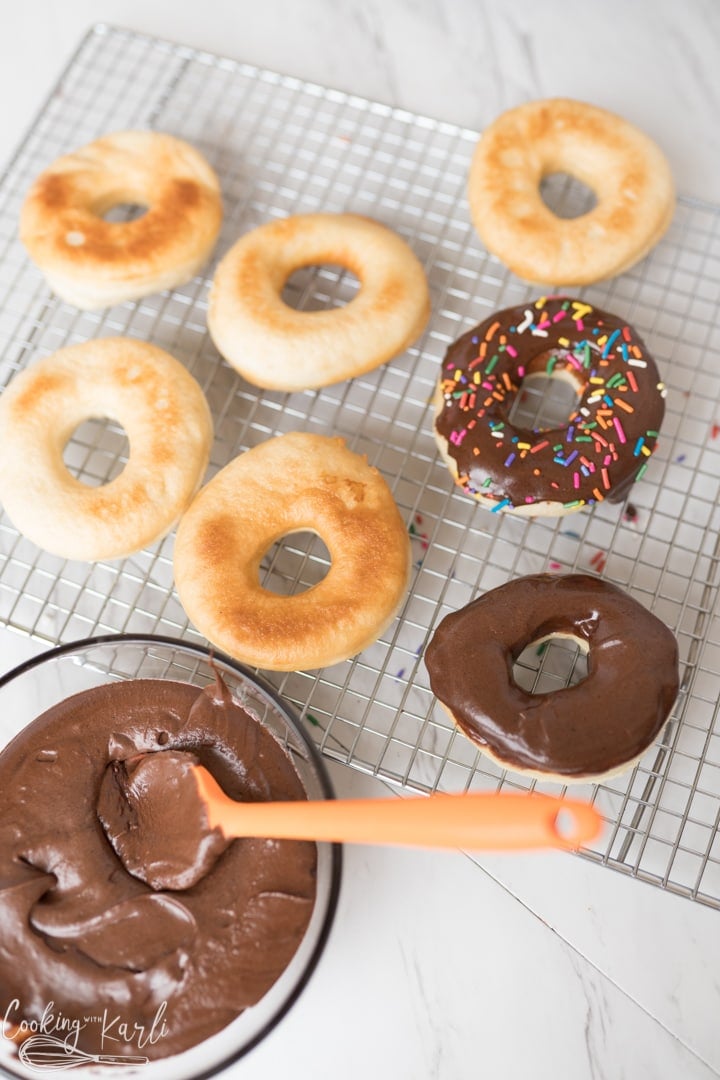
Chocolate Donut Icing for DIY Donuts
- 1/4 cup butter
- 1/4 cup cocoa
- 1 cup powdered sugar
- 1 tsp vanilla
- 2 tbsp milk
- Mix all ingredients together in a stand mixer or with handheld beaters until smooth.
- Immediately Ice the donuts after frying by dipping the top half of the donut into the bowl of icing. You can spread extra Icing onto the donut if desired. (I usually do. 😉)
Homemade Glaze Donuts: Vanilla Icing
- 1/4 cup butter
- 1 1/2 cups powdered sugar
- 1 tsp vanilla
- 2 tsp milk
- food coloring
- Mix all ingredients together in a stand mixer or with handheld beaters until smooth.
- Immediately Ice the donuts after frying by dipping the top half of the donut into the bowl of icing. You can spread extra Icing onto the donut if desired.
- Stir in the food coloring, if desired.
Storing Homemade Donuts
Homemade donuts are best warm and eaten within 12 hours of making them. If you want to store them for longer, I suggest freezing the donut immediately after it cools down and then allowing them to come to room temperature before microwaving for 7-10 seconds before eating.
How long will my Homemade Donuts last?
Homemade Donuts are best eaten as soon as possible. They are best eaten within the hour. If they all won’t be eaten within the hour, they will stay fresh up for 24 hours. I suggest popping them into the microwave for 8-10 seconds before eating them if they aren’t super fresh. Either that or take some around to your neighbors, I do this often and people seem to like it. 😉
Homemade Donut Recipe FAQs
First, because there are not preservatives or dough conditioners added to the dough, it is natural and expected for the donuts to become dense and tough the longer they sit.
If the donuts are tough from the get go, look into your proofing time or the amount of flour you used. If there is too much flour added your donuts will be tough. The dough also may need to proof a bit longer or your oil may not be hot enough. Experiment with these changes and give it another try. 😊
I always use peanut oil. Peanut oil has a very high smoke point, which means you can heat it up to 370° easily without it burning, making your donuts taste and smell bad. Another option would be canola oil, but I prefer peanut oil over canola.
If you loved what you saw here, get more of it on Facebook, Instagram & Pinterest! I’d love to connect! Sign up for my weekly newsletter below to never miss a new recipe again!
[et_bloom_inline optin_id=”optin_2″]
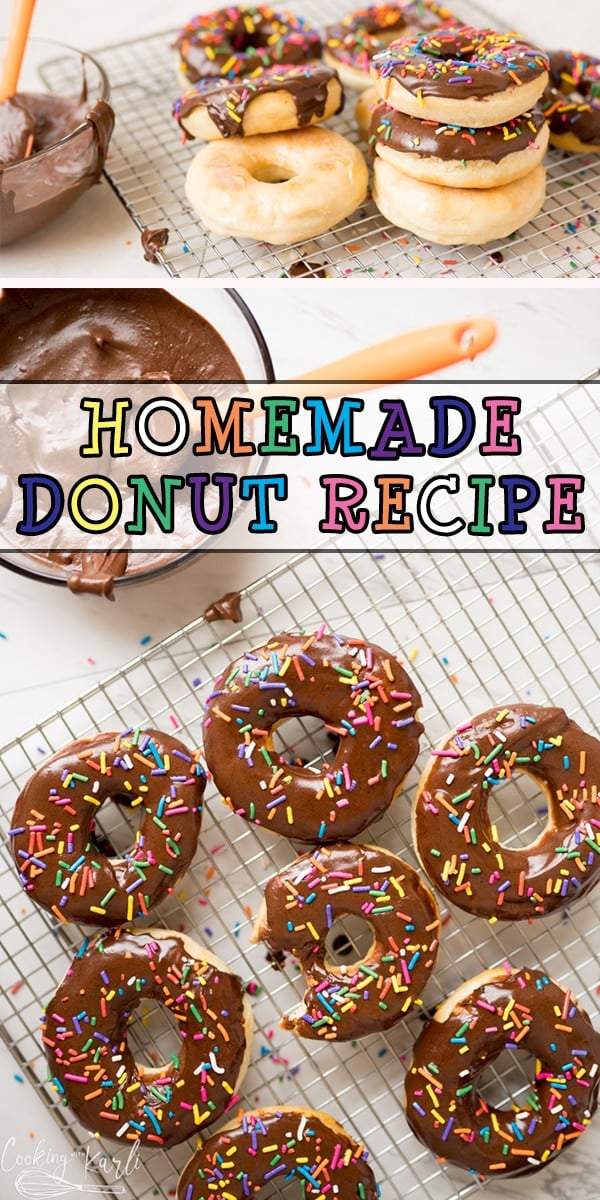
PIN ME!!
You Might Also Like:


Homemade Donuts
Ingredients
- 1 cup (236mL) milk, divided
- 1 1/2 tbsp dry active yeast
- 4 tbsp melted butter
- 1/4 cup (58g) granulated sugar
- 1/2 tsp salt
- 2 1/2 cups (380g) all-purpose flour, plus extra as needed
- peanut oil, for frying

Instructions
- Warm the cup of milk in the microwave until about 100° F (38°C). Pour half of the milk into the bowl of a stand mixer, along with the yeast and 1 tsp of sugar.1 cup (236mL) milk, 1 1/2 tbsp dry active yeast
- Stir to combine and allow the mixture to sit for 5 minutes. At 5 minutes, the mixture should be frothy and bubbly.
- Once the mixture is frothy, add the remaining milk, melted butter, granulated sugar, salt and 2 cups of flour. Knead until fully combined.1 cup (236mL) milk, 4 tbsp melted butter, 1/4 cup (58g) granulated sugar, 1/2 tsp salt, 2 1/2 cups (380g) all-purpose flour
- Slowly add in the remaining 1/4-1/2 cup of flour until the dough cleans the side of the bowl, is tacky to your finger but doesn’t stick if pulled away quickly.
- Knead for an additional 5-7 minutes.
- Leave the dough in the bowl and cover with plastic wrap and allow the dough to rise for 1 hour.
- Once the dough has doubled in size, turn onto a lightly floured surface.
- Gently press the dough out into a rectangle and then use a donut cutter to cut your donuts out of the dough. Cut the leftover dough into small portions for bite sized donuts.
- Cover with plastic wrap or a cloth and allow to rise for an additional 30-45 minutes.
- Pour 2-3 inches of oil in the bottom of your pan. Heat the oil until 350°F (180°C).peanut oil
- Fry the donuts at 350°F (180°C) for about 1 minute on each side or until golden brown on each side. Do not over crowd the pan.
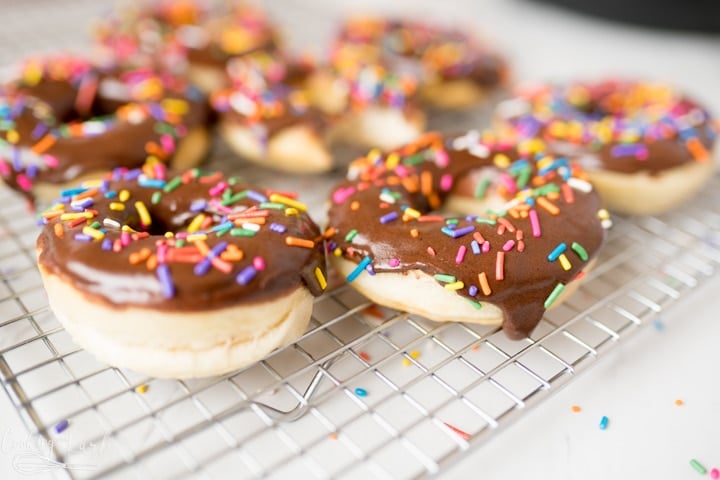
- When they are golden brown, let the donuts rest on a cookie cooling rack that is paced inside of a cookie sheet.
- Repeat with remaining dough.
- When the excess oil has dripped off of the donut top with your favorite glaze (recipe above) or with chocolate frosting (recipe above)


This is NOT a 45 minute recipe. This is a whole morning recipe.
Holy cow I was not expecting these to be as good as they are! Easy to make too!
Made them tonight the glaze donuts were amazing definitely making again. The chocolate I think I used the wrong cocoa. I used hot chocolate coco mix so I’ll have to retry the chocolate with cocoa. They were still good but the glaze were sooooo good. My husband said they tasted like Krispy Kreme and my one son’s face lite up! Thanks so much for the recipe!!!
1st time making donuts, and we give them a 10 out of 10… I agree with Autumn on how easy the whole process was! Will be making these again.
This recipe is awesome ,easy and delicious!!!!!!!
The are ggooodd
Hello
Can you pan fry them? I dont have a fryer
Yes, you can! This recipe actually doesn’t call for a fryer but will give you instructions for how to fry in a pan on the stove. Enjoy!