This post may contain affiliate links. Please read our disclosure policy.
The Instant Pot Water Test is the first step to getting comfortable with using your new Instant Pot and making sure that everything is working properly. It is simple to do and doesn’t take much time!
Why do I need to do the Water Test for my Instant Pot?
Do you need to do it? It is necessary for your Instant Pot to work? Nope. But I do suggest doing it to make sure that everything is working properly and especially if this is your first Instant Pot. The water test is a great way to familiarize yourself with how the Instant Pot works and what will happen with every cook cycle.
How to do the Instant Pot Water Test
So, essentially, with the water test, you’ll be making boiled water. 😉 Here is how you do it!
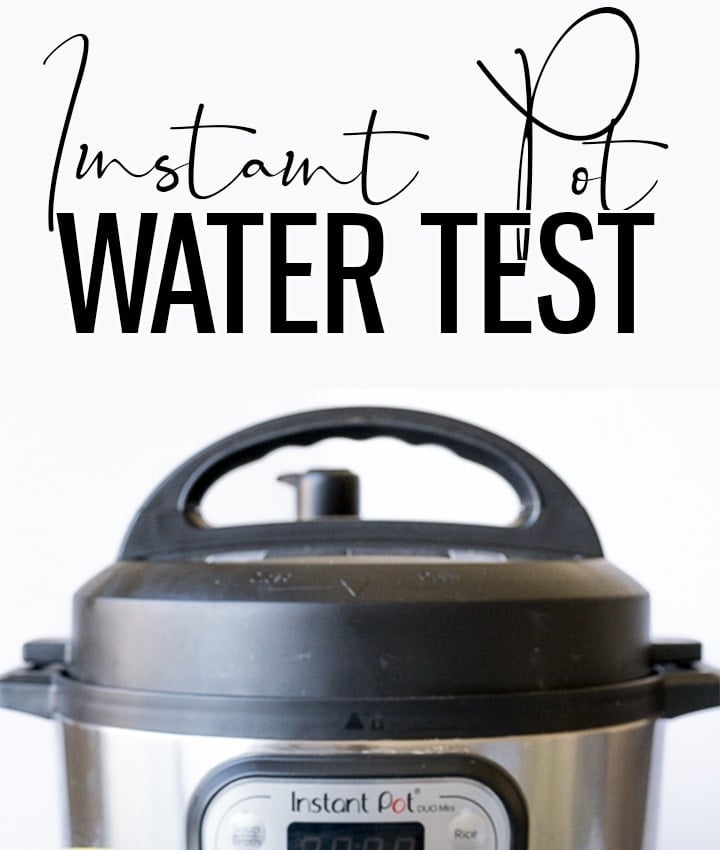
Instant Pot Water Test
The water test is a great place to begin with your Instant Pot. The manual suggests doing this before cooking with your Instant Pot to first make sure your pot works correctly and second, to familiarize yourself with how the pot works.
Print
Pin
Rate
Ingredients
- 2 cups water
Instructions
- Pour the water into the metal liner of your Instant Pot.
- Place the lid onto the Instant Pot and turn the knob towards sealing. (Yes, the knob is supposed to be that loose and wiggly.)
- Press the manual or pressure cook button (this depends on what model you have) and adjust the time for 3 minutes.
- It iwll take 5-10 minutes before teh timer will start couting down. The Instant Pot will have a little bit of steam coming out of the top as it is coming to pressure, the pin on the top will pop up once it has reached pressure.
- When the cooking cycle is complete, the Instant Pot will beep. You can then turn the knob to quick release the pressure. Note that hot steam will come out of the vent, so don't put your hand covering the vent when you turn the knob.
Loved this recipe?Tag @cookingwithkarli and use the hashtag #cookingwithkarli