This post may contain affiliate links. Please read our disclosure policy.
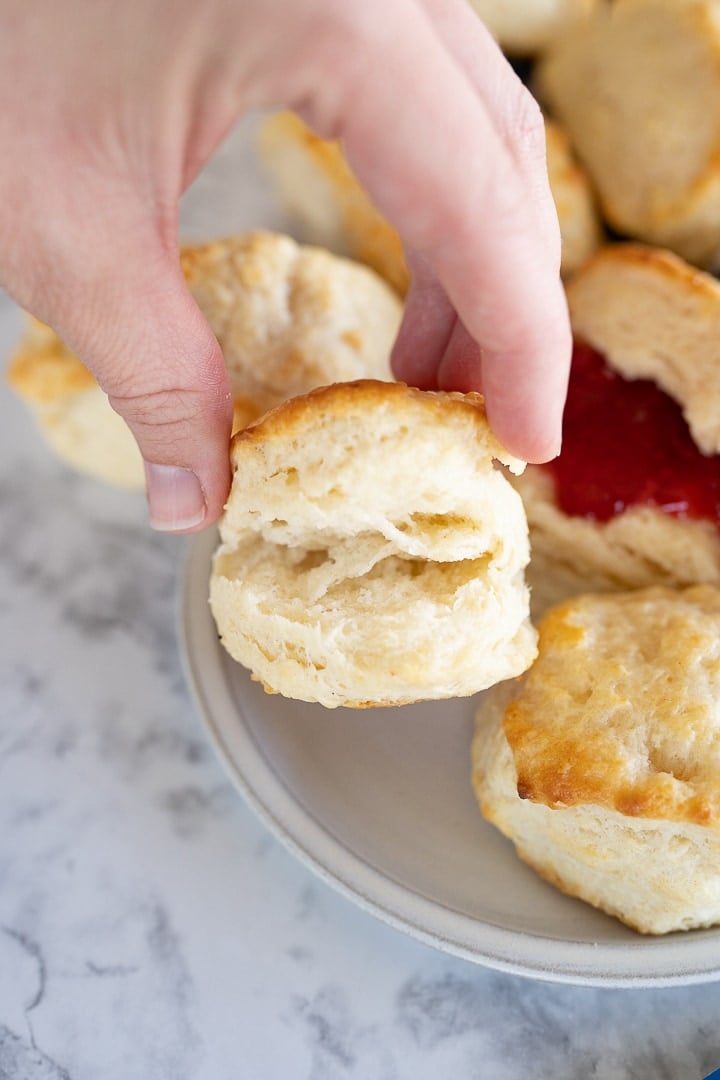
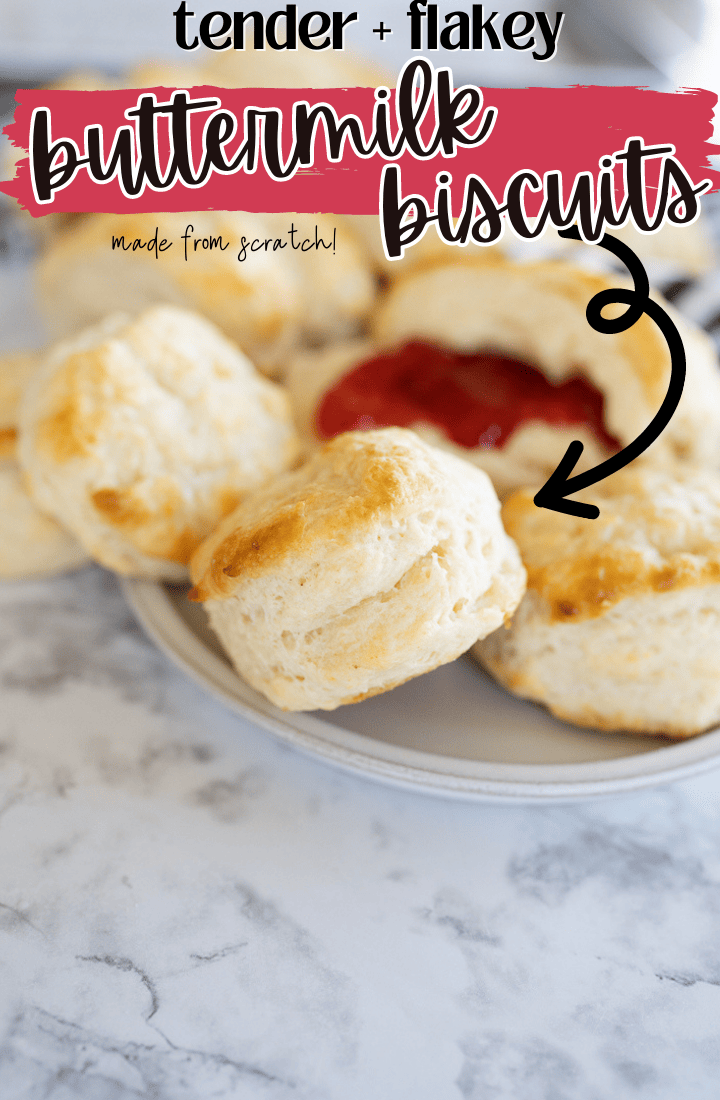
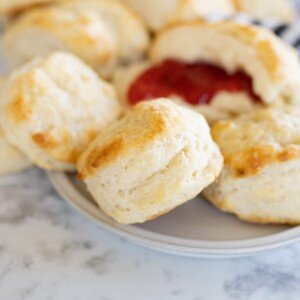
When you think of buttery, flaky, slightly crumbly homemade buttermilk biscuits, I hope you think of this recipe.
Easy Buttermilk Biscuits
I quite literally cannot think of a meal (or in this case, a side dish) that is more comforting than warm, flaky buttermilk biscuits fresh from the oven. With the perfect, glossy golden sheen on top and delicate layers inside, you’ll feel transported back to your grandmother’s table with every bite.
But just because these taste perfect, doesn’t mean they’re hard to make! Don’t be intimidated by making buttermilk biscuits from scratch. This recipe is easy, surprisingly so quick, and comes with an immediate claim to the title “biscuit queen.”

Homemade Buttermilk Biscuit Recipe Ingredients
- All purpose flour
- Baking powder – this gives our biscuits their rise! If your biscuits don’t rise as well as you’d like, check your expiration date to make sure you’re using fresh baking powder.
- Sugar – The sugar doesn’t make the biscuit sweet at all, it just balances out the saltiness!
- salt
- Butter, frozen + more for brushing on the baked biscuits – Funny enough, I don’t own a pastry cutter so I always grate my butter with a cheese grater. You can use a pastry cutter if you’d like to though. Or a food processor!
- Buttermilk, cold – The buttermilk makes these SO good. If you don’t have buttermilk, you can do milk and vinegar, but it won’t be as thick so they will probably only need 1 cup of the mixture.
How to make Homemade Buttermilk Biscuits from Scratch
- Preheat oven to 425° F.
- In a medium sized bowl, whisk together the flour, baking powder, sugar and salt.
- Remove the butter from the freezer and grate with a fine cheese grater.
- Add the butter to the dry ingredients and use your hands to toss to coat the butter in the dry ingredients.
- Pour the buttermilk in and gently mix and fold until almost all of the dry ingredients are incorporated and then you can switch to gently kneading with your hands. Be careful not to overwork the dough, as this will cause your biscuits to be tough rather than tender and flaky!
- Turn out onto the counter to fold. Shape your dough into a long rectangle. Fold the rectangle in half and then press down into a long rectangle again. Repeat this folding and pressing step 2 more times (for a total of 3 times). Please do not use a rolling pin during this step – it will crush all of your delicious layers!
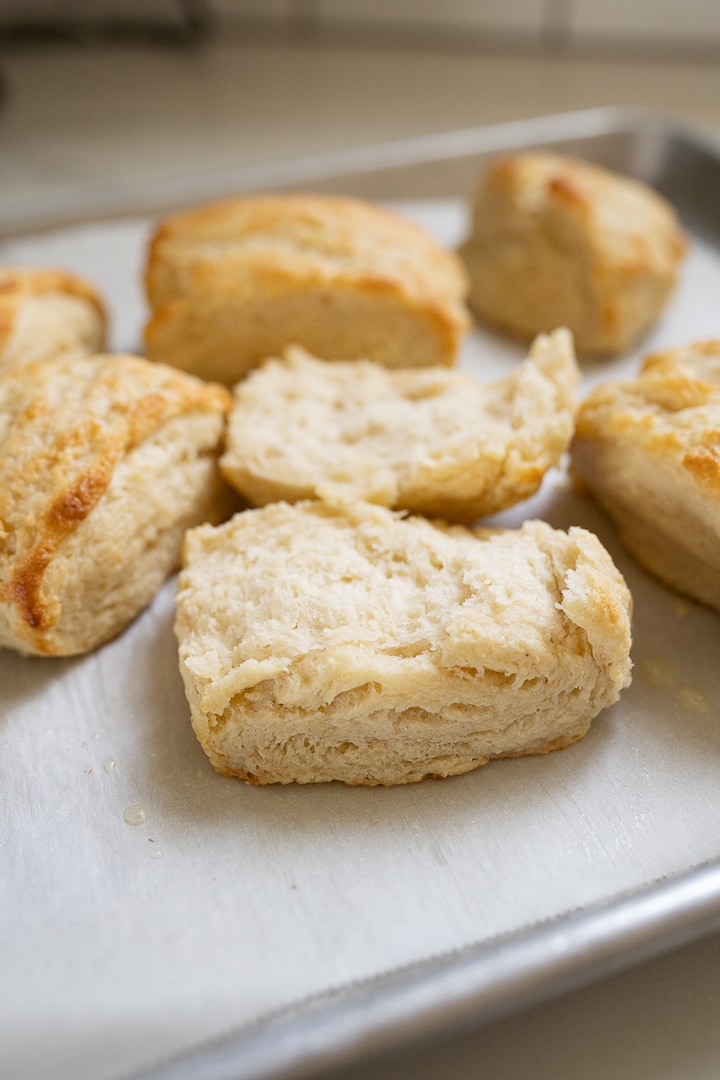
- When pressing down the last and final time, press down to about 1 inch in thickness.
- Cut your biscuits. You can use a biscuit cutter to cut circles or just cut squares like I typically do.
- Arrange on a silicone lined baking sheet and bake at 425° F for 12 minutes or until golden brown.
- As soon as they come out of the oven, brush with melted butter.
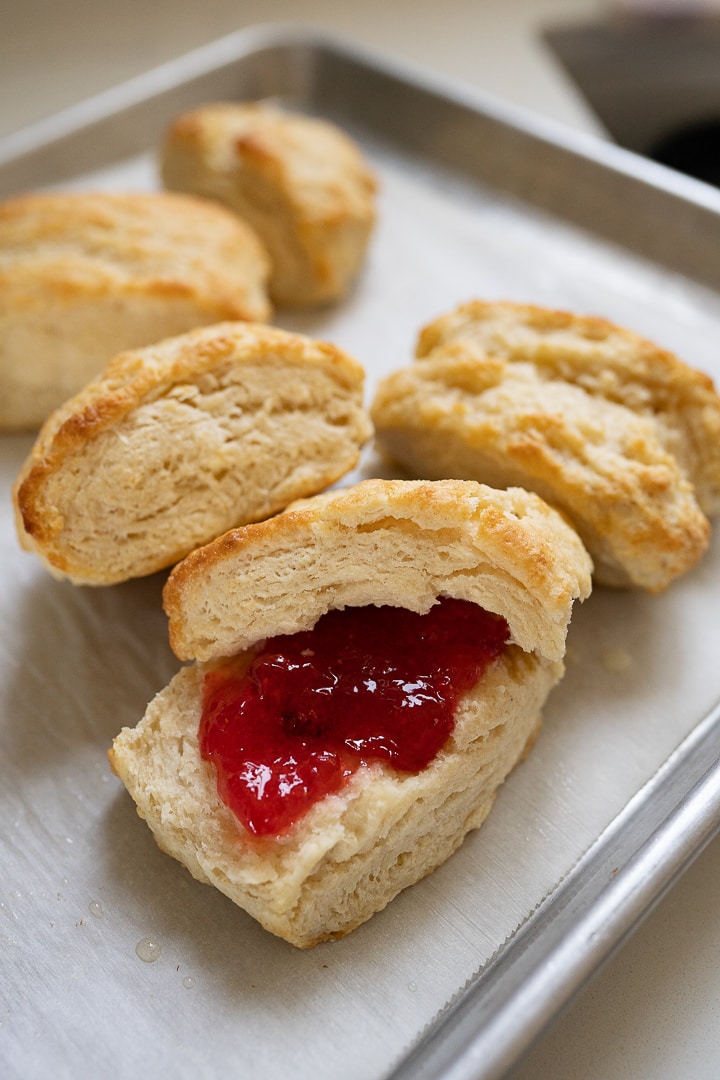
- Enjoy! Serve with jam, country gravy and sausage or make breakfast sandwiches out of them.
What is the best way to cut the butter into the flour for the biscuit dough?
If you have a pastry cutter, that is definitely the easiest way! I don’t personally have one, so I always use a cheese grater to grate my cold butter before incorporating. Once grated, you can use a fork, knife, spatula or even your hands to cut the butter into the flour!
What to make with Buttermilk Biscuits from Scratch
Buttermilk biscuits are versatile and can be used for various dishes, such as:
- Biscuits and Gravy: Serve biscuits with creamy sausage gravy for a hearty breakfast.
- Breakfast Sandwiches: Use them as a base for breakfast sandwiches with eggs, cheese, and bacon.
- Biscuit Sliders: Make mini sandwiches with biscuits, deli meats, and condiments.
- Strawberry Shortcake: Split biscuits and layer with whipped cream and strawberries for dessert.
- Chicken and Biscuits: Top with a creamy chicken stew or pot pie filling.
- Biscuit Pizza: Create mini pizzas using biscuit dough as the crust.
- Biscuit Toppings: Top biscuits with ham, cheese, and veggies for quick personal pizzas.
- Biscuit Dumplings: Add biscuit dough to soups or stews for dumplings.
- Biscuit Pudding: Use biscuits in sweet bread pudding recipes.
- Biscuit Croutons: Cube and toast biscuits for unique salad croutons.
How to store Homemade Buttermilk Biscuits
- Room Temperature: If consuming within a day or two, store cooled biscuits in an airtight container at room temperature.
- Refrigeration: If keeping for a few days, store in an airtight container in the refrigerator. Warm before serving.
- Can you freeze biscuits? Yes, you can! Simply layer biscuits between parchment paper and seal in a freezer bag. I prefer to freeze these after baking for easy future use, but you can also freeze the shaped dough. If freezing the uncooked dough, just add a few extra minutes to your baking time when you’re ready to use!
Homemade Buttermilk Biscuit Recipe FAQs
Buttermilk biscuits use buttermilk for a tangy flavor and tender crumb. Regular biscuits often use milk and might have a slightly different texture.
Common reasons include overmixing, using warm butter or buttermilk, or not folding the dough enough times.
Using cold ingredients (like butter and buttermilk), handling the dough gently, and ensuring your baking powder is fresh are key to achieving good biscuit rise.
More like these easy Buttermilk Biscuits:

Homemade Buttermilk Biscuit Recipe (Easy Buttermilk Biscuits from Scratch)
Ingredients
- 2 3/4 cups all purpose flour
- 1 tbsp (heaping) baking powder
- 1 tbps (heaping) sugar
- 1 tsp (heaping) salt
- 1/2 cup butter, frozen + more for brushing on the baked biscuits
- 1 1/4 cups buttermilk, cold

Instructions
- Preheat oven to 425° F.
- In a medium sized bowl, whisk together the flour, baking powder, sugar and salt.
- Remove the butter from the freezer and grate with a fine cheese grater.
- Add the butter to the dry ingredients and use your hands to toss to coat the butter in the dry ingredients.
- Pour the buttermilk in and gently mix and fold until almost all of the dry ingredients are incorporated and then you can switch to gently kneading with your hands.
- Turn out onto the counter and then shape into a long rectangle. Fold the rectangle in half and then press down into a long rectangle again. Repeat this folding and pressing step 2 more times (for a total of 3 times).
- When pressing down the last and final time, press down to about 1 inch in thickness. Use a biscuit cutter to cut circles or just cut squares like I typically do.
- Arrange on a silicone lined baking sheet and bake at 425° F for 12 minutes or until golden brown.
- As soon as they come out of the oven, brush with melted butter.
- Serve with jam, country gravy and sausage or make breakfast sandwiches out of them.


Oh my gosh are theses good!!!! I made them for dinner tonight, I could have eaten them all.
My buttermilk biscuits taste light and airy with wonderful flavor. But, they rise on one side. Can you suggest any thing im doing to cause this?
So easy & so good!!
I never ever get recipes right on the first try. But, THIS ONE, this one I nailed. I took a risk on trying this for Sunday dinner (with fried chicken – we’re in the south, ok?!). WINNER! It was easy (perfect for me). And, DELICIOUS. I brushed butter on top right out of the oven. Gave it a great salty, soft texture and flavor. Next time, I’m thinking of doing a honey butter on top straight from the oven. Channeling CFA’s chicken minis.
First recipe that has ever come out perfect- flaky buttery and gorgeous. Not to mention was incredibly easy! I swear each recipe from this website is perfection down to a science. Keep doing you and staying true to turning out quality recipes!