This post may contain affiliate links. Please read our disclosure policy.
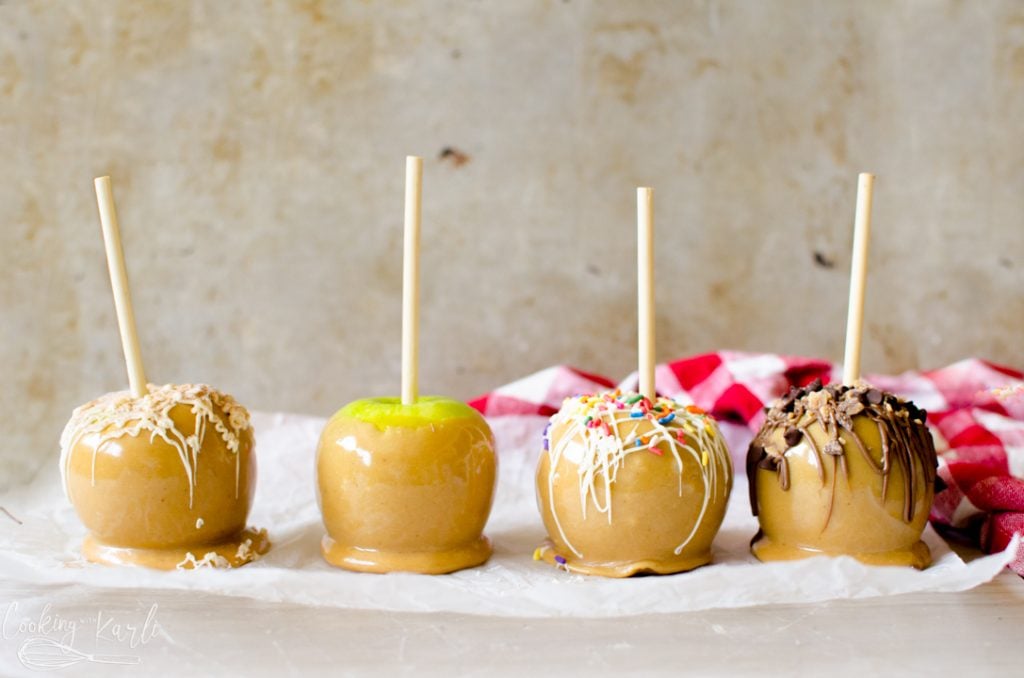
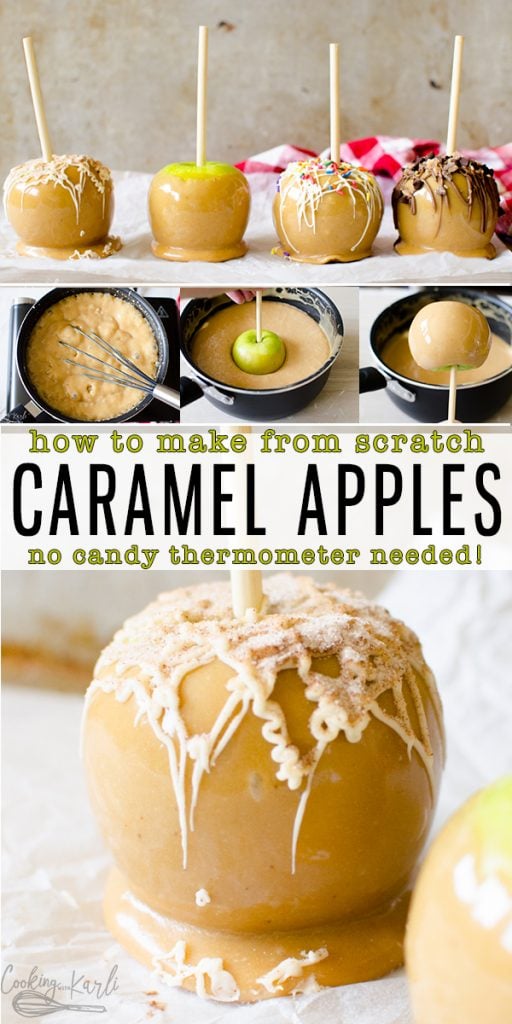
Caramel Apples are homemade with an easy, from scratch caramel. Dip the apples and drizzle with chocolate to create a gourmet caramel apple easily at home! This is the perfect fall time treat!
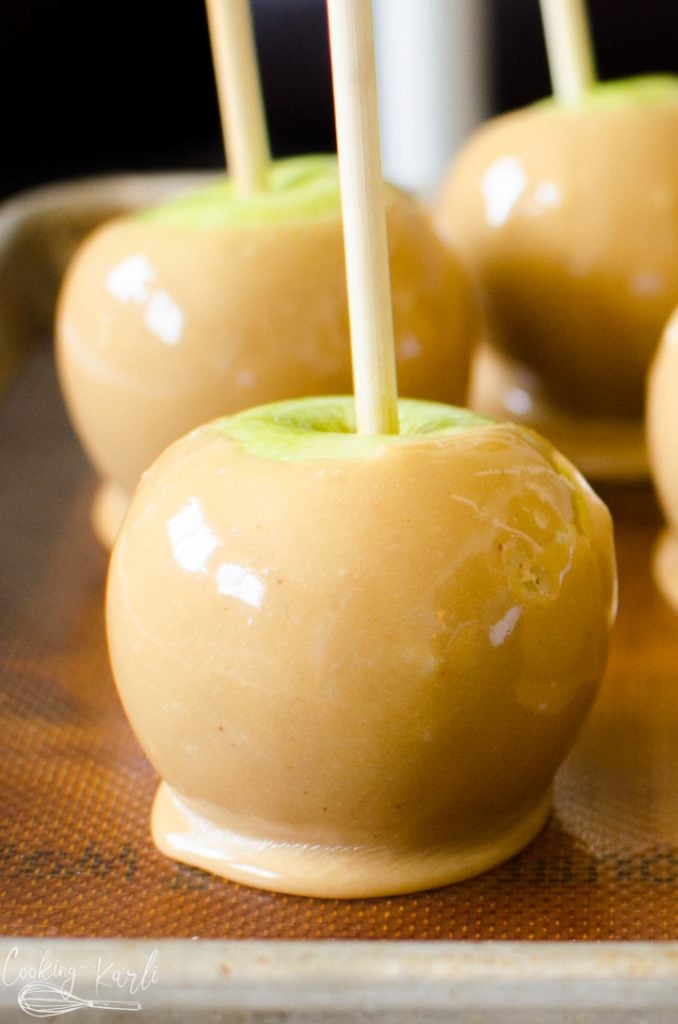
Caramel Apples- Fall time Dessert
Caramel Apples have been a fall time tradition for as long as I can remember!
Over the past few years, I have started taking caramel apples to my neighbors around thanksgiving time. I usually take over the apple with a cute ‘I’m so thankful for you!’ tag.
I will always and forever keep this tradition! A lot of people take treats & gifts around to neighbors close to Christmas, which I love. I, just so happen to usually be running around like a chicken with it’s head cut off around Christmas time!
Between work parties, school concerts, and community get togethers I don’t know if I could add another item to the to do list! So year after year, I have been taking a thanksgiving treat around instead and it just makes my packed to the brim to do list happy. ?
I have been making this caramel recipe for literally years. It is the best I’ve ever had, honestly! The caramel doesn’t slide off of the apples, it’s perfectly chewy and sweet. But more on those details below!!
How to Make Caramel Apples
Prepping the Apples
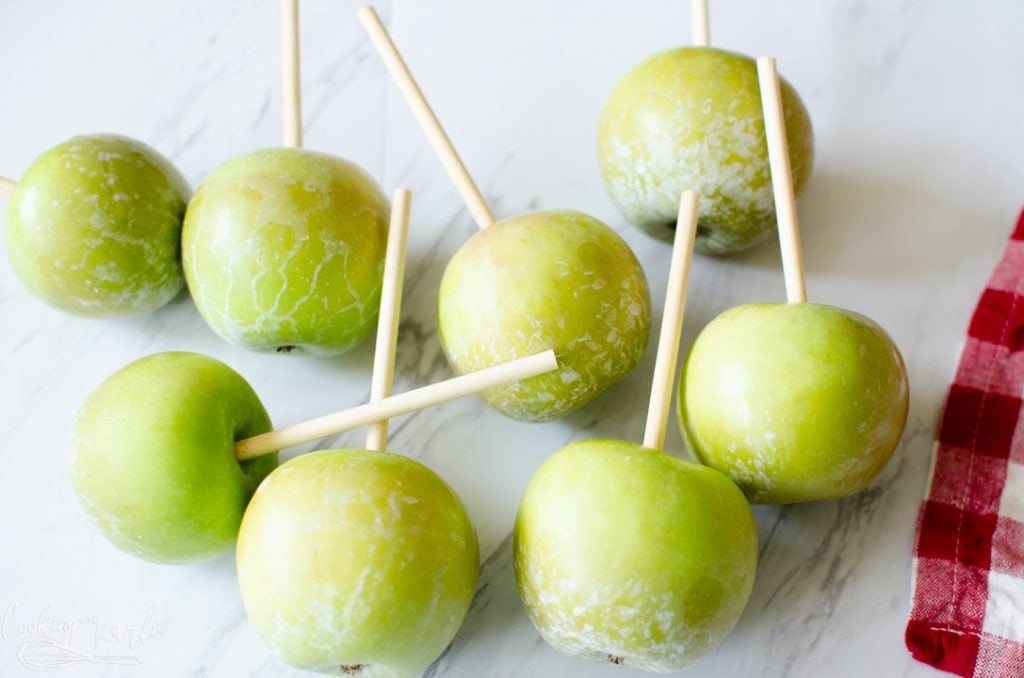
The first thing to do to prep the apples is to stick the wooden sticks into the apple. I get my wooden sticks from Walmart or Hobby Lobby. You can find them here on Amazon, though!
Remove the stem and then you’ll want to push the sticks in so that when the apple is sitting, the stick is poking straight up. So, not all apples are perfect and stand straight up, so set the apple onto the counter and then push the stick in straight up.

The next step, remove the wax! Those super shiny apples from the grocery store are only shiny because they have been waxed.
The wax will make the caramel fall off the apple so it is important to remove the wax.
My favorite way to do this is by dipping the apples into boiling water. The boiling water will melt the wax off of the apple and help the caramel to stay put.
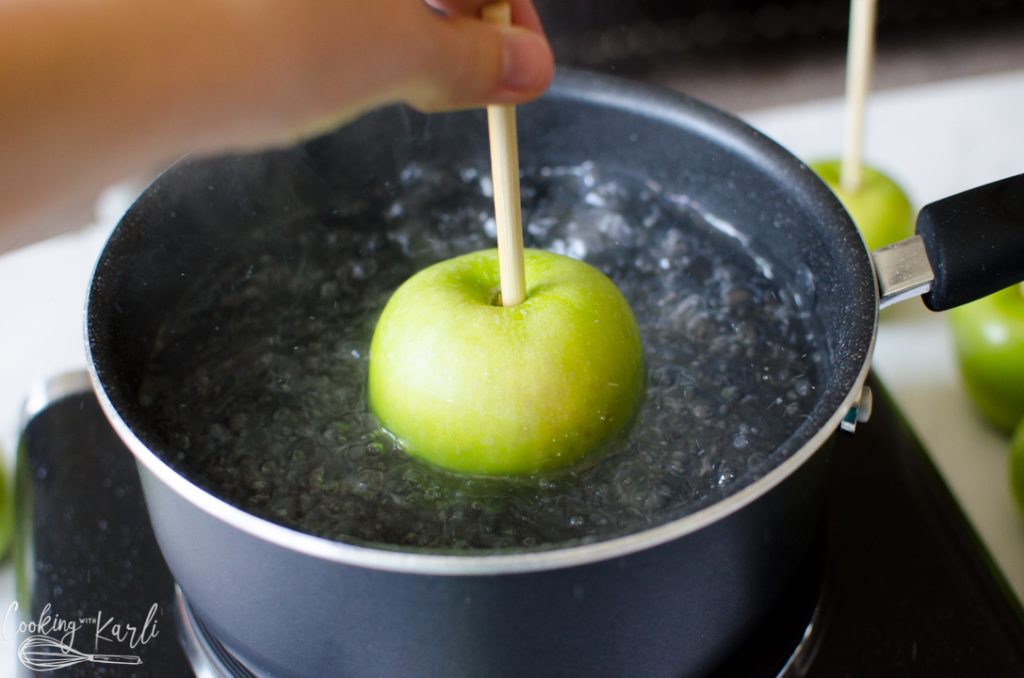
Set the apples on a towel and let them dry completely before dipping them into the caramel.
When the apples dry, they will be dull and probably splotchy. They may discolor a little bit but that is fine. If they have white patches on them, like pictured below, use a towel and rub them off. That is just the excess wax.
Making the Homemade Caramel
There is nothing good (but everything good at the same time) in this caramel. All sugary and not healthy but I feel like when I make caramel apples I am not looking for a healthy treat.
Besides that, the caramel is spread out between a lot of apples!
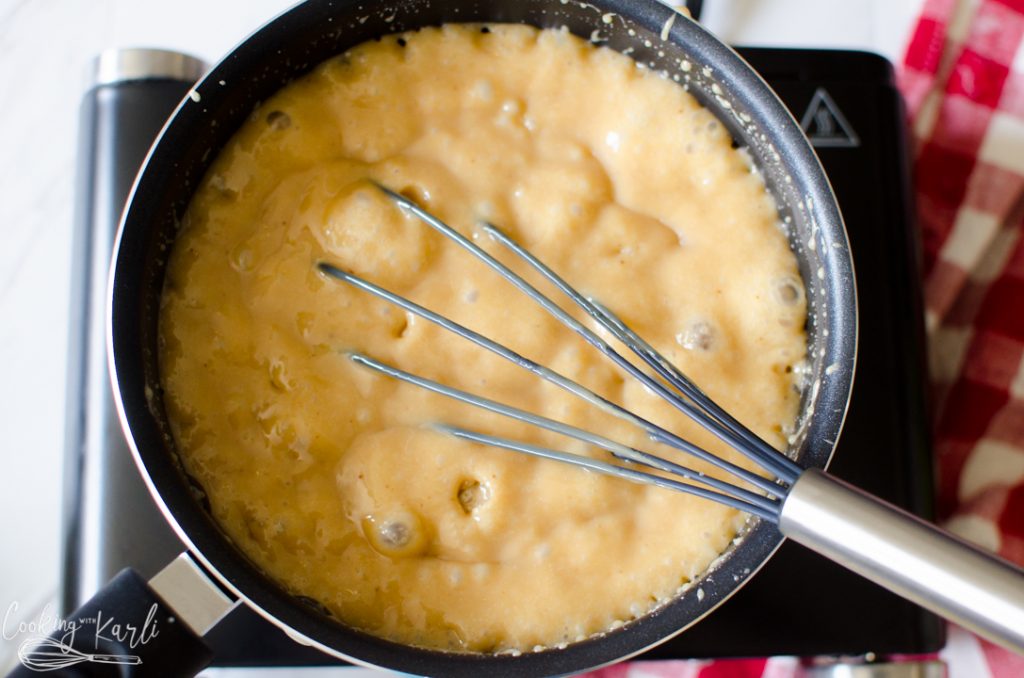
Combine butter, brown sugar, sweetened condensed milk and corn syrup in a medium non-stick saucepan.
Stirring constantly, Heat until it has almost reached Fireball stage (235°-240°).
Don’t have a candy thermometer?? Neither do I.
If you do have a candy thermometer, that is definitely the easiest route. No sweat if you don’t, though!
If you don’t, the best way to test the stage of the caramel is by spooning a small amount of the caramel into a cup of ice water.
This will bring the caramel’s temperature down immediately and then you will be able to test the stage of the caramel by taste testing.
You’ll know the caramel is ready when it is still soft, but firm and sticky. Think taffy or marshmallows.
When it has reached this stage, remove from heat. Speaking of marshmallows, let’s add some to the caramel.

Let the caramel sit for a few minutes after the marshmallows have been completely melted into the caramel. Gently fold the caramel to remove the air bubbles build into the caramel from whisking in the marshmallows.
Dipping the Apples in the Caramel
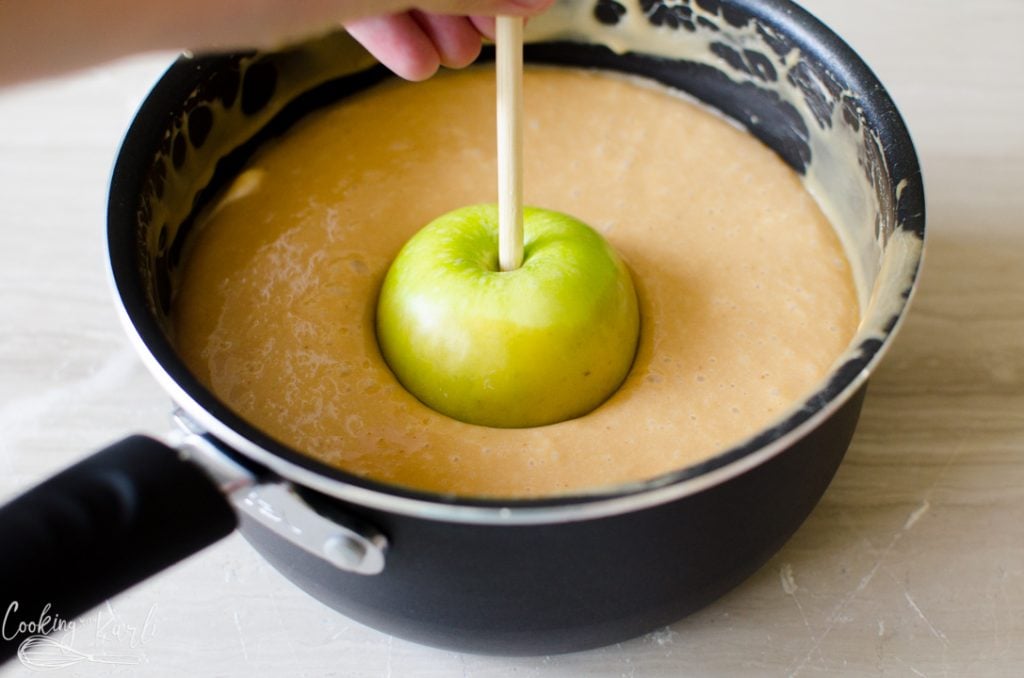
It is easiest to dip the apples right in the pan. Tilt the pan if needed, and dip the apple into the caramel. Swirl the apple around in circles to make sure the caramel reaches all of the apple.
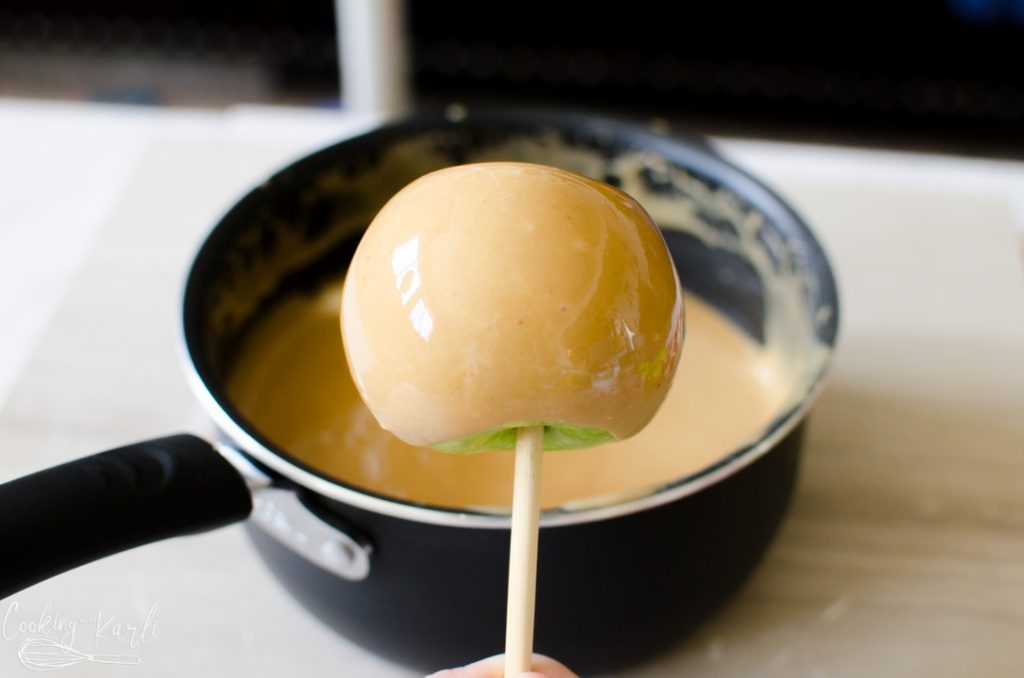
Once the apple is covered caramel, hold the caramel apple upside down by the stick and gently twist the apple in between your fingers.
This will force the excess caramel up to the top of the apple.
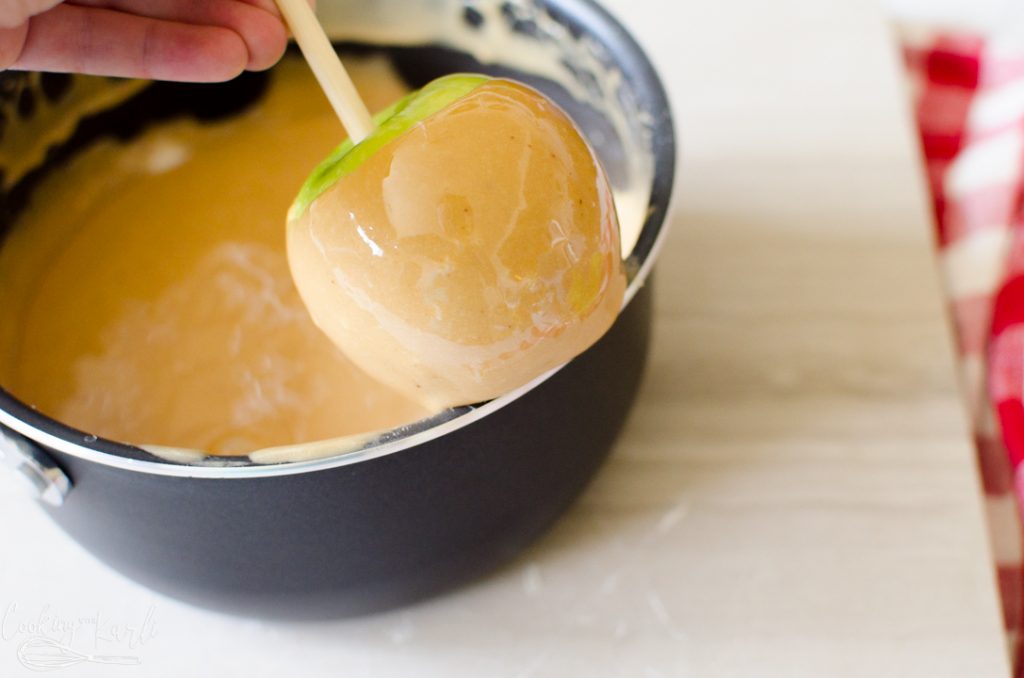
After the excess caramel has made it’s way to the top of the apple, scrape the bottom of the apple on the side of the pan to remove the caramel on the very bottom of the apple.
You’ll want to do this because when the apple is sat right back up, all of that excess caramel we brought to the top will travel down the apple again to the bottom.
By scraping off the caramel on the bottom, it makes room for the caramel that will end up down at the bottom.
Place the apples onto either a silicone liner or onto parchment paper. (wax paper will not work! The hot apples will melt the wax)
Let cool completely and then garnish as you’d like!
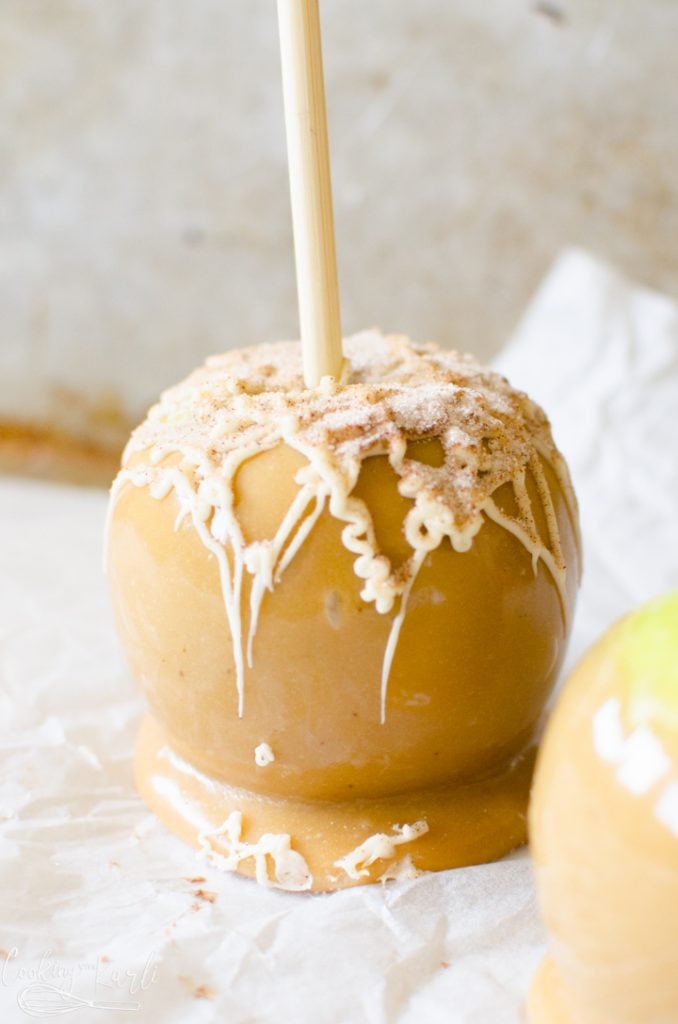
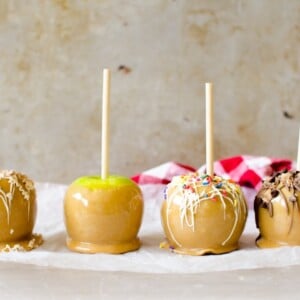
One of my favorites is the Apple Pie Caramel apple. Drizzle with white chocolate and sprinkle with cinnamon and sugar.
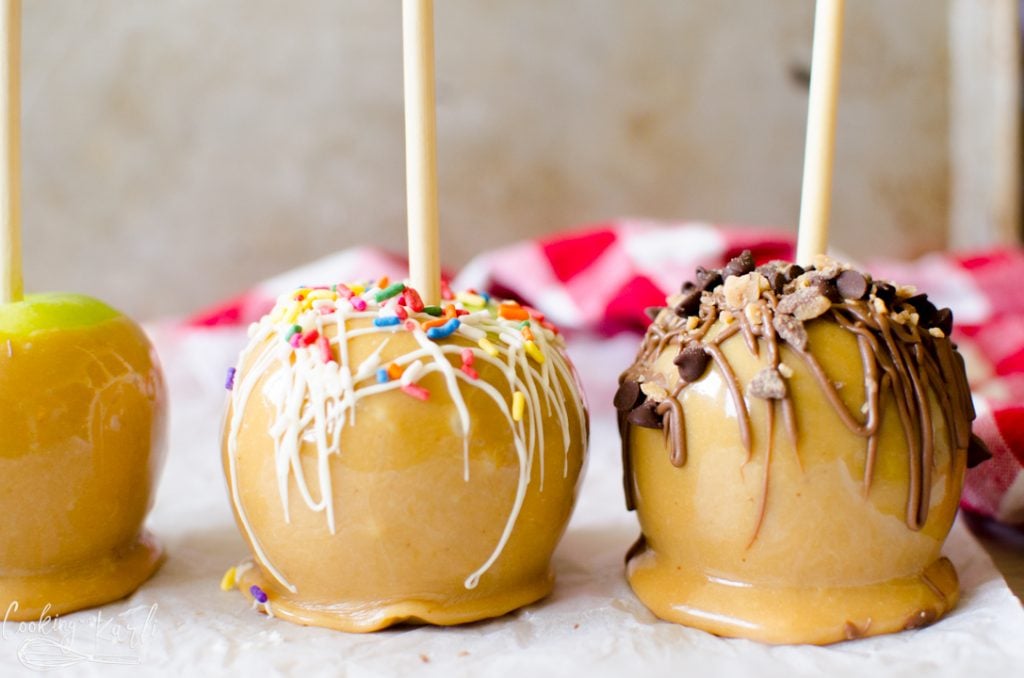
Caramel Apples with Toppings
After many test runs I have found out the best way for adding toppings to your Caramel Apples!
For something like sprinkles or Cinnamon and sugar, those are best added after the caramel apple has cooled and then is drizzled with chocolate. Those smaller toppings will stick to the melted chocolate really well.
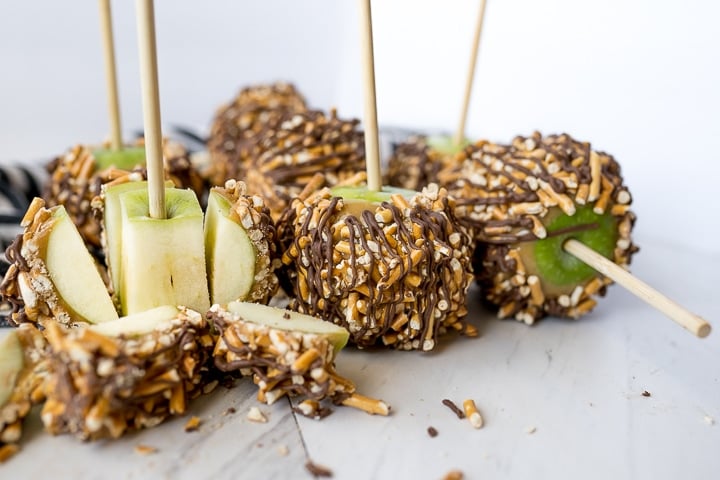
For larger toppings, such as pretzels, peanuts, crushed cookies etc. I have found that rolling the caramel apple into the toppings when the caramel is still warm and gooey works great! The toppings stick really well and it helps the caramel stay in place.
Below is a photo example of a Pretzel and Chocolate Caramel apple.
Other Fall recipe you will LOVE!
 Apple Pie Filling
 Double Trouble Chocolate Chip Cookies
 Cauliflower Cheese Soup
Come on over and join the party on Facebook and Instagram! Thanks for stopping by!

Caramel Apples
Ingredients
- 12 Granny Smith apples, prepped (see post)
- 1/2 cup butter
- 2 cups brown sugar
- 1 can sweetened condensed milk
- 1 cup corn syrup
- 13 large marshmallows

Instructions
- Prep the Granny Smith Apples by inserting the sticks and removing the wax. (see post for more details) Set aside to dry completely.
- In a medium non-stick sauce pan, combine the butter, brown sugar, sweetened condensed milk and corn syrup.
- Bring to a rolling boil, stirring constantly. Boil until the caramel has reached the almost hardball stage. (235°-240°). If you don't have a candy thermometer, see post for details on how to check the stage of the caramel.
- Remove from heat and stir in the marshmallows.
- Gently fold the caramel to remove any built in air bubbles.
- Dip the apples into the caramel. See post for tips on how to best execute this.
- Pour any excess caramel onto parchment paper and then cut into caramels when cool.
- Once the caramel apples have cooled completely, add toppings like chocolate drizzle, nuts, sprinkles or anything else you'd like!


How long will these keep and how do you recommend storing them?
Hey there, Tara! These will keep well for 2, maybe 3 days on the counter. If they are stored in the fridge, they will keep for up to 5. The caramel will be harder if kept in the fridge, so be sure to let them sit out at room temperature for a while before eating them. Hope this helps!
Can this also be used for pretzel rods?
Yes (and they’re delicious!!)
Hi, how long do you hold the Apple in the boiling water to remove the wax? I did that, now I’m trying to wipe the white wax off after they’ve dried and it’s not coming off. Maybe I didn’t dip them long enough? I didn’t want to cook them! lol
Thank you!
Hi Julie! I just dip them in and out a couple of times. The apples will be slightly discolored with white patches, just do your best to ‘polish’ with a paper towel. Don’t stress too much about it though! That’s how mine always are, too. They will be great!
I have to do this for a school fall fest. About 200-250 people. How much should I buy to make this and if o dint have access to a burner to cook on can I use something else? If so what and what brand of cooking pot and Carmel.
Hi Jenn! That is a lot of caramel apples! I make the caramel from scratch in this recipe. Each recipe will cover 12 medium sized apples. You will need a burner to make this caramel, you could buy and electric hot plate and bring that along if needed. (I purchased mine on amazon for around $25 I think.) Each batch of caramel does take about 25 minutes to make, just so you know. 🙂 Let me know if you have any other questions!
Would this recipe double ok? Or do you suggest making it separately twice?
I haven’t doubled this recipe, but it should work! You will want to use a larger pot, though.
When I’ve made caramel apples in the past, they have “sweated” when out of the fridge. But that’s using packaged caramels. Does this recipe prevent that?
Hi Lisa- So these don’t need to be stored in the fridge so there shouldn’t be any problem. They will stay fresh at room temperature for up to 3 days.
What brand of marshmallows do you use?
I usually use the store brand’s generic marshmallows. 🙂
Hi. How long should you wait to add toppings like pecans and butterfingers after dipping the apples into the caramel? Also, does adding marshmallows to caramel make it more of a sticky texture?
The marshmallows make it more of a creamy texture. And I actually like to immediately roll my apples into toppings like nuts or pretzels. The butterfingers I’d put on top of chocolate to avoid them melting because of the hot caramel.
Great recipe!
Why do you add marshmellows
The marshmallows might be my favorite ingredient! They add a light, creamy sweetness; they make the texture smooth and velvety and they help keep the caramel soft, chewy and easy to bite into!
I absolutely love caramel apples. This caramel is awesome! I have so much leftover. Can I reheat the caramel and make more?
Just made these and they were so simple. My apples seemed to seep tiny balls of liquid as they dried. I have no idea what that was about. But they have been sitting on the counter, cooling and they are picture perfect! Thanks for sharing the recipe. Hopefully, my coworkers approve!